
Discover how to create stunning gel plate prints for junk journals and wall art with our curated collection of expert tutorials and techniques.
Introduction
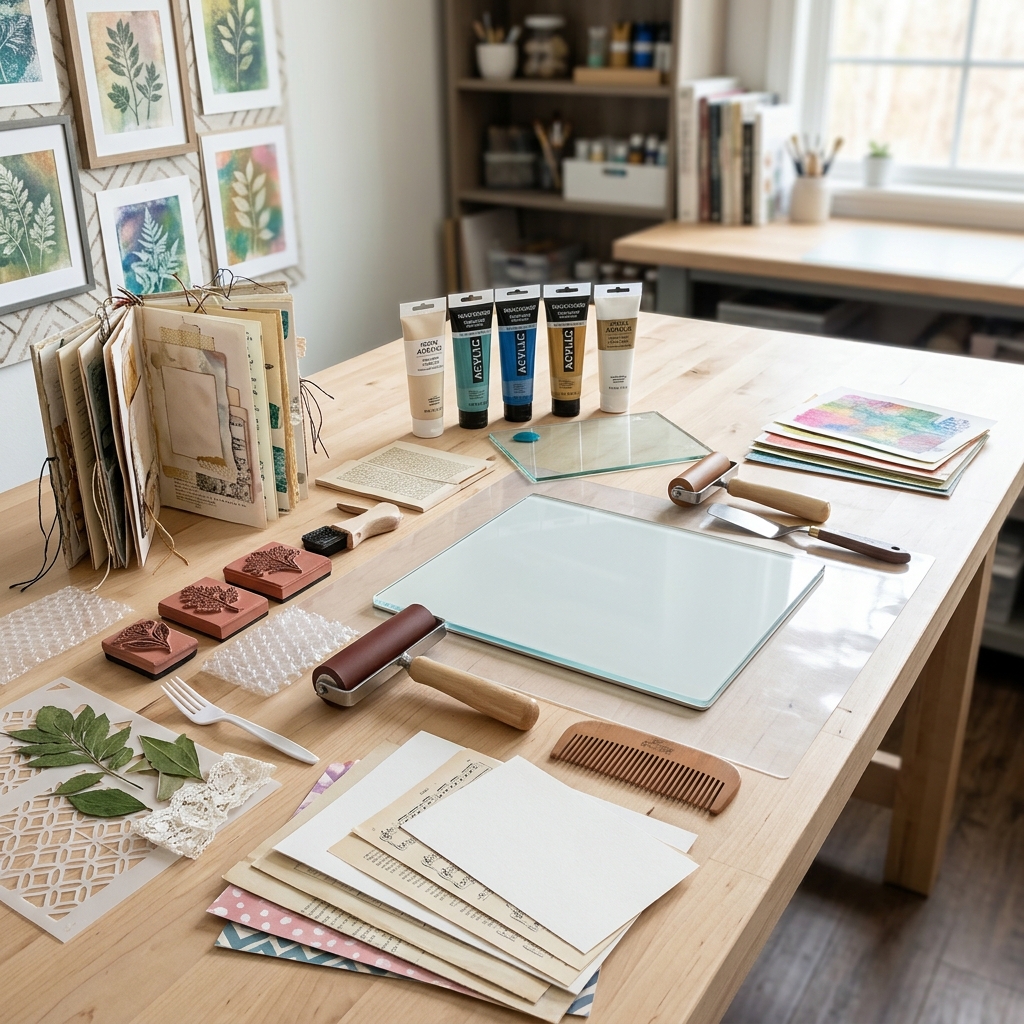
Gel plate printing has become one of the most exciting and accessible forms of printmaking, offering endless creative possibilities for both junk journal enthusiasts and wall art lovers. This unique monoprinting technique allows you to create one-of-a-kind textured prints using simple materials and minimal setup, making it perfect for crafters of all skill levels.
Rather than overwhelming you with scattered information from across the internet, we've carefully curated the most authoritative and beginner-friendly resources to guide your gel printing journey. Our selected tutorials come from industry experts and the actual manufacturers of gel plates, ensuring you receive accurate, tested techniques that deliver beautiful results.
By following our recommended guides, you'll learn to create vibrant, layered prints that add professional-looking artistic elements to your junk journals while developing skills to produce stunning wall décor pieces that rival expensive gallery art.
Overview
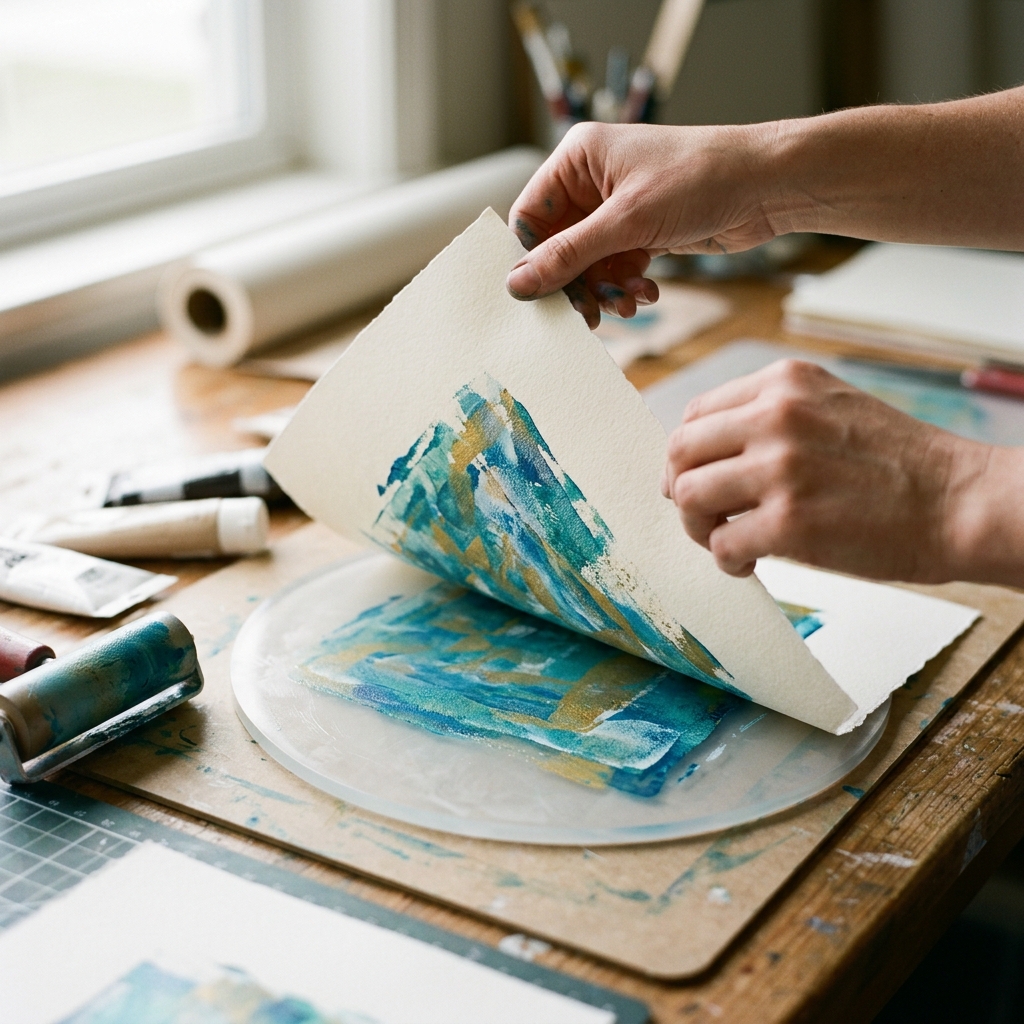
Gel plate printing revolves around a simple but magical process: applying acrylic paint to a soft, reusable gelatin plate, manipulating it with various tools and textures, then transferring the design to paper through pressure contact. The beauty of this technique lies in its forgiving nature-there are no strict rules, and "mistakes" often become the most interesting design elements.
The general workflow involves setting up your workspace with a gel plate (typically 8x10 inches), acrylic paints, and a brayer for smooth paint application. You'll apply paint to the plate surface, create textures using everything from bubble wrap to handmade stencils, then press your chosen paper onto the plate to capture the design. Each paint application can yield multiple prints of varying intensity, creating beautiful layering opportunities.
What makes gel plate printing particularly appealing is its versatility-you can create subtle, ethereal backgrounds perfect for junk journal pages or bold, dramatic pieces suitable for framing. The technique encourages experimentation with color mixing, mark-making tools, and found objects, ensuring each printing session produces unique results that can't be exactly replicated.
Tips & Considerations
Work quickly but don't rush - Paint remains workable for several minutes on the gel plate, but planning your design approach beforehand ensures better results
Start with simple color combinations - Two or three colors often create more cohesive results than using many colors, especially for beginners learning color interaction
Clean your brayer frequently - Paint buildup on your brayer can create unwanted streaks and muddy color mixing in subsequent prints
Save every print - Even light "ghost" prints and practice runs often become perfect backgrounds for future projects or junk journal elements
Protect your workspace thoroughly - Acrylic paint can be difficult to remove from surfaces, so use plastic tablecloths or freezer paper as protective covering
Store gel plates properly - Keep plates flat and covered when not in use to prevent dust accumulation and warping that can affect print quality
Embrace imperfection - The most beautiful gel prints often come from unexpected paint interactions and spontaneous mark-making rather than overly controlled approaches
Plan for multiple prints - Set up several sheets of paper before starting since each paint application typically yields 2-4 usable prints of varying intensities
Consider paper texture - Smooth papers capture fine details while textured papers add their own character to prints, affecting the overall aesthetic significantly
Conclusion
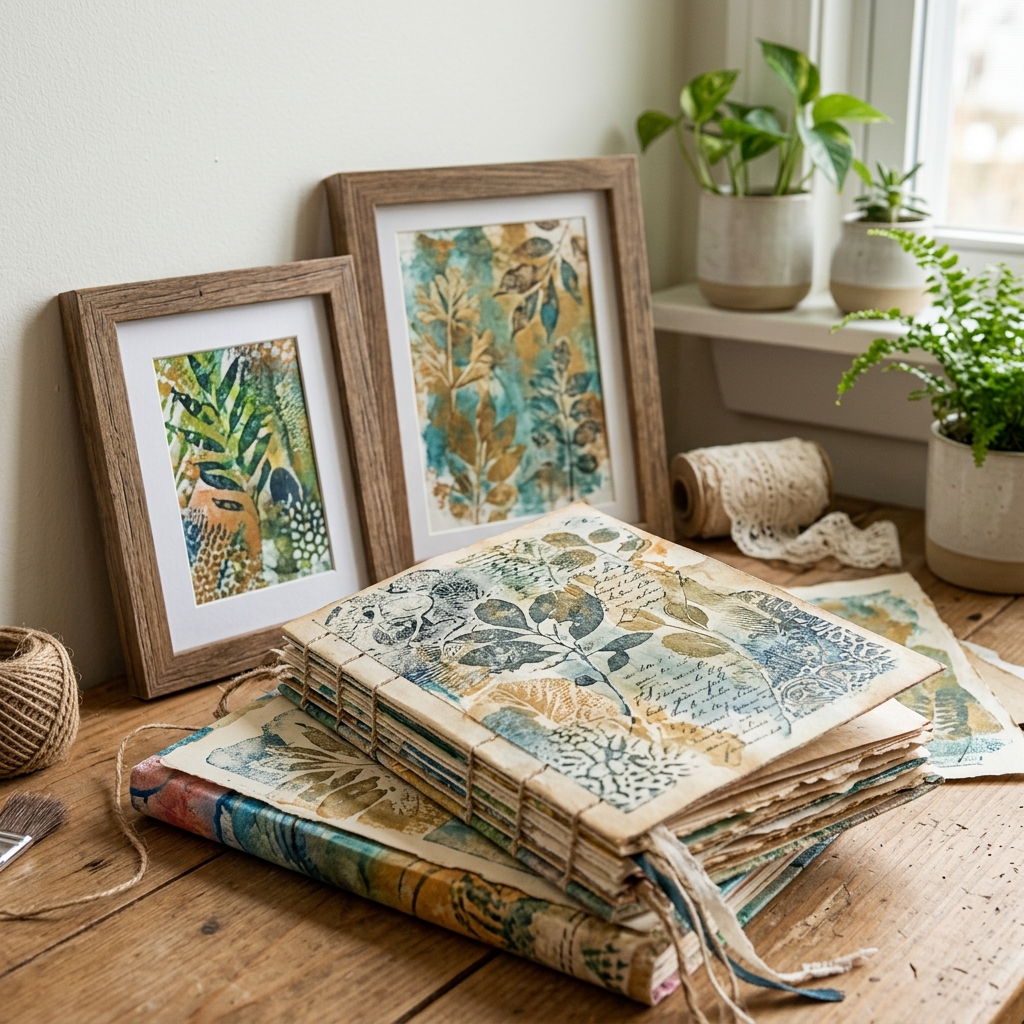
Creating gel plate prints for junk journals and wall décor becomes much more achievable when you have access to expert-curated resources rather than trying to piece together information from random sources. Our recommended guides provide you with manufacturer-backed techniques, confidence-building approaches, and comprehensive skill development that would take hours to discover on your own.
The beauty of this curated approach is that you can trust the quality and accuracy of your learning materials while focusing your energy on the creative process itself. Each recommended tutorial builds upon the others, creating a complete learning experience that takes you from absolute beginner to confident printmaker.
Start with our top-ranked beginner guide to build your foundation, then explore the additional techniques to expand your creative possibilities. Remember that gel plate printing rewards experimentation and play, so embrace the process and enjoy creating unique art pieces that reflect your personal style and vision.
Apparatus & Materials
| Item | Cost | |
|---|---|---|
| ◆ Acrylic Paint Medium or heavy body acrylic paints that provide strong color and move well on the gel plate. Multiple colors recommended. | $12–$40 | Buy now |
| ◆ Brayer (Rubber Roller) A soft rubber roller used to spread paint evenly across the gel plate without leaving streaks or marks. | $8–$20 | Buy now |
| ◆ Copy Paper White copy paper is inexpensive, works well with acrylic paint, and is thin enough for easy use in collage projects. | $3–$8 | Buy now |
| ◆ Gel Plate A gelatin-like printing surface used to create monoprints. 8.5" x 11" or 8" x 10" size recommended for beginners. | $15–$35 | Buy now |
| Cardstock Paper Heavier paper that holds paint nicely and provides a more durable printing surface than copy paper. | $5–$15 | Buy now |
| Stencils Pre-made or handmade stencils to create specific designs and patterns on the gel plate prints. | $5–$20 | Buy now |
| Texture-Making Materials Household items like bubble wrap, leaves, doilies, lace, or corrugated cardboard to create impressions and patterns. | $10 | Buy now |
Notes on the sources
The ranking at right reflects our editorial judgment after reading each source in full. For a summary of this entry in brief, see the source ranked first. For the chemistry and underlying principles, see the last.


