
A curated guide to the best resources for learning gel plate printing with mixed media integration, featuring expert recommendations and essential tips.
Introduction
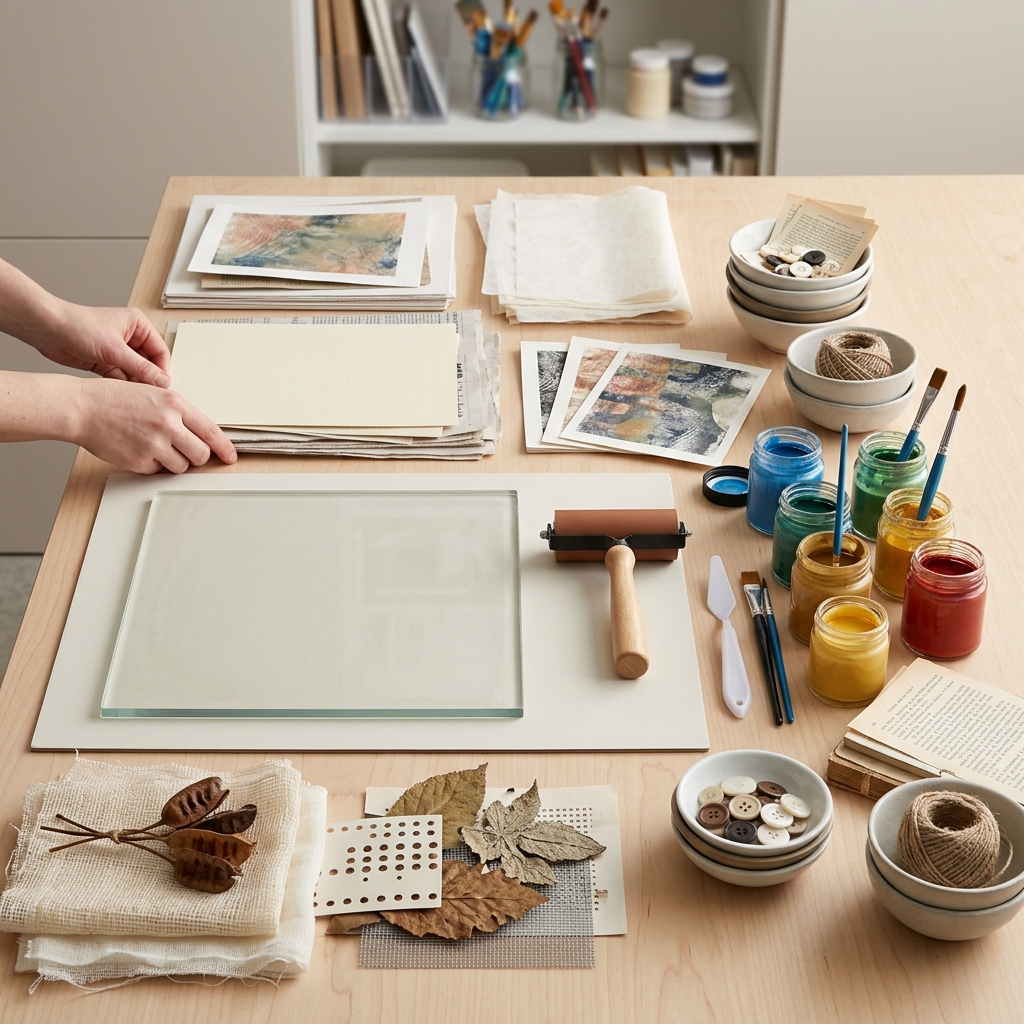
Gel plate printing has captured the hearts of mixed media artists worldwide because it combines the spontaneity of painting with the surprise element of printmaking. This monoprinting technique creates beautifully layered, textural artworks that can serve as stunning standalone pieces or as compelling foundations for further mixed media exploration. Whether you're drawn to the organic patterns created by natural objects pressed into paint or the bold graphics achieved through stenciling, gel plate art offers endless creative possibilities.
Rather than sifting through countless tutorials and conflicting advice online, this curated guide directs you to the most valuable, tested resources for mastering gel plate art with mixed media elements. We've evaluated numerous sources to identify those that provide the clearest instruction, most comprehensive coverage, and best practical advice from experienced artists and manufacturers.
By following our recommended expert guides, you'll gain confidence in this accessible printmaking technique while discovering how to seamlessly integrate drawing, collaging, and painting elements to create truly unique mixed media compositions.
Overview
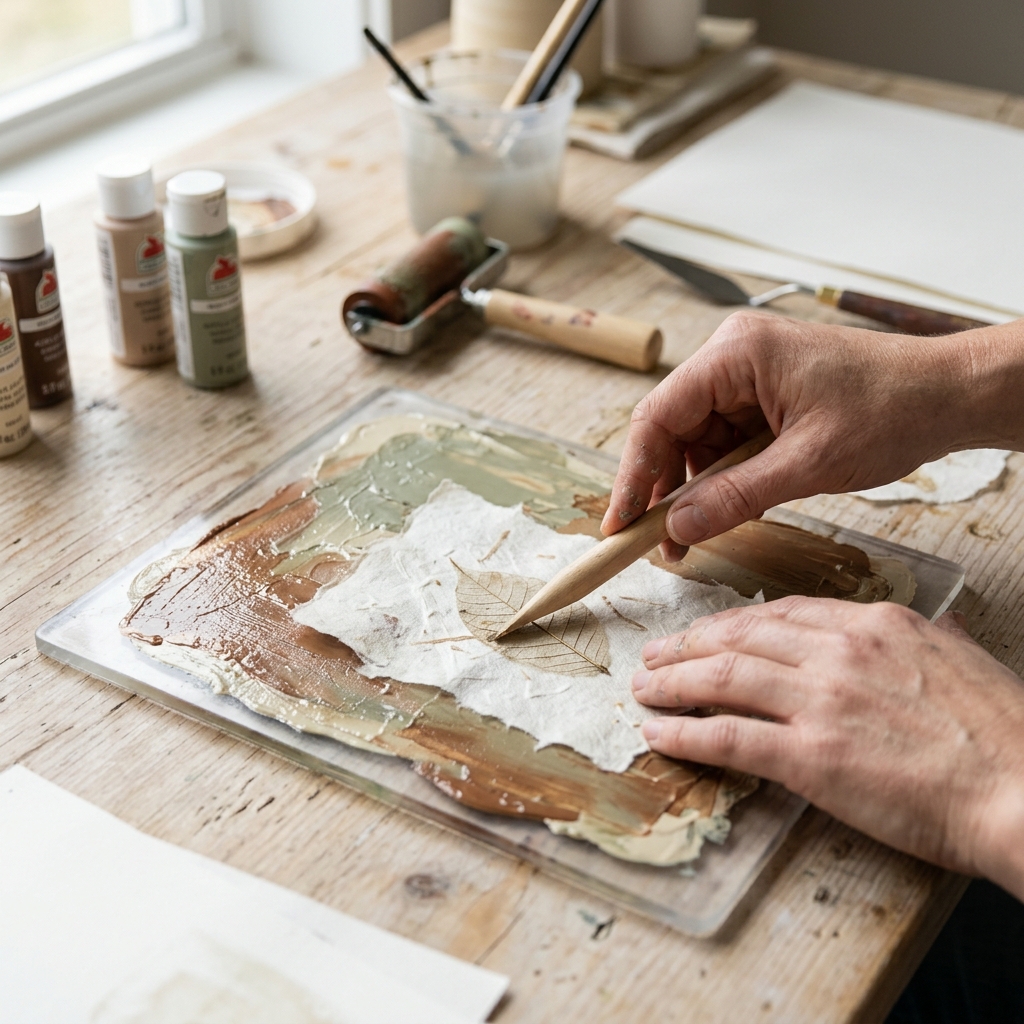
Gel plate printing works by applying acrylic paint directly onto a flexible silicone plate using rollers called brayers. Artists then manipulate the wet paint surface using various tools, stencils, or found objects to create textures, patterns, and negative spaces. Paper is carefully placed over the painted surface and burnished to transfer the image, creating a one-of-a-kind monoprint.
The magic happens in the layering process - artists often create multiple "ghost prints" from a single paint application, with each subsequent print offering lighter, more subtle variations. These base prints then become canvases for mixed media enhancement through additional painting, drawing, stamping, or collaging. The unpredictable nature of the process means each print is truly unique, making it perfect for artists who love experimenting and embracing happy accidents.
The technique requires minimal equipment compared to traditional printmaking methods - no printing press needed - making it accessible to artists working in home studios or classrooms. The detailed step-by-step processes, specific techniques for different effects, and troubleshooting advice are thoroughly covered in our recommended expert guides below.
Tips & Considerations
Work quickly with acrylics - Paint dries fast on gel plates, so have your papers and tools ready before applying paint, or use acrylic retarding medium to extend working time
Start simple and build complexity - Begin with single-color prints and basic stencils before attempting multi-layered, complex compositions with numerous mixed media elements
Embrace imperfection - Gel plate printing thrives on spontaneity and unexpected results; resist the urge to control every aspect of the process
Keep plates scrupulously clean - Residual paint can interfere with future prints; clean with gentle dish soap and water immediately after use, avoiding harsh chemicals
Test paper compatibility - Smooth, absorbent papers work best; heavily textured papers may not pick up fine details, while non-absorbent papers may reject the paint transfer
Plan your mixed media additions - Consider whether you'll add elements while the print is wet or after it's completely dry, as this affects adhesion and blending
Create in batches - Set up multiple prints at once to maximize your paint applications and create cohesive series with variations
Document successful combinations - Keep notes about paint consistencies, tools used, and techniques that produce favorite effects for future reference
Allow adequate drying time - Ensure prints are completely dry before adding mixed media elements to prevent smudging and unwanted color mixing
Conclusion
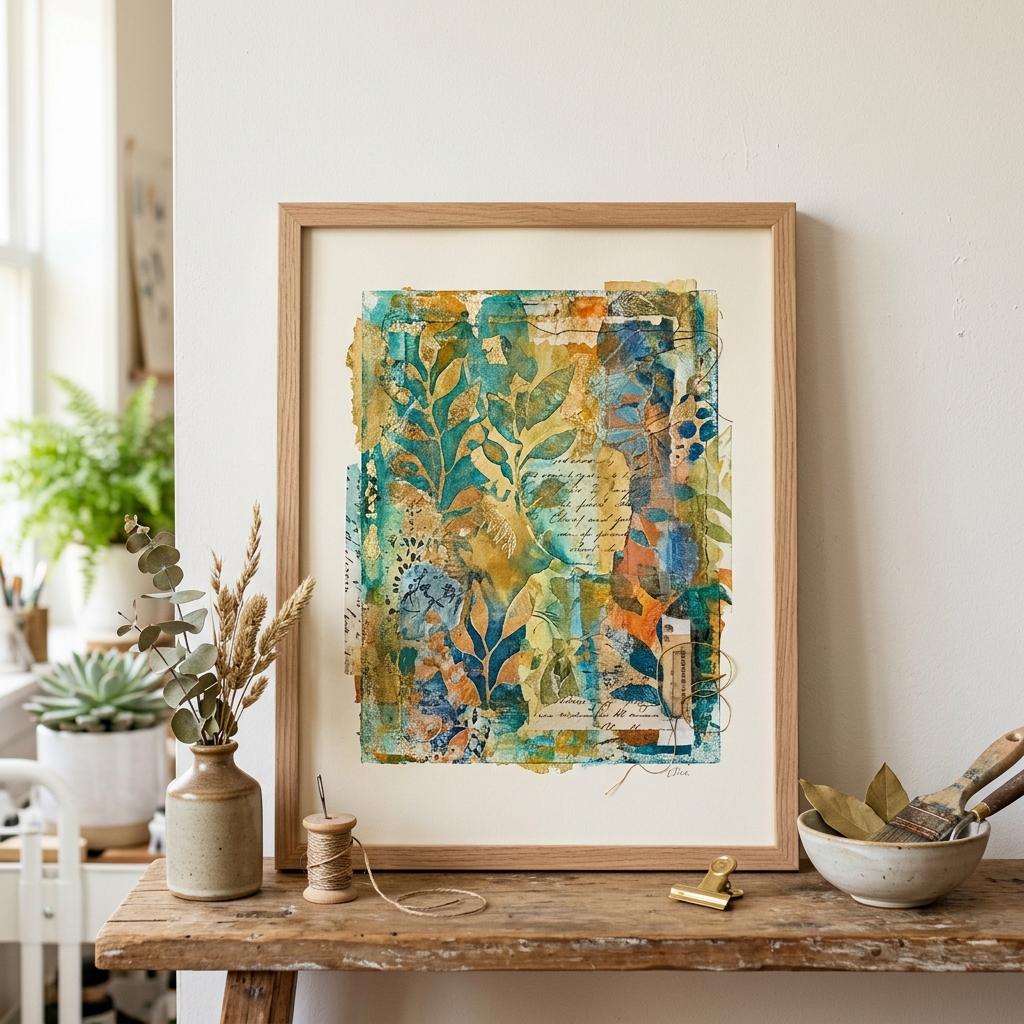
Gel plate printing with mixed media elements offers an incredibly rewarding artistic journey that balances structure with serendipity. By following the expert guidance from our carefully selected resources, you'll develop both the technical skills and creative confidence needed to produce compelling artwork that showcases your unique artistic voice.
These curated guides represent hundreds of hours of experimentation and refinement by experienced artists and educators, saving you from the frustration of trial-and-error learning. Each recommended resource brings its own strengths - from manufacturer expertise to beginner-friendly approaches to advanced mixed media integration techniques.
HowTo.Monster is committed to connecting you with the highest-quality instructional resources available, eliminating the guesswork from your learning journey. Whether you're a complete beginner or an experienced artist looking to expand your mixed media toolkit, these expert-recommended guides will provide the foundation you need to create stunning gel plate art with confidence and creativity.
Apparatus & Materials
| Item | Cost | |
|---|---|---|
| ◆ Acrylic Paint Medium body student-grade acrylic paints work best for gel plate printing. Recommended brands include Daler Rowney Graduate, Amsterdam, or Pebeo Studio acrylics. | $15–$40 | Buy now |
| ◆ Brayer A rubber roller used to apply paint evenly to the gel plate and smooth paper over the surface during printing. Having two brayers is recommended. | $8–$20 | Buy now |
| ◆ Gel Plate A soft silicone plate used as the printing surface for creating monoprints. Recommended brands include Gelli Arts or Gel Press in 8.5" x 11" size for beginners. | $25–$45 | Buy now |
| ◆ Mark Making Tools Soft tools like combs, sponges, brushes, or palette knives used to manipulate paint and create marks directly on the gel plate surface. | $5–$20 | Buy now |
| ◆ Printing Paper Various paper types including smooth white paper, cardstock, watercolor paper, mixed media paper, or specialty papers like wet-strength tissue paper for different effects. | $10–$30 | Buy now |
| ◆ Texture Making Materials Household objects and materials like bubble wrap, lace, leaves, feathers, plastic lids, and corrugated cardboard used to create impressions and patterns. | $15 | Buy now |
| Stencils Pre-made stencils or handmade templates used to create specific patterns and designs on the gel plate surface. | $5–$25 | Buy now |
Notes on the sources
The ranking at right reflects our editorial judgment after reading each source in full. For a summary of this entry in brief, see the source ranked first. For the chemistry and underlying principles, see the last.


