Discover the most trusted expert resources for installing smart under-cabinet lighting. This guide covers everything from hardware selection to seamless home automation integration.
Introduction
Under-cabinet LED lighting transforms your kitchen from a functional workspace into a modern, well-lit culinary environment. Beyond eliminating shadows on countertops, today's smart LED systems offer voice control, smartphone integration, and seamless automation with existing smart home ecosystems. However, navigating the overwhelming array of products, installation methods, and smart control options can quickly become confusing.
This curated guide cuts through the noise by identifying the most trusted, comprehensive resources from industry experts and experienced DIY professionals. Rather than piecing together fragmented information from multiple sources, you'll discover the proven guides that deliver complete, reliable instructions for both the physical installation and smart home integration aspects of your project.
Our research has identified the standout resources that combine technical accuracy with practical DIY guidance, saving you hours of searching and ensuring your project succeeds the first time.
Overview
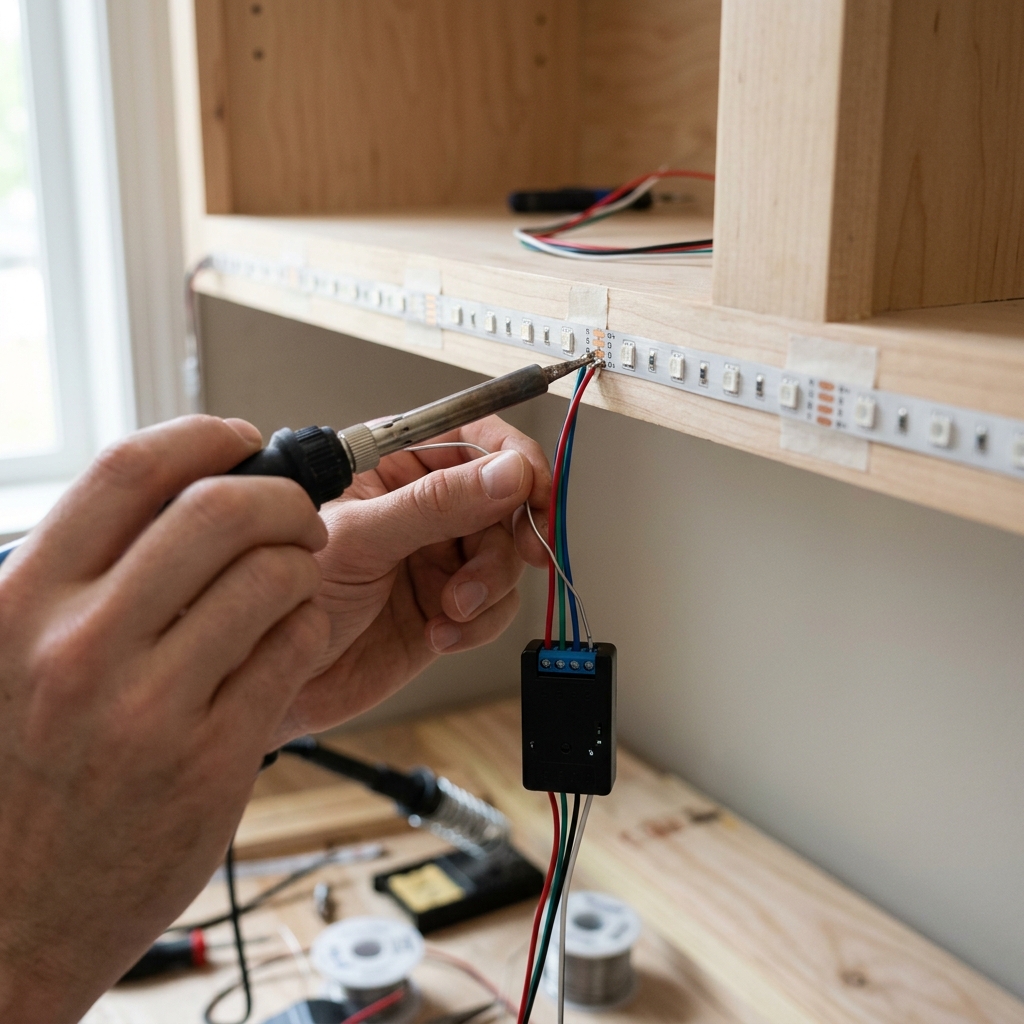
Creating a smart under-cabinet lighting system involves three main phases: planning and product selection, physical installation, and smart home integration. The process typically begins with measuring your cabinet spaces and determining power requirements, followed by selecting compatible LED strips or bars and smart controllers that work with your preferred home automation platform.
The installation phase involves mounting LED fixtures under cabinets using either adhesive backing for simple strip lights or mounting hardware for professional-grade aluminum channels. Power connections vary from simple plug-in systems to hardwired installations, depending on your chosen approach and electrical comfort level. Wire management and proper positioning ensure both functionality and clean aesthetics.
Smart integration represents the modern advantage of these systems, involving WiFi or Bluetooth connectivity setup, smartphone app configuration, and integration with voice assistants like Alexa or Google Home. Most contemporary systems support Matter protocol for universal compatibility across smart home platforms. The recommended expert guides provide detailed walkthroughs for each phase, including troubleshooting common connectivity issues and optimizing automation routines for daily use.
Tips & Considerations
Test smart connectivity before final installation - Unbox and connect your smart controller to verify WiFi compatibility and app functionality while components are easily accessible
Clean cabinet surfaces with degreasing cleaner - Kitchen grease and residue prevent proper adhesion of LED strip backing, leading to strips falling within weeks of installation
Choose warm white (2700K-3000K) for kitchen tasks - This color temperature provides comfortable working light without the harsh blue tint of daylight LEDs
Plan wire routing during the design phase - Map out power source locations and wire paths to avoid visible cables and ensure adequate wire length before purchasing
Install dimmer-compatible smart controllers - Even if not initially needed, dimming capability becomes valuable for ambient lighting and energy savings
Use CL2-rated wire for any in-wall runs - Fire-rated cable is required by electrical code for wires run through walls or ceilings
Consider aluminum channels for professional results - While optional, aluminum extrusions with frosted covers provide even light distribution and protect LED strips from damage
Turn off power at the breaker for hardwired installations - Never attempt electrical work on live circuits, and consider consulting an electrician for complex electrical connections
Keep original packaging until system is fully operational - Smart home products occasionally have compatibility issues that aren't apparent until full system testing
Conclusion
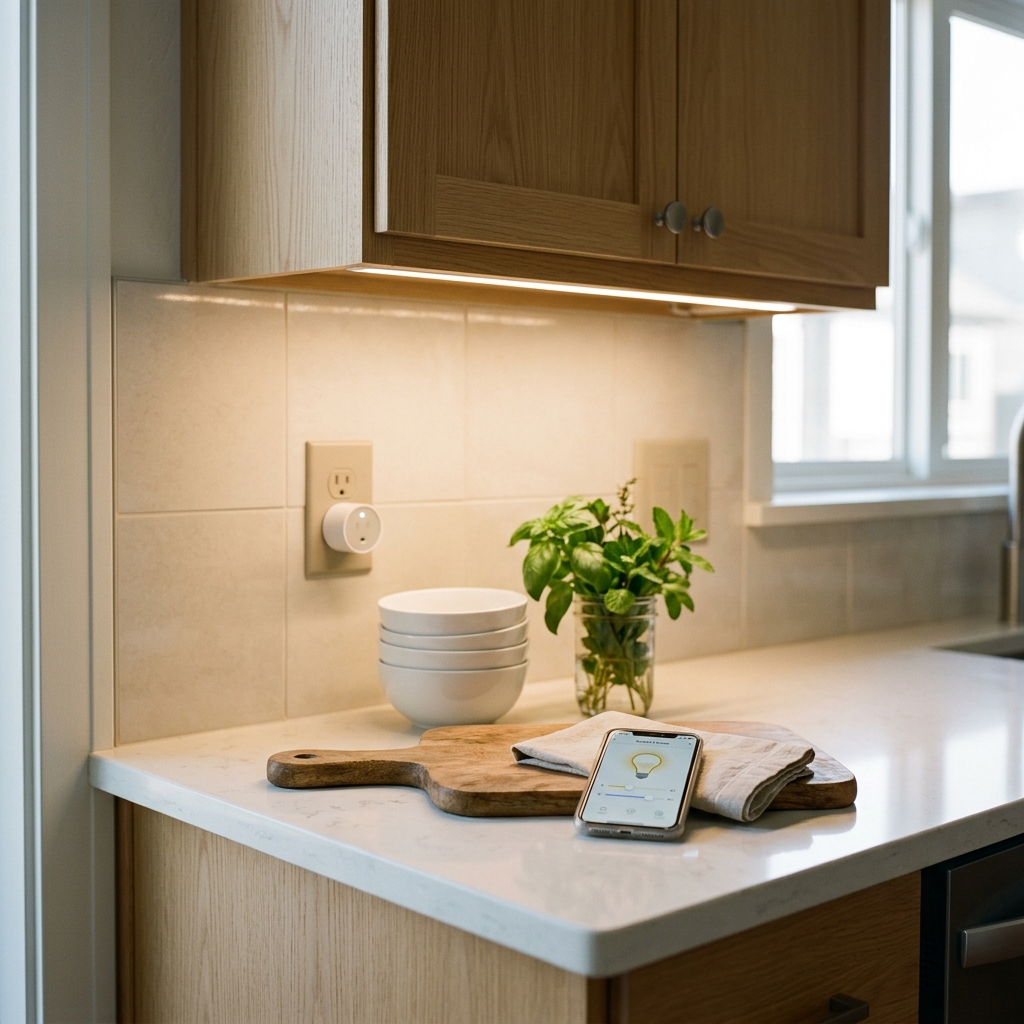
Smart under-cabinet LED lighting represents one of the most rewarding DIY smart home upgrades, delivering both practical task lighting and impressive home automation capabilities. The key to success lies in following proven installation methods and choosing compatible components that work seamlessly with your existing smart home ecosystem.
The expert resources we've identified eliminate the guesswork by providing comprehensive guidance from planning through final configuration. These trusted guides combine professional contractor insights with practical DIY experience, ensuring you avoid common pitfalls while achieving professional-quality results.
With the right guidance and quality components, you'll transform your kitchen lighting while gaining valuable smart home integration skills. The recommended resources provide everything needed to confidently tackle this project and enjoy the convenience of voice-controlled, automated under-cabinet lighting for years to come.
Apparatus & Materials
| Item | Cost | |
|---|---|---|
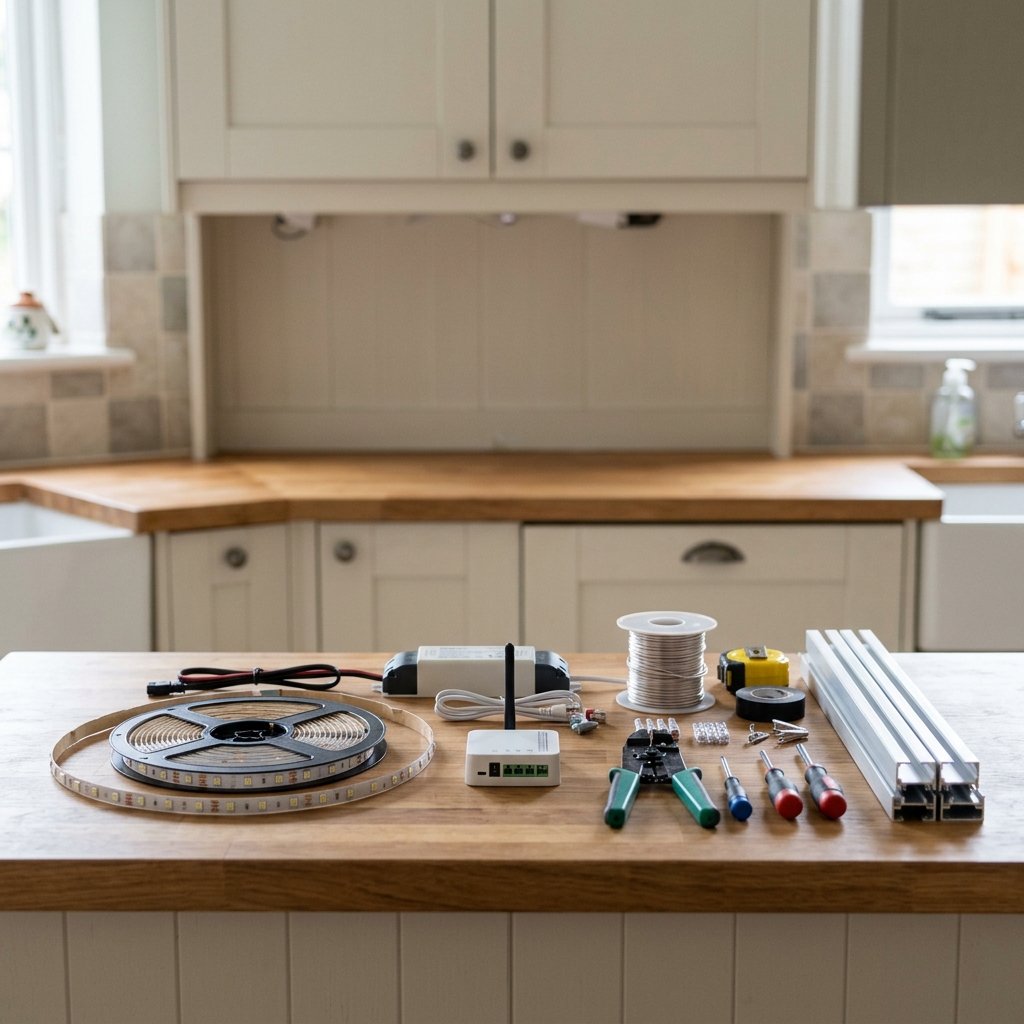
| ◆ 48-Watt Power Adapter Provides adequate power supply for LED strips with smart controls and ensures stable operation. | $15–$35 | Buy now |
| ◆ CL2-Rated Wire Fire-rated electrical wire suitable for in-wall installation to connect lighting components safely. | $20–$40 | Buy now |
| ◆ Drill with Bits Power tool needed for making mounting holes and running wires through cabinet structures. | $40–$120 | Buy now |
| ◆ Mounting Clips and Hardware Kit Includes light bar clips, wire clips, and adhesive strips for secure installation under cabinets. | $10–$25 | Buy now |
| ◆ Smart Controller/Matter Control Box Hub device that enables integration with home automation systems like Alexa, Google Home, and Apple HomeKit. | $30–$60 | Buy now |
| ◆ Smart LED Light Strips with WiFi/Bluetooth Main lighting component with smart home connectivity for remote control and automation features. | $25–$80 | Buy now |
| ◆ Wire Strippers Tool for safely removing insulation from electrical wires to make proper connections. | $8–$25 | Buy now |
| Aluminum Extrusions with Frosted Covers Optional professional-grade housing that provides even light diffusion and clean finished appearance. | $15–$50 | Buy now |
Notes on the sources
The ranking at right reflects our editorial judgment after reading each source in full. For a summary of this entry in brief, see the source ranked first. For the chemistry and underlying principles, see the last.