
A curated collection of the best expert tutorials and proven techniques for creating beautiful custom tufted rugs using accessible tools and materials.
Introduction
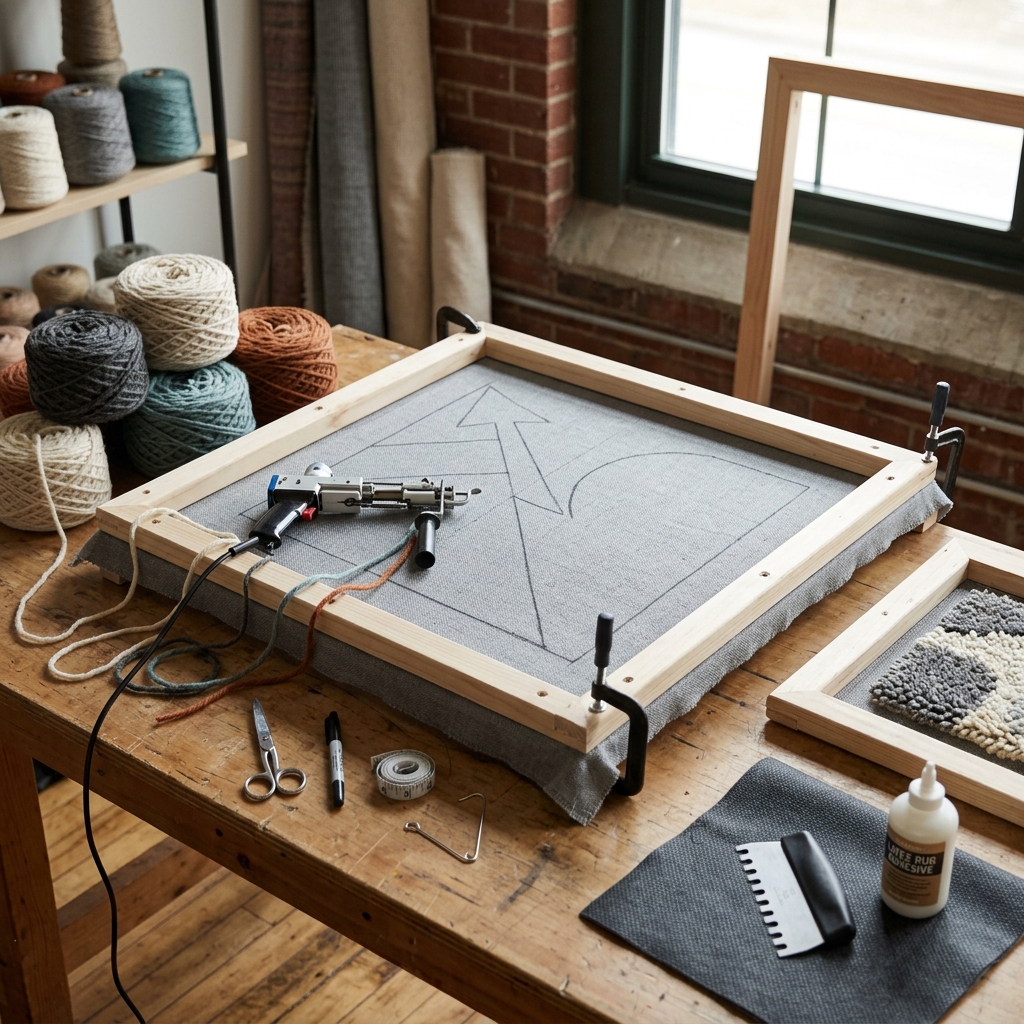
Rug tufting has emerged as one of the most satisfying and accessible textile crafts, allowing anyone to create stunning custom rugs and mats that rival expensive store-bought alternatives. This centuries-old technique has been simplified for modern makers, making it possible to produce professional-quality results using basic tools and readily available materials.
Rather than piecing together incomplete tutorials and conflicting advice, we've curated the most comprehensive and reliable tufting guides from trusted sources. These carefully selected resources will take you from complete beginner to confident rug maker, providing expert instruction on everything from tool selection to finishing techniques.
By following our recommended guides and expert tips, you'll avoid common pitfalls and learn proven methods that produce beautiful, durable rugs you'll be proud to display in your home or give as gifts.
Overview
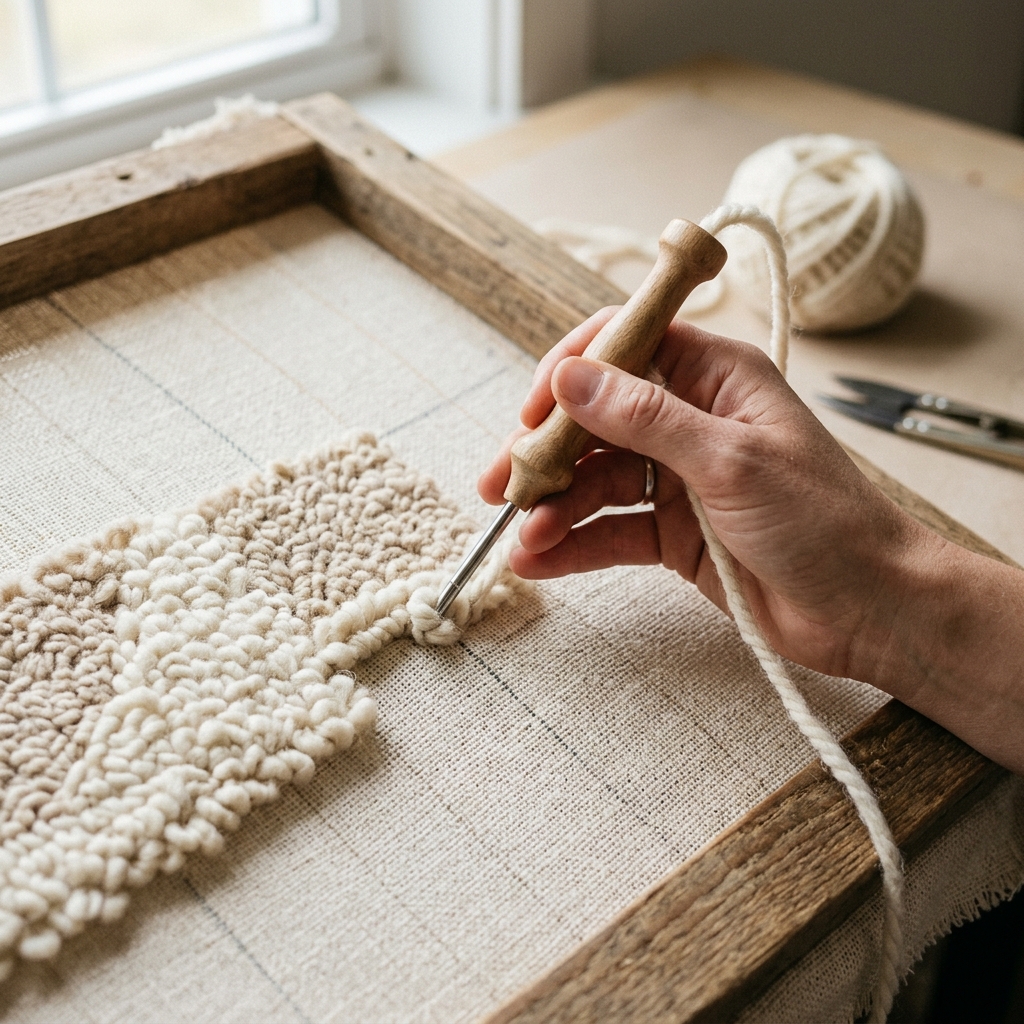
The tufting process centers around pushing yarn through a taut backing fabric to create either looped or cut pile textures. You'll begin by stretching monk's cloth or specialized tufting fabric onto a sturdy frame system, then transferring your design onto the fabric surface. The actual tufting work involves systematically building up your design using either electric tufting guns for speed and consistency, or manual tools like punch needles for a more meditative, affordable approach.
Once your design is complete on the front face, the finishing process transforms your work into a professional rug. This involves carefully trimming excess yarn, applying adhesive backing to secure the tufts, and adding a secondary backing fabric for durability and appearance. The entire process can take anywhere from a weekend for small projects to several weeks for large, detailed rugs.
The beauty of tufting lies in its flexibility - you can create everything from simple geometric patterns to complex pictorial designs, working with various yarn weights and textures to achieve different aesthetic effects. The recommended guides provide detailed visual instruction for each phase of this process.
Tips & Considerations
Start with simple designs - Begin with 2-3 colors and basic geometric shapes before attempting detailed or pictorial designs
Maintain consistent fabric tension - Loose backing fabric will result in uneven pile height and poor overall appearance
Work from back to front - Remember that you're creating a mirror image when tufting, so reverse your design accordingly
Keep spare yarn handy - Calculate 20-30% extra yarn beyond your estimates to account for waste and adjustments
Take frequent breaks - Repetitive tufting motions can cause hand fatigue; regular breaks prevent mistakes and injury
Test color combinations first - Create small samples to ensure your chosen yarns work well together before starting the full project
Trim gradually - When finishing, cut small amounts at a time to avoid accidentally creating holes or uneven surfaces
Work in good lighting - Proper illumination is crucial for consistent results and preventing eye strain
Plan your finishing supplies - Have adhesive, backing fabric, and trimming tools ready before completing the tufting work
Consider noise levels - Electric tufting guns can be loud; manual tools are better for apartment living or noise-sensitive environments
Conclusion
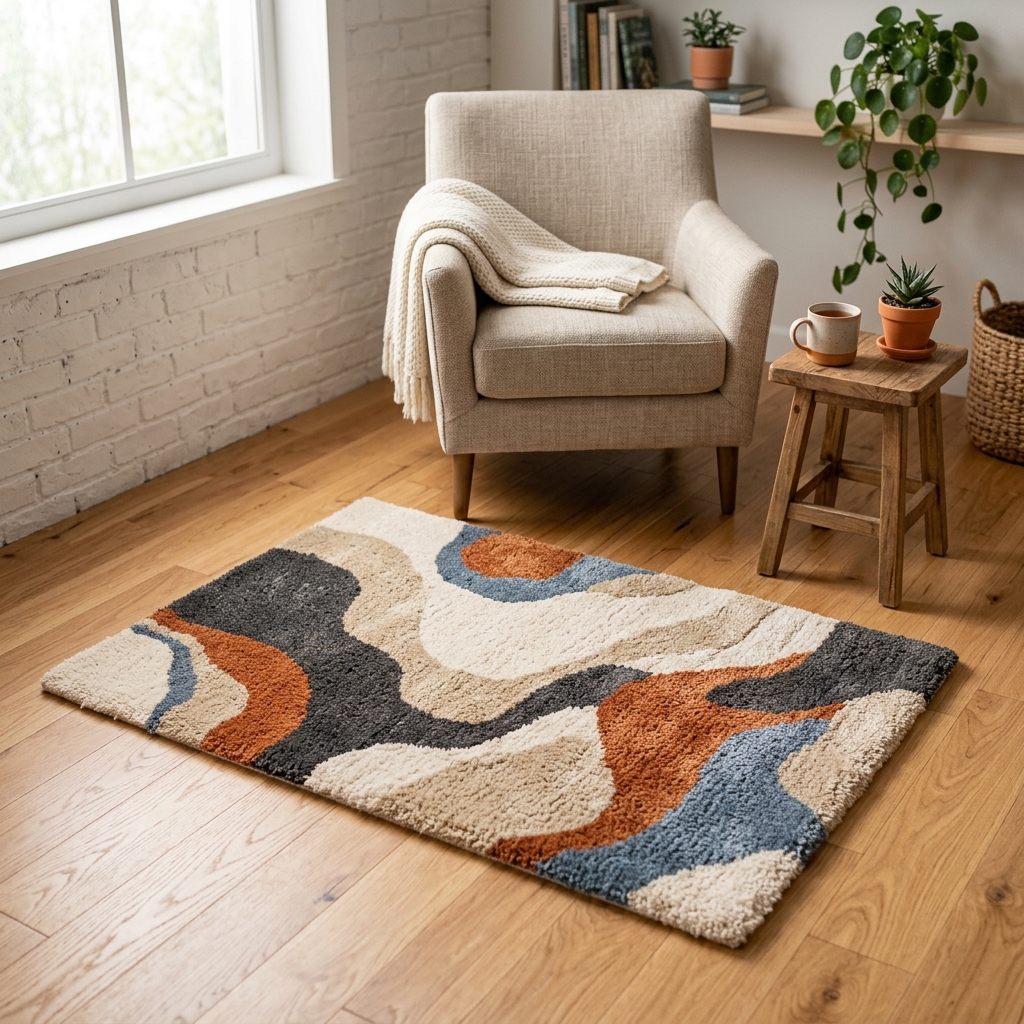
Creating custom tufted rugs combines artistic expression with practical craftsmanship, resulting in unique home décor pieces that reflect your personal style. The curated guides we've selected represent the collective wisdom of experienced makers and industry professionals, ensuring you learn proven techniques rather than trial-and-error approaches.
These comprehensive resources will guide you through every aspect of the process, from selecting the right tools for your budget to mastering advanced finishing techniques that give your rugs a professional appearance. Each guide offers unique perspectives and tips that complement the others, providing you with a well-rounded education in this rewarding craft.
With the right instruction and a bit of patience, you'll soon be creating beautiful custom rugs that showcase your creativity while providing lasting value for your home. The journey from beginner to accomplished rug maker is both enjoyable and achievable when you have access to quality guidance and proven methods.
Apparatus & Materials
| Item | Cost | |
|---|---|---|
| ◆ Backing Fabric Felt or canvas material applied to the back of the finished rug for a professional appearance and durability. | $8–$30 | Buy now |
| ◆ Carpet Adhesive Special glue applied to the back of the rug to secure tufted yarn and prevent shedding. | $10–$25 | Buy now |
| ◆ Primary Tufting Fabric Specialized backing fabric (monk's cloth or primary tufting cloth) that yarn is punched through to create the rug. | $15–$40 | Buy now |
| ◆ Sharp Tailoring Scissors High-quality scissors for trimming yarn ends, shaping the rug, and creating precise edges. | $15–$50 | Buy now |
| ◆ Tufting Frame Sturdy wooden frame that holds backing fabric taut during the tufting process. Can be purchased or DIY built. | $25–$150 | Buy now |
| ◆ Tufting Gun Electric tool that punches yarn through fabric to create tufts. Choose between cut-pile, loop-pile, or combination guns. | $80–$300 | Buy now |
| ◆ Yarn Wool, acrylic, or cotton yarn for creating the rug pile. Use at least two strands for best results. | $20–$80 | Buy now |
| Hot Glue Gun Used for finishing edges and securing backing fabric to complete the rug construction. | $8–$20 | Buy now |
Notes on the sources
The ranking at right reflects our editorial judgment after reading each source in full. For a summary of this entry in brief, see the source ranked first. For the chemistry and underlying principles, see the last.


