
Create functional magnetic accessories for your office or kitchen using air-dry clay. This guide aggregates professional techniques for making custom magnets that combine form and function.
Introduction
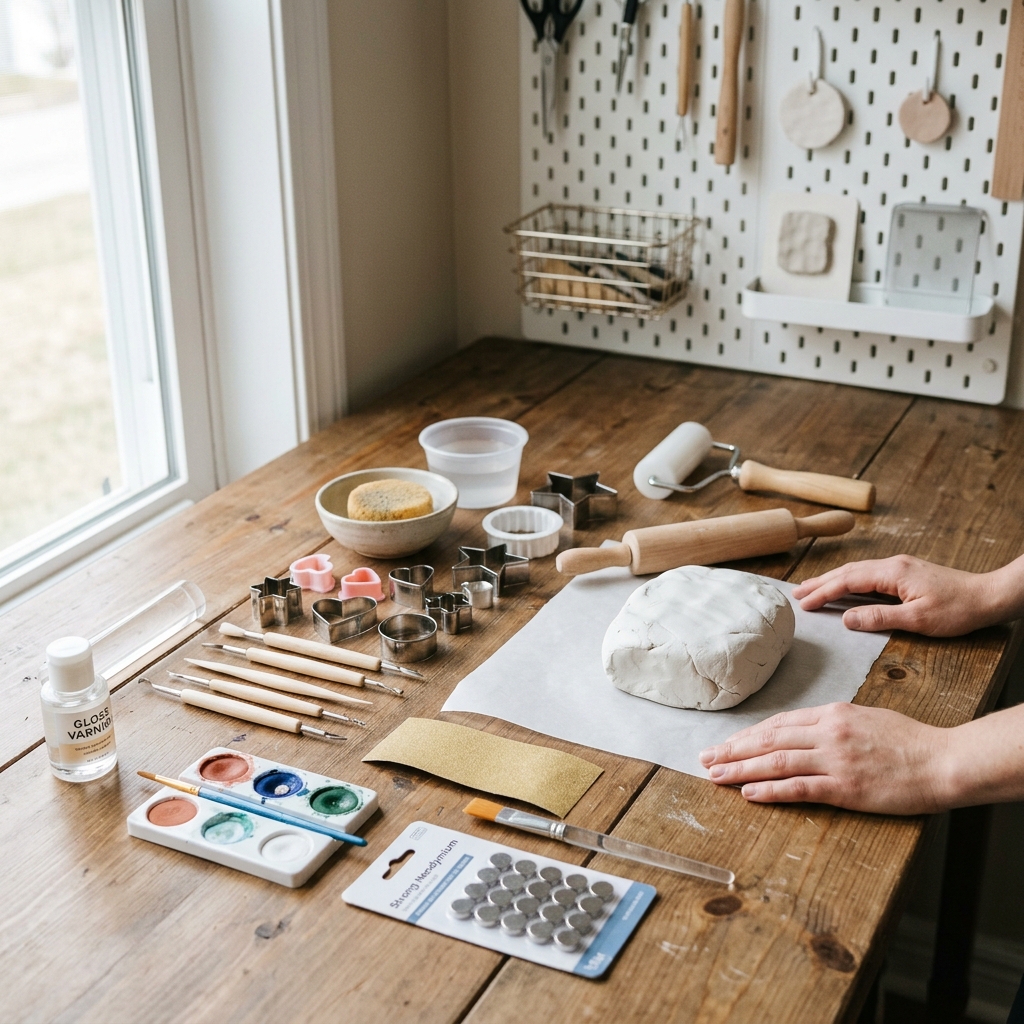
Air-dry clay magnets represent the perfect intersection of functionality and creativity, offering an accessible way to craft personalized organizational tools while adding decorative flair to your home or office. Unlike traditional pottery, these projects require no special equipment or kiln firing, making them ideal for crafters of all skill levels who want to create custom magnetic accessories for refrigerators, memo boards, and metal surfaces.
Rather than sifting through countless tutorials of varying quality, this curated guide directs you to the most comprehensive and reliable resources available. We've evaluated numerous sources to identify tutorials that provide clear instructions, professional techniques, and creative variations that go beyond basic clay shaping. Our goal is to save you time by connecting you with expert guidance that ensures successful results whether you're a beginner or looking to incorporate advanced techniques like UV resin finishing or decorative stamping.
You'll discover resources that cover everything from basic shaping methods to sophisticated finishing techniques, allowing you to choose the approach that matches your skill level and desired aesthetic. Each recommended guide has been selected for its clarity, completeness, and ability to help you create durable, attractive magnets that serve both practical and decorative purposes.
Overview
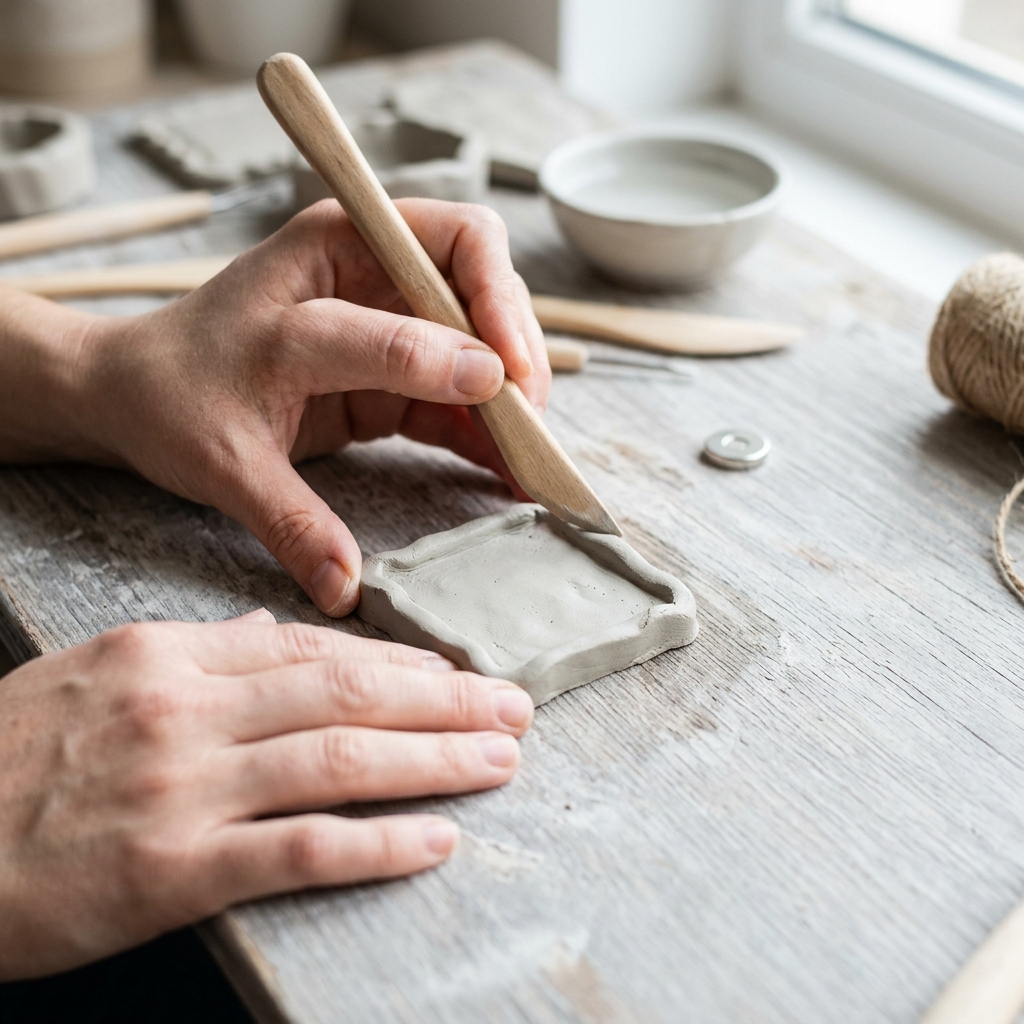
The process of creating air-dry clay magnets follows a straightforward workflow that spans 2-3 days, with most time dedicated to natural drying rather than active crafting. You'll begin by conditioning your clay and rolling it to an optimal thickness of 5-10mm - thick enough to prevent cracking but thin enough to maintain an attractive profile. The clay is then shaped using cookie cutters, templates, or hand-forming techniques, with decorative elements like stamping or texturing applied while the material remains workable.
After initial shaping, the pieces undergo a natural air-drying period of 24-48 hours in a well-ventilated area away from direct heat or sunlight. This controlled drying prevents cracking and ensures uniform hardening throughout the piece. Once completely dried, the clay becomes ready for decorative treatments such as painting, stamping impressions, or protective sealants that enhance both appearance and durability.
The final assembly involves attaching strong magnets to the reverse side using appropriate adhesives, followed by a curing period to ensure permanent bonding. The recommended guides provide detailed specifications for magnet selection based on intended use, with stronger neodymium options for heavier-duty applications and standard ceramic magnets for lightweight decorative purposes. Quality finishing techniques separate amateur attempts from professional-looking results that rival store-bought alternatives.
Tips & Considerations
Clay Thickness Management: Maintain consistent 5-10mm thickness across all pieces to ensure even drying and prevent warping or cracking during the hardening process
Drying Environment Control: Position pieces in areas with good air circulation but away from direct sunlight, heating vents, or rapid temperature changes that can cause uneven drying and structural damage
Magnet Selection Strategy: Choose magnet strength based on intended use - lightweight decorative pieces work with standard ceramic magnets, while functional organizational magnets benefit from stronger neodymium alternatives
Adhesive Compatibility: Test adhesives on clay scraps first, as some formulations may not bond effectively with air-dry clay surfaces or may cause discoloration over time
Surface Preparation: Lightly sand dried pieces with fine-grit sandpaper before painting or sealing to improve paint adhesion and create professional-looking smooth surfaces
Workspace Protection: Use parchment paper or silicone mats during crafting and drying to prevent sticking and facilitate easy cleanup of work surfaces
Timing Coordination: Plan decorative painting and sealing steps for times when you can work uninterrupted, as these processes often require quick completion before materials begin setting
Quality Testing: Allow magnets to cure fully before use - premature handling can compromise the bond between clay and magnet, leading to separation during use
Conclusion
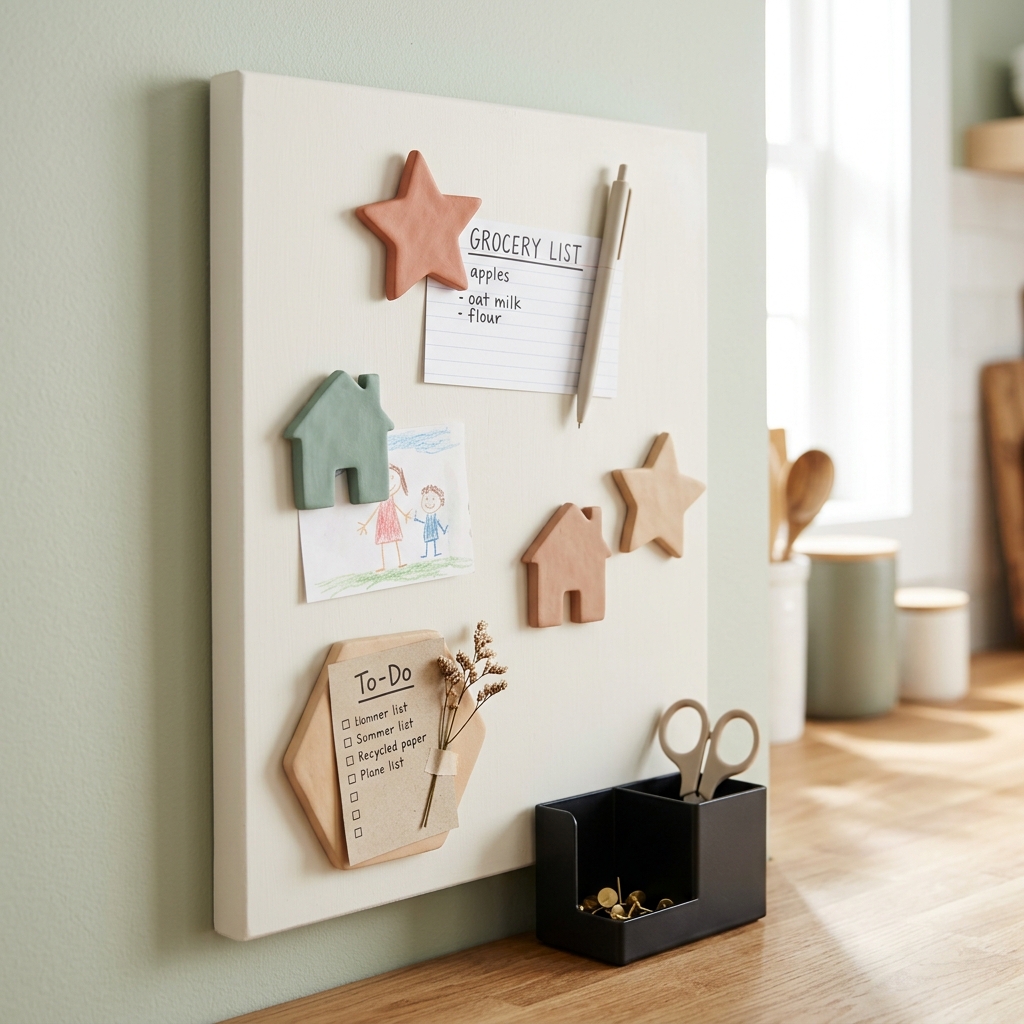
Creating custom air-dry clay magnets combines practical organization with personal creative expression, and having access to quality instruction makes the difference between frustrating attempts and satisfying results. The curated resources we've identified represent the collective wisdom of experienced crafters who have refined their techniques through trial and success, offering you proven methods that eliminate guesswork and common pitfalls.
By following expert guidance from our recommended tutorials, you'll not only create functional magnetic accessories but also develop skills that can be applied to countless other clay projects. Each resource brings unique perspectives and techniques, from basic family-friendly approaches to advanced finishing methods that produce gallery-worthy results. The investment in quality materials and proper technique pays dividends in both the enjoyment of the crafting process and the longevity of your finished pieces.
HowTo.Monster's curation saves you valuable time by connecting you directly with the most reliable and comprehensive resources available. We've done the research to ensure you start your project with confidence, knowing that the tutorials you follow have been tested and validated by successful makers. Embrace this creative opportunity - with the right guidance, you'll soon be crafting personalized magnets that perfectly complement your organizational needs and aesthetic preferences.
Apparatus & Materials
| Item | Cost | |
|---|---|---|
| ◆ Air-Dry Clay Modeling clay that hardens at room temperature without kiln or oven, forms the base material for the magnets. | $8–$20 | Buy now |
| ◆ Rolling Pin Used to roll clay to consistent thickness of about 1/4 inch, can substitute with glass bottle. | $5–$15 | Buy now |
| ◆ Small Magnets Round or ceramic magnets that attach to back of clay shapes to create functional magnets. | $3–$12 | Buy now |
| ◆ Strong Adhesive Super glue or Gorilla Glue to permanently attach magnets to dried clay pieces. | $2–$8 | Buy now |
| Acrylic Paints Decorative paints for adding color and designs to finished clay magnets. | $5–$25 | Buy now |
| Cookie Cutters Create uniform shapes from rolled clay, alternative to hand-cutting with knife. | $3–$15 | Buy now |
| Mod Podge or Clear Varnish Protective sealant that prevents moisture damage and extends magnet durability. | $4–$12 | Buy now |
| Sandpaper or Nail File Smooths rough edges after clay dries for professional-looking finished magnets. | $2–$8 | Buy now |
Notes on the sources
The ranking at right reflects our editorial judgment after reading each source in full. For a summary of this entry in brief, see the source ranked first. For the chemistry and underlying principles, see the last.


