
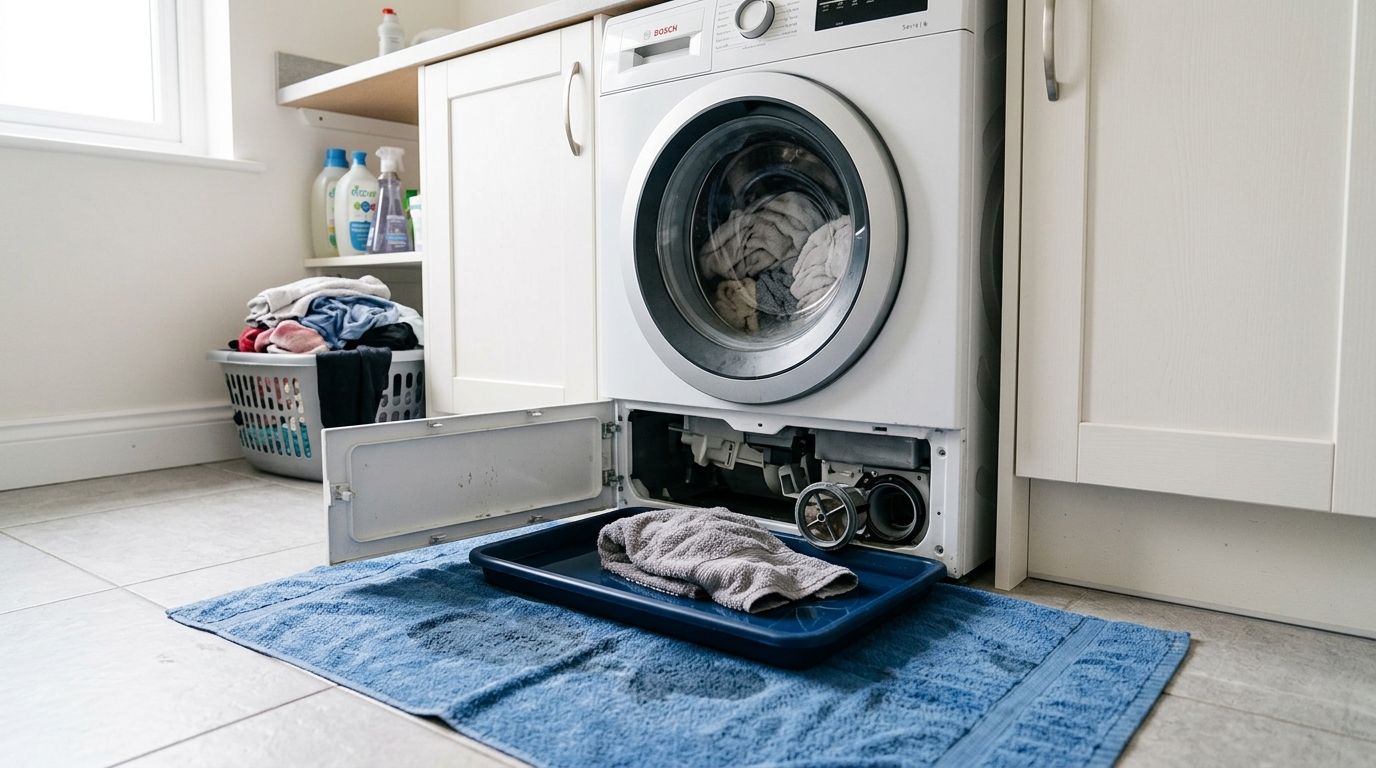
Unclog the washer drain pump filter safely, catch the water before it spills, and get the drum draining again without damaging the gasket or threads.
Clear the washer coin trap before it backs up
A front-load washer with a clogged drain pump filter usually gives you the same symptoms: the drum sits full of water, the cycle stalls, or the machine starts rattling like a loose coin is trapped inside. The fix is often simple, but the cleanup can get messy fast if you open the filter without a pan and towels in place.
This guide focuses on the user-accessible drain pump filter, sometimes called a coin trap or pump filter. On many North American front-load machines, it lives behind a lower-front access door or a small drawer. The exact cover style varies by brand, but the sequence is the same: unplug the washer, catch the water, open the drain path slowly, and remove the debris before reinstalling everything tightly.
Step 1: Unplug the washer and get your spill setup ready
Pull the washer power plug before you touch the access panel. If the machine has a cycle paused with water in the tub, give yourself room to work and move anything absorbent out of the way.
Set a shallow pan or baking tray on the floor directly under the access point, then lay down a towel around it. The pan is there to catch the first rush of water; the towel is there to catch the spill you do not fully predict. If your model has a small drain hose next to the filter, keep a second towel handy for that step.

Step 2: Open the access panel and drain the water slowly
Open the lower-front cover according to your model. Some machines use a coin or flat screwdriver in a small notch; others have a hinged door or a drawer-style front panel. Do not yank the cover off—look for the release point first so you do not crack the plastic tabs.
If there is a small drain hose, pull it out carefully and remove its cap so the water runs into the pan in a controlled stream. Only after that should you turn the main filter cap counter-clockwise. Go slowly here. Most machines hold at least a little water in the pump housing, and if the tub is full you may get much more than you expect.

Step 3: Remove lint, coins, hairpins, and other debris
Once the water stops, unscrew the pump filter the rest of the way and pull it free. Inspect the filter mesh and the cavity behind it. You are usually looking for lint, fabric fibers, pet hair, small coins, safety pins, or the occasional button.
Wipe the filter clean with a rag and rinse it under warm water. A soft brush is fine for stubborn lint; avoid anything sharp that can damage the plastic threads or gasket. If the pump cavity is visible, check that the impeller area is clear before you reassemble. If something is wedged deep in the housing and will not move with gentle handling, stop and consult the model manual.

Step 4: Reinstall the filter and test for leaks
Thread the filter back in by hand first. It should turn smoothly and seat squarely; if it resists immediately, back it out and realign it. Tighten it until it is snug, then close the drain hose cap and secure the hose in its clip if your machine has one.
Restore power and run a short drain or rinse cycle. Watch the access area for drips during the first minute. A dry floor and a normal drain cycle tell you the filter is sealed properly. If the machine still will not drain after cleaning, the blockage may be deeper in the hose or pump rather than in the user filter.
Apparatus & Materials
| Item | Cost | |
|---|---|---|
| ◆ Shallow pan Catches the first surge of water from the pump housing. | $5–$15 | Buy now |
| ◆ Towels Protects the floor from splashes while the filter drains. | $5–$15 | Buy now |
| Nitrile gloves Keeps hands cleaner when removing wet lint and debris. | $8–$16 | Buy now |
| Soft-bristle brush Scrubs lint from the filter mesh without damaging plastic threads. | $4–$10 | Buy now |
Notes on the sources
The ranking at right reflects our editorial judgment after reading each source in full. For a summary of this entry in brief, see the source ranked first. For the chemistry and underlying principles, see the last.


