
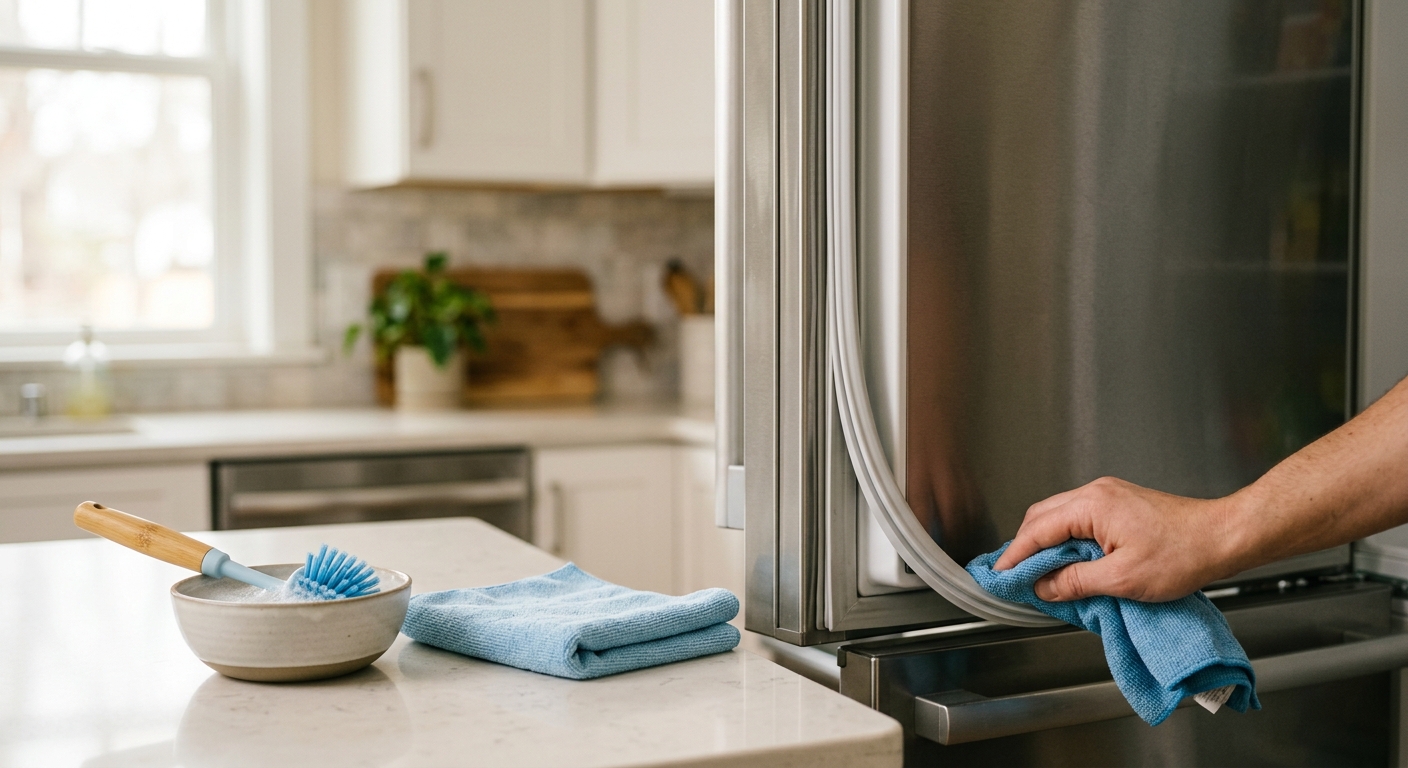
Clean fridge door seals safely with mild soap, a soft brush, and a careful drying routine that removes grime without damaging the rubber.
Clean the seal, keep the cold in
A refrigerator door gasket only looks like a strip of rubber. In practice, it is one of the most important parts of the appliance: it holds the cold air in, keeps warm humid air out, and prevents condensation from collecting around the door. When grime builds up in the folds, the seal can get sticky, moldy, or stiff, and that starts to affect both cleanliness and performance.
The good news is that gasket cleaning does not require harsh chemicals. A mild cleaner, a soft cloth, and a little patience are usually enough to remove the everyday film of grease, crumbs, and moisture that collects along the seal. The key is to work gently, get into the creases, and dry the rubber completely when you are finished.
Step 1: Mix a gentle cleaning solution
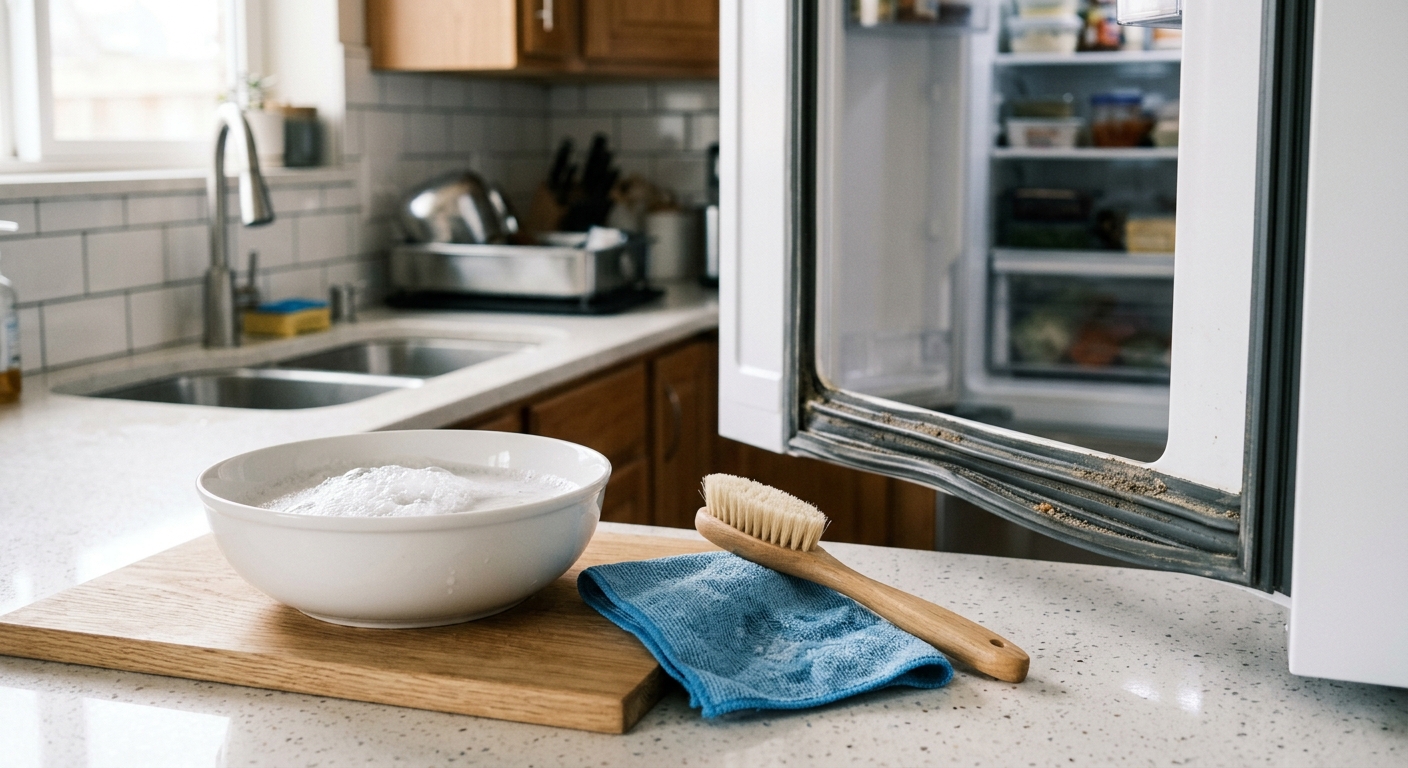
Start with warm water and a small amount of mild dish soap or a baking-soda solution. The point is to loosen dirt without stripping or drying the rubber. A gentle cleaner is enough for routine maintenance because most gasket buildup is a mix of dust, kitchen grease, and moisture, not heavy-duty baked-on soil.
If the gasket has visible mildew or sticky residue, keep the solution mild but let it do the work. Dip a cloth in the solution, wring it out well, and clean with a damp cloth rather than a dripping one. Too much liquid can seep into the folds and sit there long after the surface looks clean.
Tip: If you choose one cleaner for routine care, mild soap and warm water is the safest default. Avoid abrasive powders and scrub pads, which can rough up the rubber surface and shorten the gasket's life.
Step 2: Wipe the gasket from top to bottom
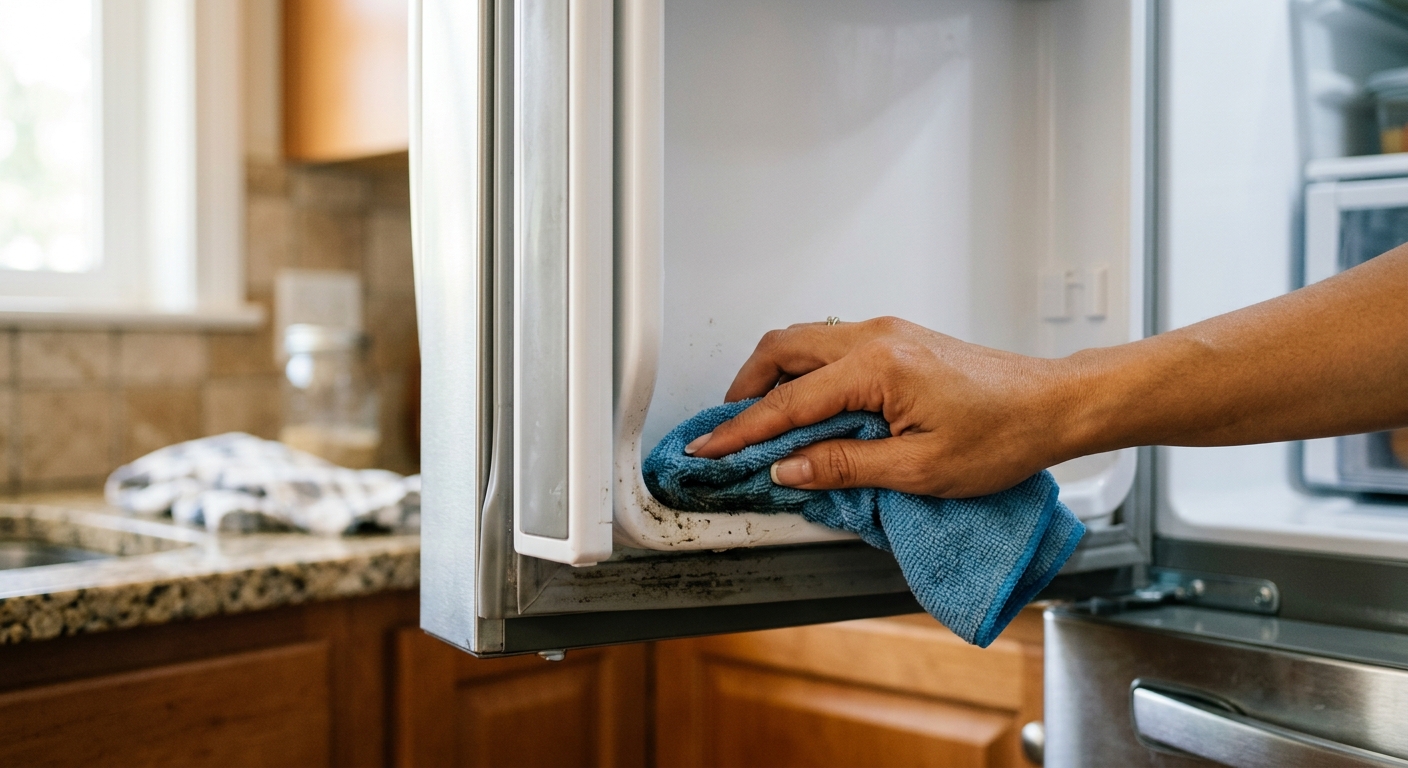
Begin at one corner and work your way around the full perimeter of the door seal. Use the cloth to wipe the outer face first, then gently lift the fold with your fingers to clean the recessed lip and inner edge. That hidden channel is where crumbs, grease, and condensation tend to accumulate.
The mechanics matter here: you are not trying to scrub the seal into submission. You are lifting and wiping away residue so the rubber can flex naturally again. If you feel resistance, stop and re-wet the cloth slightly. Let the cleaner dissolve the grime instead of forcing it off with pressure.
Caution: Do not use steel wool, abrasive sponges, or stiff brushes. They can nick the rubber or deform the sealing edge, which creates leaks that cleaning will not fix.
Step 3: Detail the creases with a soft brush
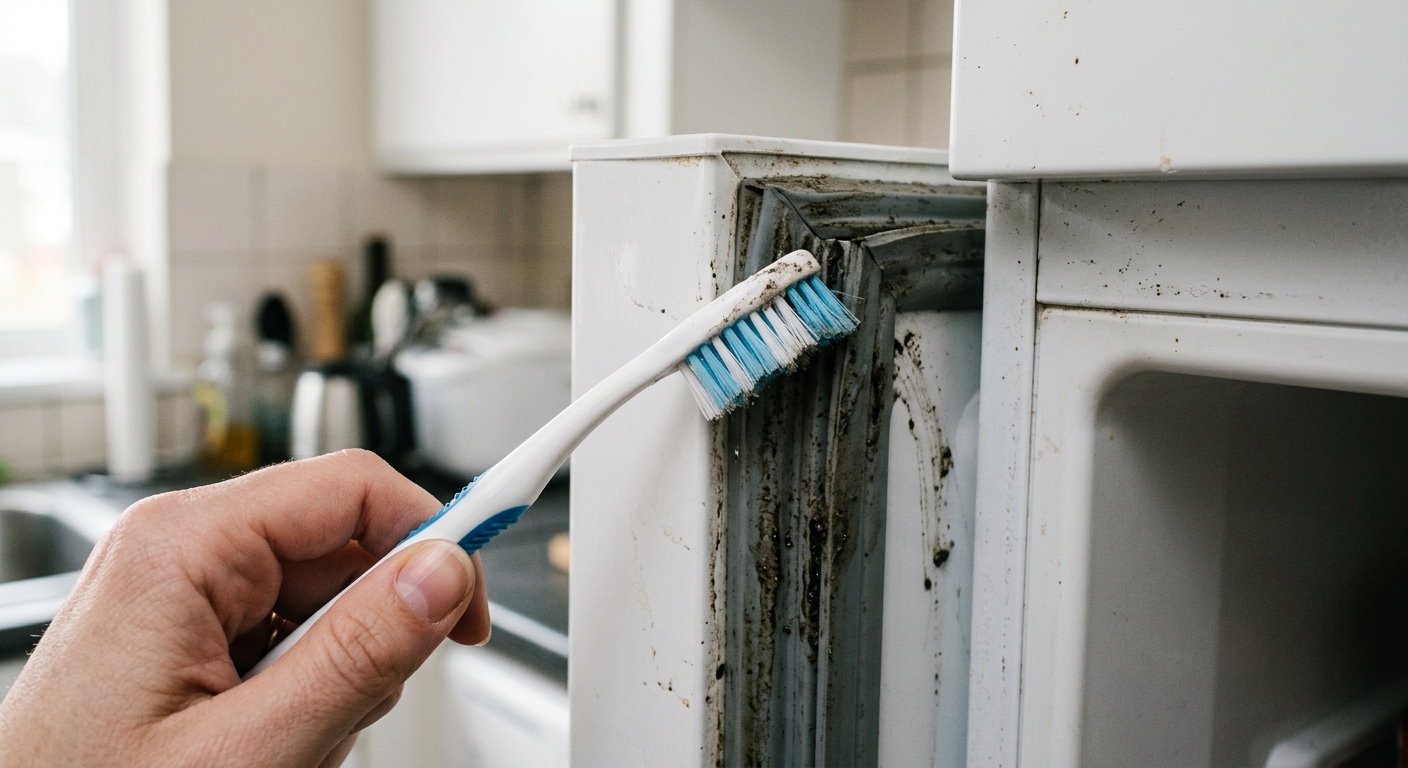
After the first wipe, inspect the folds for dark spots, crusty residue, or trapped mold. A soft toothbrush or other gentle nylon brush can reach the corners that a cloth cannot. Use short, light strokes and follow with the cloth to lift away loosened dirt.
This step is especially useful around the bottom corners and any places where the door is opened with wet hands. Those spots often trap the most moisture. If a stain persists, reapply the mild solution and let it sit for a minute before brushing again. Short dwell time plus light agitation works better than aggressive scrubbing.
Gotcha: If the gasket is cracked, warped, or flattened so badly that the door no longer seals, cleaning will improve appearance but not restore the seal. In that case, replacement is the real fix.
Step 4: Dry the gasket completely
Drying is not an optional finishing touch; it is part of the cleaning process. Use a clean dry cloth or paper towel to remove every bit of moisture from the gasket, especially inside the folds and the lower corners. Then leave the door open for a few minutes if practical so the seal can air out.
The reason is simple: leftover moisture creates a fresh environment for mold and mildew. A seal that looks clean but stays damp can start smelling musty again within a day or two. Thorough drying also helps you notice whether the rubber springs back into place or stays misshapen.
Tip: Once a month, run a finger along the gasket to check for sticky patches, debris, or cracks. Regular quick cleanings are easier than waiting for the seal to get visibly dirty.
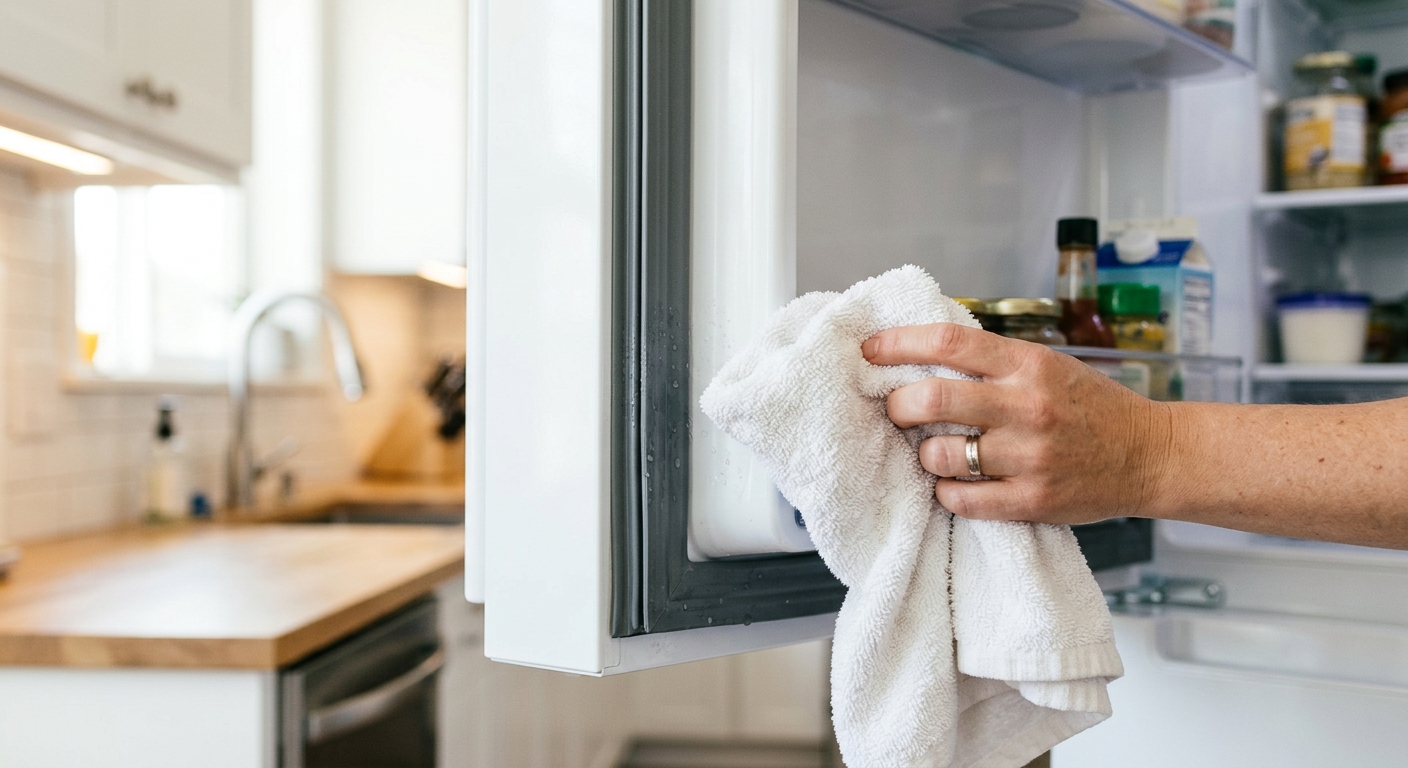
Step 5: Check the seal and maintain it
Close the door and inspect the fit. The gasket should sit flat against the frame with no obvious gaps. If you notice warm spots, condensation, or a door that does not close evenly, clean the seal again and check for items blocking the closure. Sometimes a tiny crumb or a warped shelf is enough to keep the door from sealing properly.
A simple maintenance habit works best: wipe the gasket whenever you clean the rest of the refrigerator, and pay extra attention after spills, grocery day, or humid weather. Gentle routine care keeps the rubber flexible and makes deep cleaning far less necessary.
Reminder: Never mix cleaning products to "make them stronger." Bleach with ammonia or vinegar can create dangerous fumes, and the gasket does not need that kind of treatment for normal maintenance.
Apparatus & Materials
| Item | Cost | |
|---|---|---|
| ◆ Dry towel Removes leftover moisture so mold does not return quickly. | Free | Buy now |
| ◆ Microfiber cloth Wipes away loosened grime without scratching the soft rubber seal. | $3–$8 | Buy now |
| ◆ Mild dish soap Creates a gentle cleaning solution for routine gasket maintenance. | $2–$6 | Buy now |
| ◆ Soft nylon brush Reaches into the gasket folds to loosen dirt and mildew. | $4–$10 | Buy now |
| Baking soda Helps lift stubborn residue without harsh abrasion. | $1–$4 | Buy now |
Notes on the sources
The ranking at right reflects our editorial judgment after reading each source in full. For a summary of this entry in brief, see the source ranked first. For the chemistry and underlying principles, see the last.


