
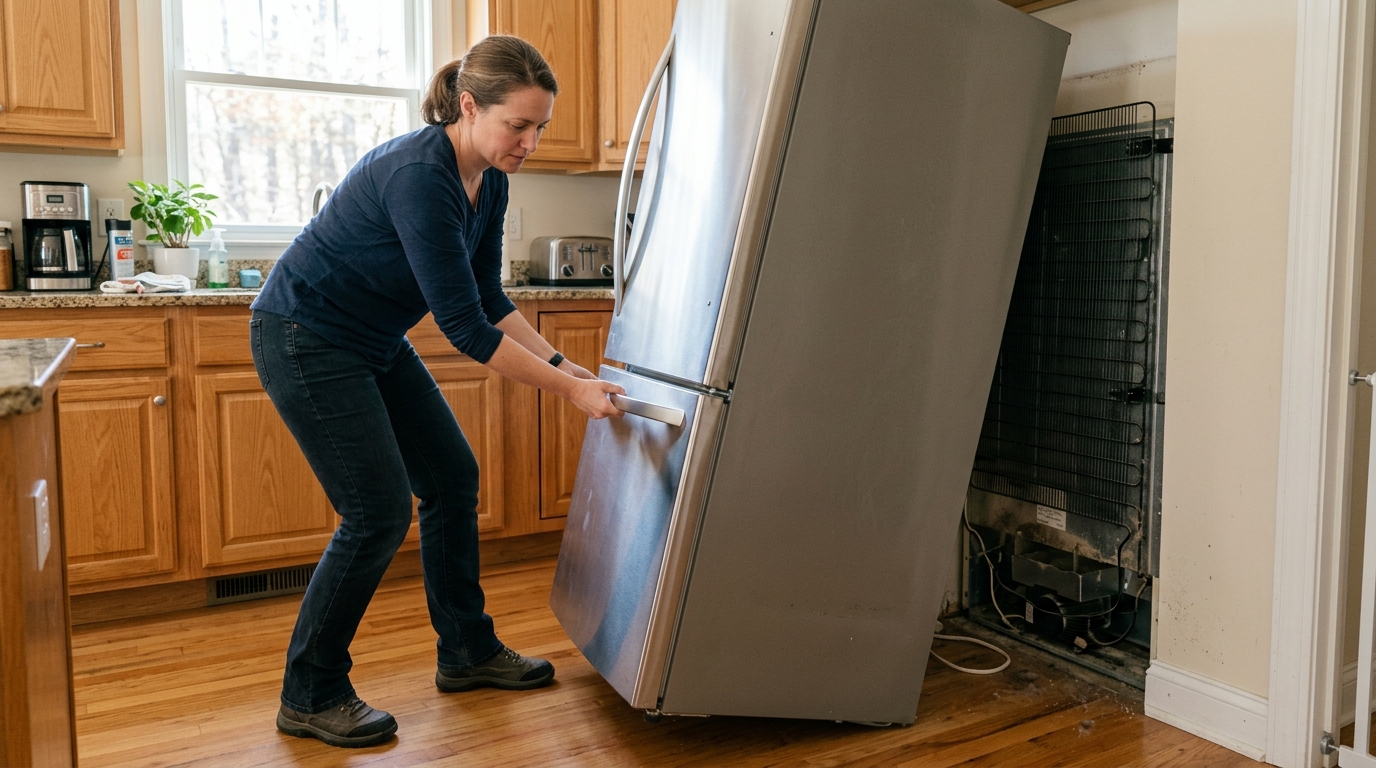
Unplug the fridge, expose the condenser coils, clear the dust with a brush and vacuum, and restore airflow without bending the fins or stressing the tubing.
A dusty condenser coil makes your fridge work harder
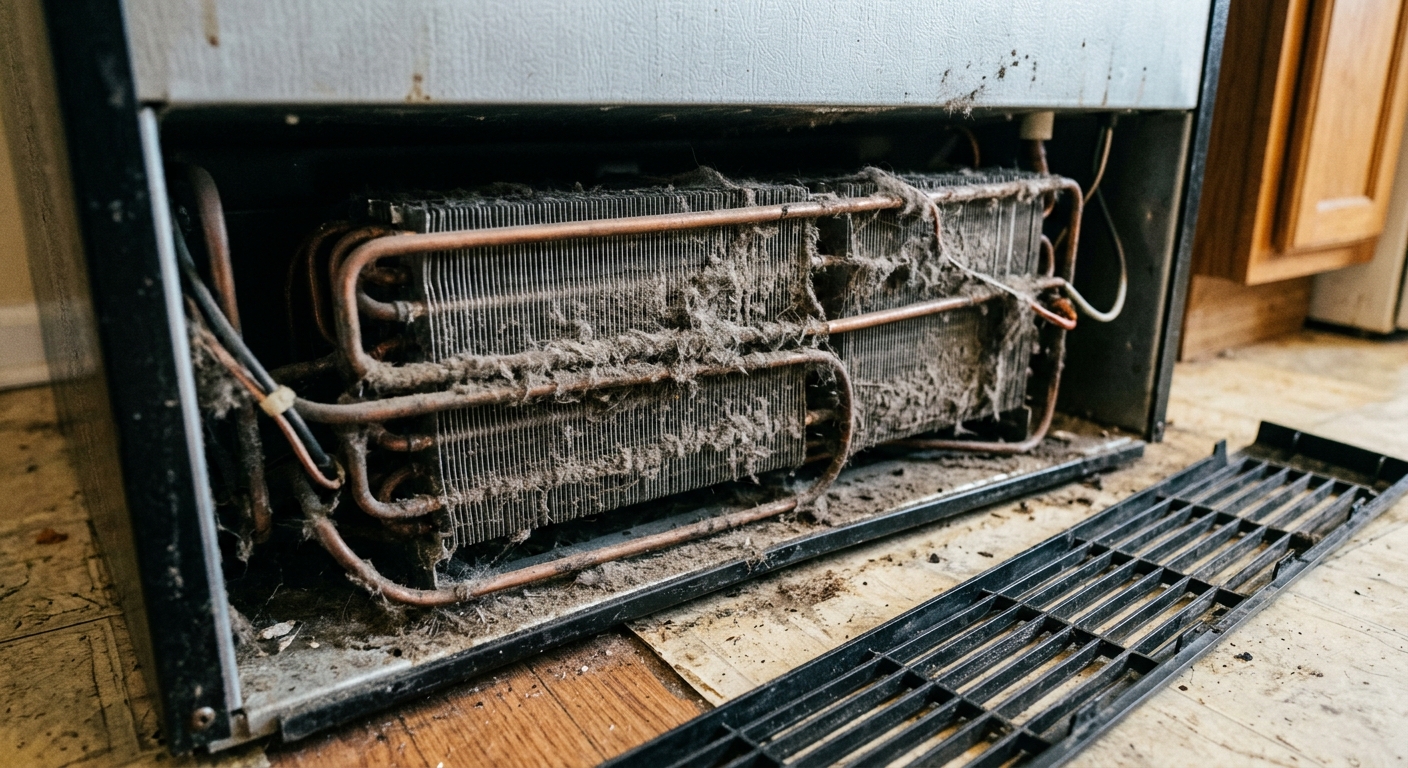
Refrigerator condenser coils are built to dump heat into the room. When they get coated with lint, pet hair, and kitchen dust, that heat stays trapped longer and the compressor has to run more often. The result is usually a louder fridge, warmer shelves, and wasted electricity.
This is maintenance, not a repair. If the compressor is failing or the sealed system has a leak, coil cleaning won't fix it. But when the problem is simple dust buildup, a careful cleaning can restore normal airflow without touching the refrigerant lines or damaging the fins.
Step 1: Unplug the refrigerator and clear your working space
Pull the plug before you remove any grille or rear access panel. That keeps your hands away from the condenser fan and any exposed terminals, and it also prevents the compressor from kicking on while you're working.
Move the fridge only as far as you need to reach the coils. If there's an ice maker or water line, give it enough slack so you don't kink the hose. Put down a towel or cardboard so the feet don't scratch tile or gouge soft flooring.
Step 2: Locate the condenser coils on your model
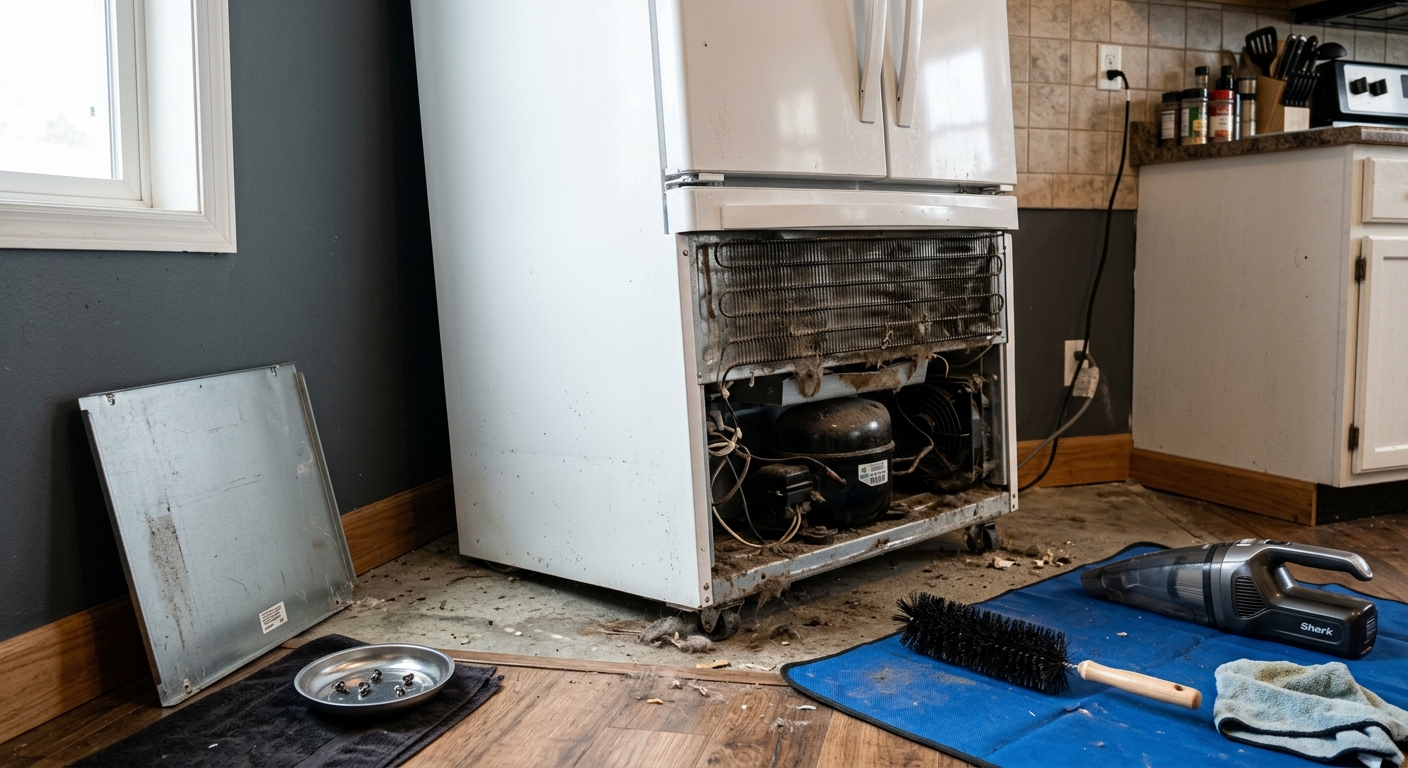
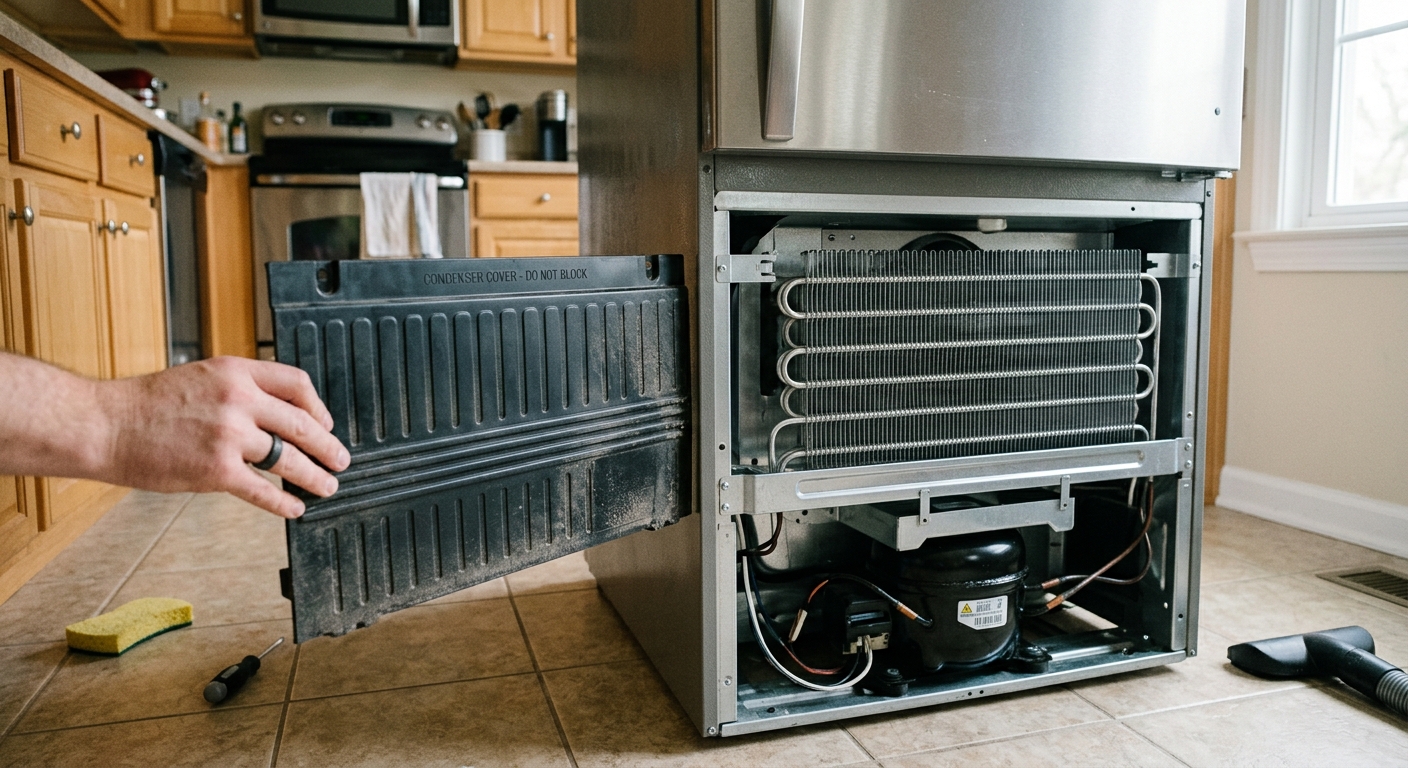
On many refrigerators, the coils hide behind the front toe-kick grille. On others, they sit on the back of the cabinet where you can see the dark serpentine tubing once the fridge is pulled away from the wall.
Use the owner's manual if the layout isn't obvious. Knowing where the coils live matters because you don't want to pry off the wrong panel or push the vacuum into a fan shroud. If the model has a removable grille, set the screws in a cup so they don't vanish under the appliance.
Step 3: Loosen dust with a coil brush, then vacuum it away
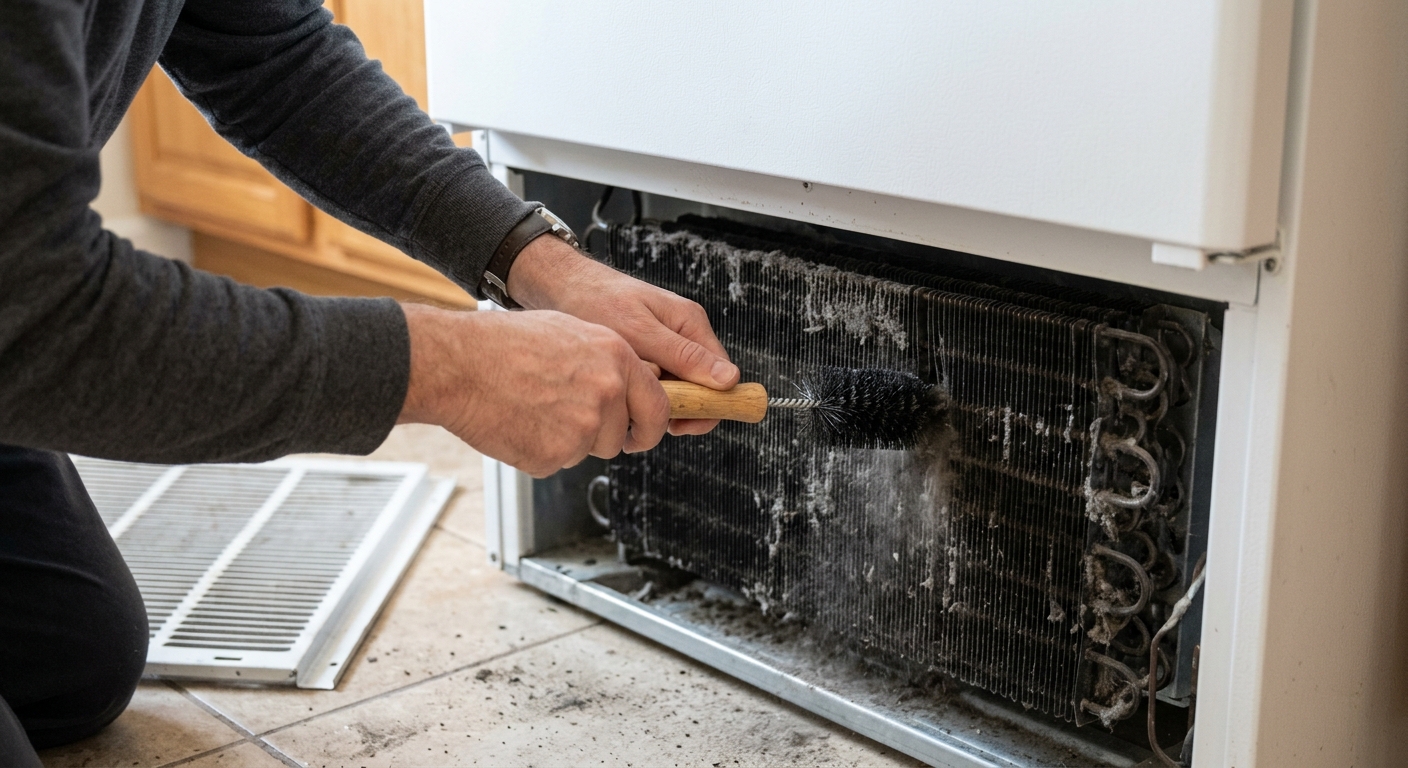
Use a narrow coil brush or soft vacuum attachment to sweep dust out of the fins. Work lightly along the tubing rather than across it, because sideways pressure bends the fins and makes the heat exchanger less effective.
If the dust is thick, brush a small section first and then vacuum the loosened debris before moving on. This keeps the mess from drifting back into the fan or onto the floor. Avoid metal tools, water spray, or aggressive scraping — those shortcuts cause more damage than the dust itself.
Step 4: Clean the surrounding area and check airflow
After the coils are clear, vacuum the floor under and around the fridge, especially around the fan intake and vent openings. A clean path lets the unit breathe again and keeps the same dust from returning immediately.
Reinstall the grille or rear cover, plug the refrigerator back in, and listen for normal compressor and fan operation. Give it a little time to settle; cooling changes don't happen instantly. If the fridge still runs hot, makes scraping noises, or fails to cool after the coils are clean, the issue is probably elsewhere and may need a technician.
Apparatus & Materials
| Item | Cost | |
|---|---|---|
| ◆ Coil cleaning brush Reaches between condenser fins without bending the tubing. | $6–$15 | Buy now |
| ◆ Vacuum with hose attachment Lifts loosened dust away from the coils and surrounding vent area. | Free | Buy now |
| Microfiber cloth Wipes the grille, floor edge, and cabinet lip after the dust is removed. | $6–$12 | Buy now |
| Work gloves Protects your hands from sharp sheet metal edges behind the fridge. | $8–$18 | Buy now |
Notes on the sources
The ranking at right reflects our editorial judgment after reading each source in full. For a summary of this entry in brief, see the source ranked first. For the chemistry and underlying principles, see the last.


