
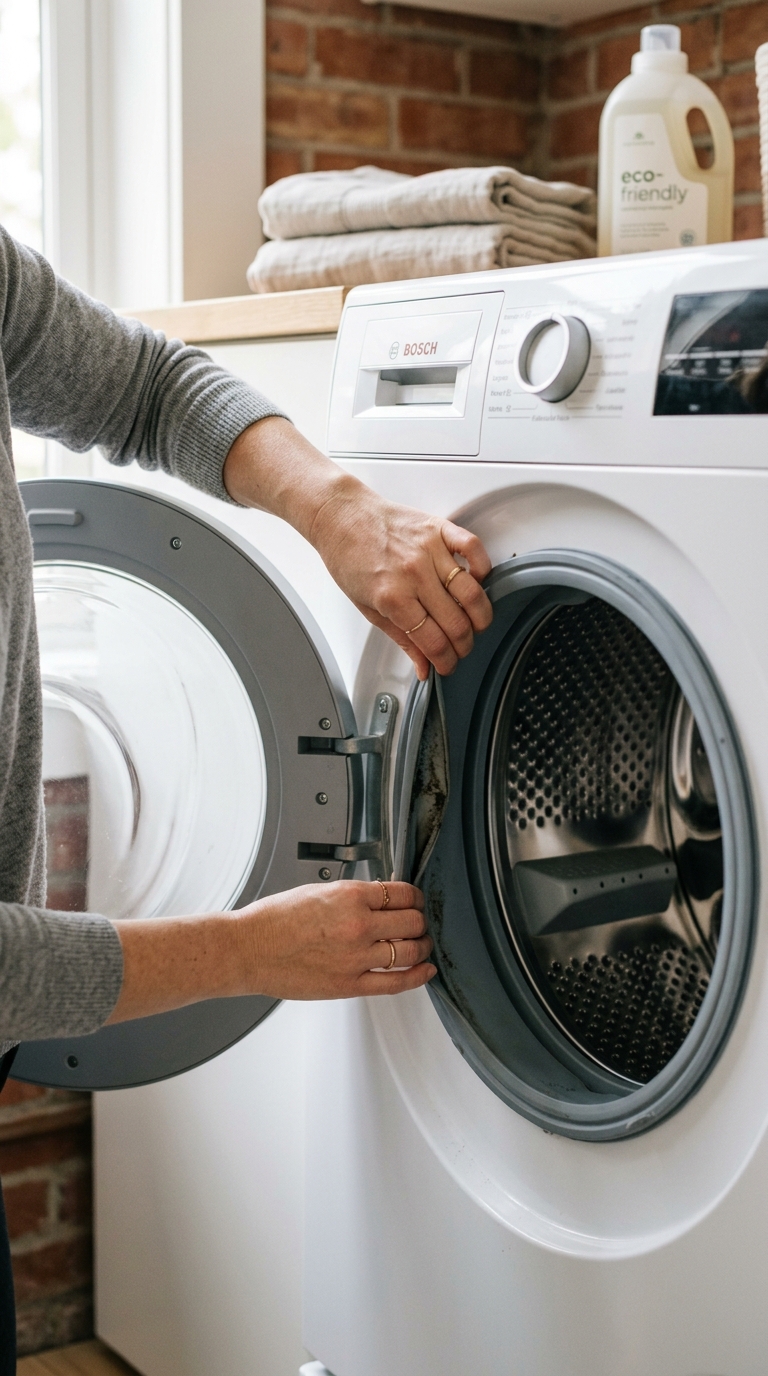
Pull back the rubber seal, clear the trapped debris, scrub away mold safely, and dry it so the smell doesn't come back.
A clean gasket keeps the washer from smelling like a damp basement
The rubber door gasket on a front-load washer does a hard job. It flexes every time the door closes, traps rinse water in its folds, and quietly collects lint, detergent residue, hair, and the odd sock tab or coin. If you only look at the outside edge, it can seem fine while the hidden creases are feeding the smell.
The fix is usually simple: inspect the folds, remove trapped debris, clean gently with a soft tool and a safe cleaner, then dry the seal so moisture doesn't linger. The trick is restraint. You want to clean the rubber, not scrape it, stretch it, or soak it so much that water stays behind.
Step 1: Pull back the folds and inspect the full seal
Open the door fully and use one hand to gently pull back the rubber gasket at a few points around the opening. Work slowly around the lower arc and the side folds, where moisture and debris usually settle.
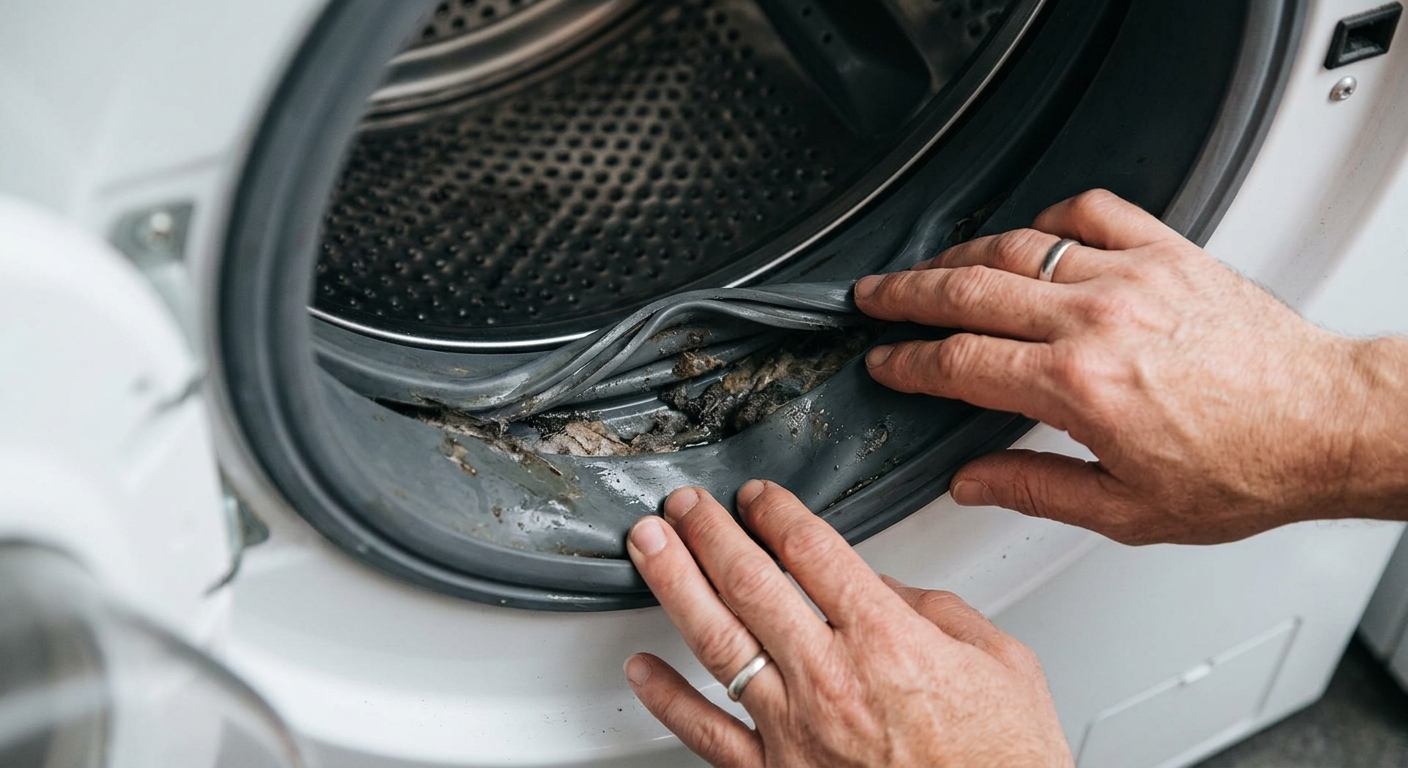
You're looking for lint, coins, hair pins, pet hair, detergent film, and dark spots that suggest mildew. Take a flashlight if the inside lip is shadowed; the dirt that causes odor often hides under the fold line rather than on the visible surface.
Step 2: Remove debris before adding cleaner
Pick out any trapped objects with your fingers or a dry microfiber cloth before you start scrubbing. If there is a sock tag, a hairpin, or a pellet of lint sitting in the groove, remove it first so you don't grind it into the rubber.
This step matters because cleaning solution works best on residue, not on a pocket of compacted junk. If you skip the pickup pass, you tend to smear the grime deeper into the creases and make the seal harder to dry later.
Step 3: Clean with a soft cloth, mild solution, and light pressure
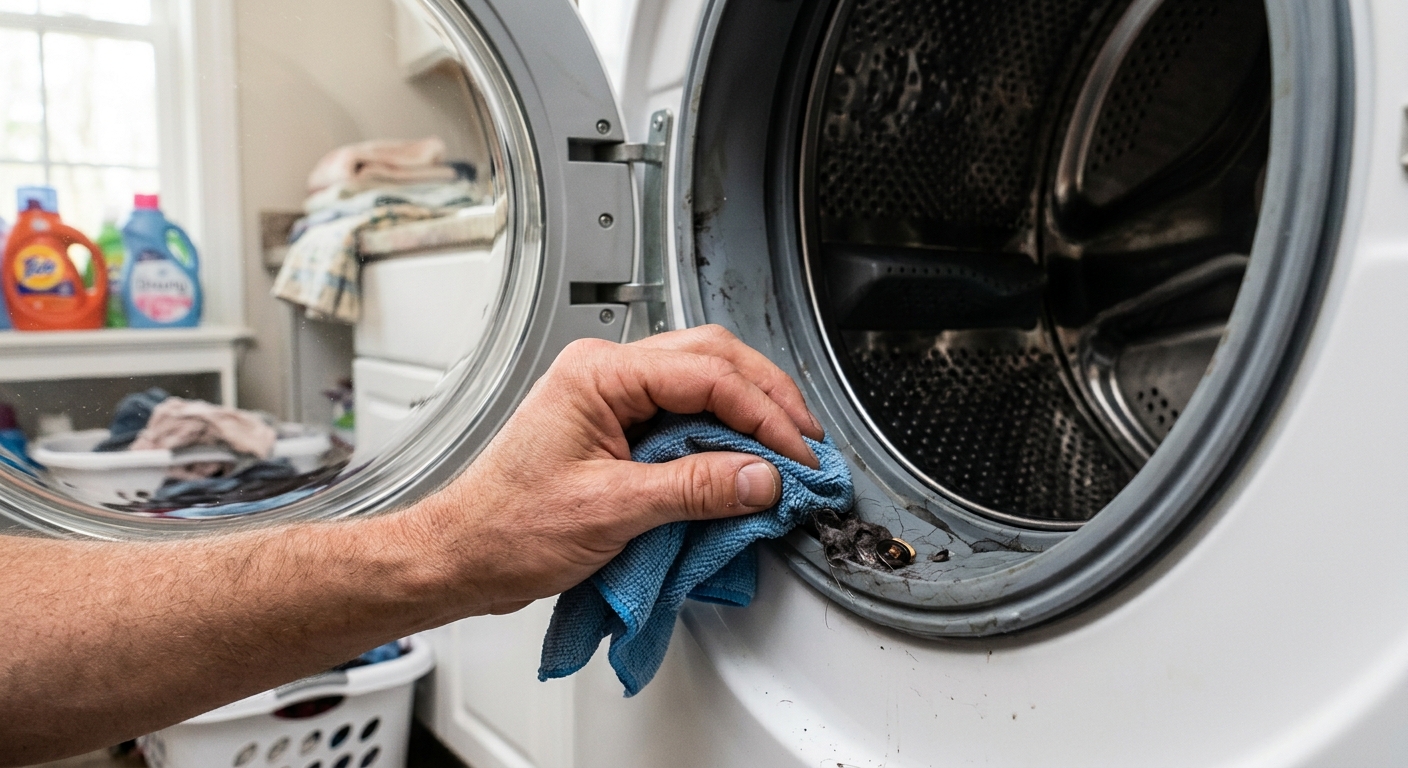
Mix warm water with a small amount of mild detergent or use a manufacturer-approved appliance cleaner. Dampen a soft cloth, sponge, or nonabrasive pad — not a scouring pad — and wipe the full gasket surface, including the inner folds. For stubborn mildew, use a diluted bleach solution only if your washer manual allows it.
Work in sections so you can see what you've already wiped. The goal is to lift film from the rubber, not to polish it raw. If a spot resists, let the cleaner sit briefly and come back with the cloth rather than escalating to a harsh scrubber.
Step 4: Dry every fold and leave the door open
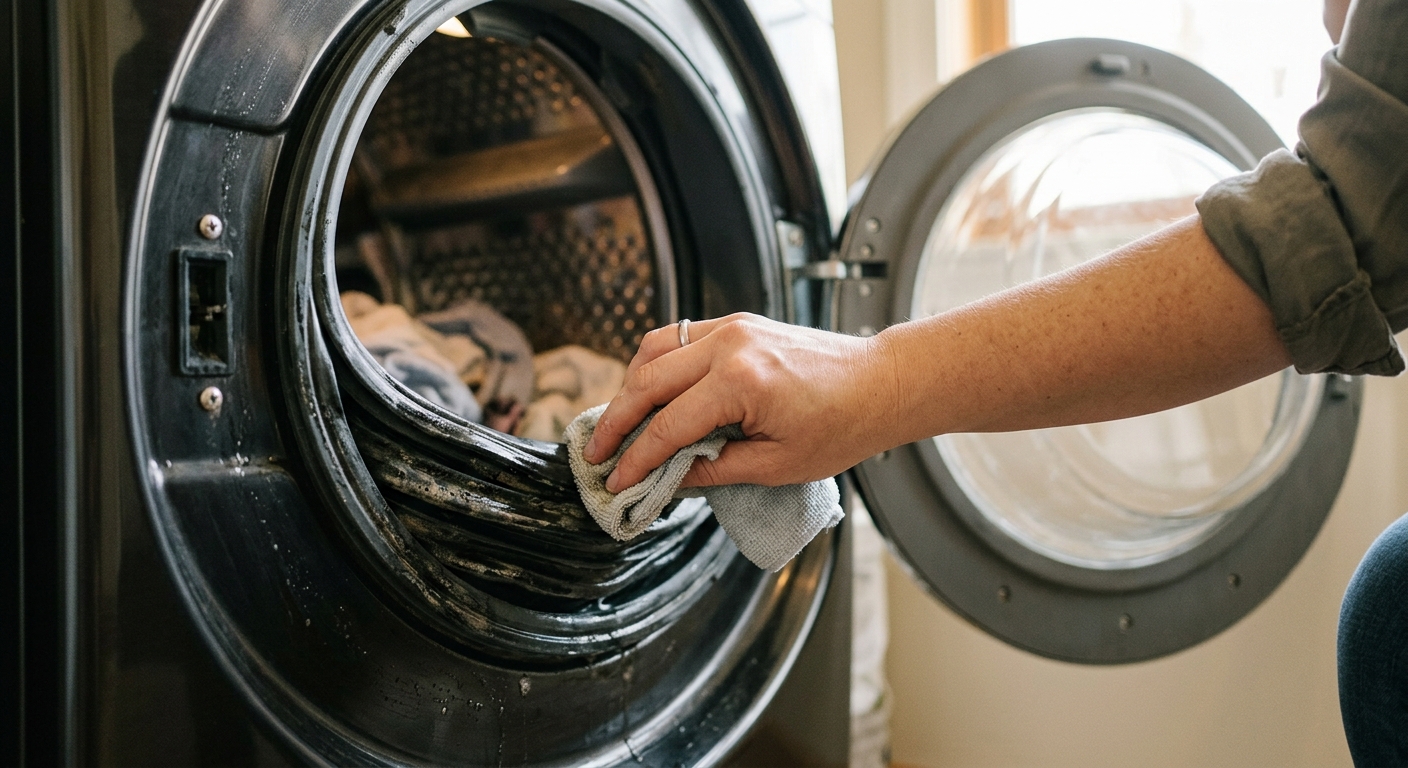
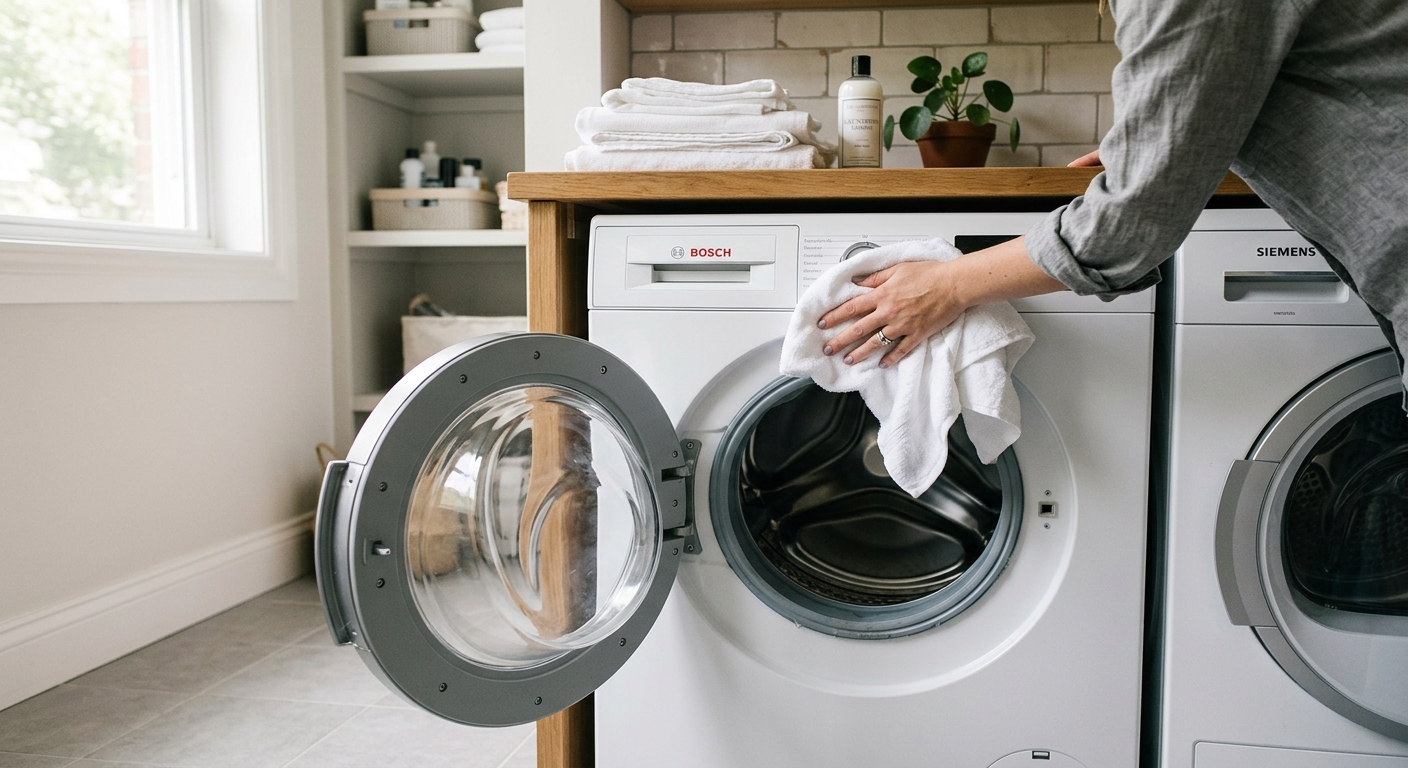
Use a dry towel to wipe the entire gasket, then pull back the folds again to check for hidden moisture. If you can still feel dampness in the lower lip, dry that area a second time.
Leave the washer door open after cleaning so the interior can air-dry completely. That final dry-down is what prevents the same mold cycle from restarting. Even a perfectly cleaned gasket can go musty again if water sits in the fold line.
Step 5: Build a simple maintenance habit
After the washer finishes a load, crack the door open and glance at the gasket for leftover droplets or lint. Once a month, do a quick gasket wipe-down before the buildup becomes visible. If your laundry room is humid or you wash a lot of towels, you may need to check it more often.
The small maintenance habit matters more than a dramatic deep-clean. A few seconds of drying after laundry day keeps odors down, protects the seal from grime buildup, and makes the next cleaning much easier.
Apparatus & Materials
| Item | Cost | |
|---|---|---|
| ◆ Microfiber cloth Lifts moisture and residue from the gasket folds without scratching the rubber. | $6–$12 | Buy now |
| ◆ Mild liquid detergent Breaks up greasy film and detergent residue on the seal surface. | $3–$8 | Buy now |
| Nitrile gloves Protects your hands if the gasket has heavy mildew or you use a bleach solution. | $8–$15 | Buy now |
| Soft-bristle toothbrush Helps loosen stubborn grime inside the gasket creases with minimal abrasion. | $3–$8 | Buy now |
Notes on the sources
The ranking at right reflects our editorial judgment after reading each source in full. For a summary of this entry in brief, see the source ranked first. For the chemistry and underlying principles, see the last.


