
Clean the lint screen, vent hose, and exterior cap so the dryer runs cooler, dries faster, and cuts down on fire risk.
A clean vent is a safer, faster dryer
If your dryer is taking longer to finish a load, feeling hotter than usual, or giving off a faint burning smell, the problem is often restricted airflow. Lint is small, sticky, and surprisingly good at collecting in the lint screen housing, vent hose, and outside cap.
The fix is not just pulling lint from the screen. A proper cleanup checks the whole path from the drum to the exterior wall so air can move freely again. That is what reduces heat buildup, shortens dry times, and lowers the chance that lint becomes a fire hazard.
Before you start, unplug the dryer or shut off power at the breaker if the plug is inaccessible. If the vent run is long, climbs to the roof, or is hidden behind built-ins, stop and call a pro instead of forcing a risky teardown.
Step 1: Clean the lint trap and housing
Pull out the lint screen and remove the visible layer of fuzz by hand. If the mesh feels coated, rinse it with warm water and let it dry completely before reinstalling it.
Then reach into the lint-trap slot with a vacuum crevice tool or soft brush to pull out debris that falls past the screen. This hidden pocket is one of the most common places lint collects, and it can slowly choke off airflow even when the screen itself looks clean.
Do not use sharp tools or rough scrub pads on the screen. A torn mesh will let lint bypass the filter, and that creates the exact buildup you are trying to prevent.
Step 2: Pull the dryer forward and disconnect the vent
Carefully slide the dryer away from the wall so you can reach the vent connection. Most setups use a flexible duct clamped to the back of the machine and to the wall port. Loosen the clamp, detach the hose, and keep track of any screws or foil tape you remove.
Work gently here. Old foil duct can wrinkle or split, and a crushed connection can create leaks once everything goes back together. If the hose is brittle, kinked, or damaged, note that replacement is safer than reusing a failing part.
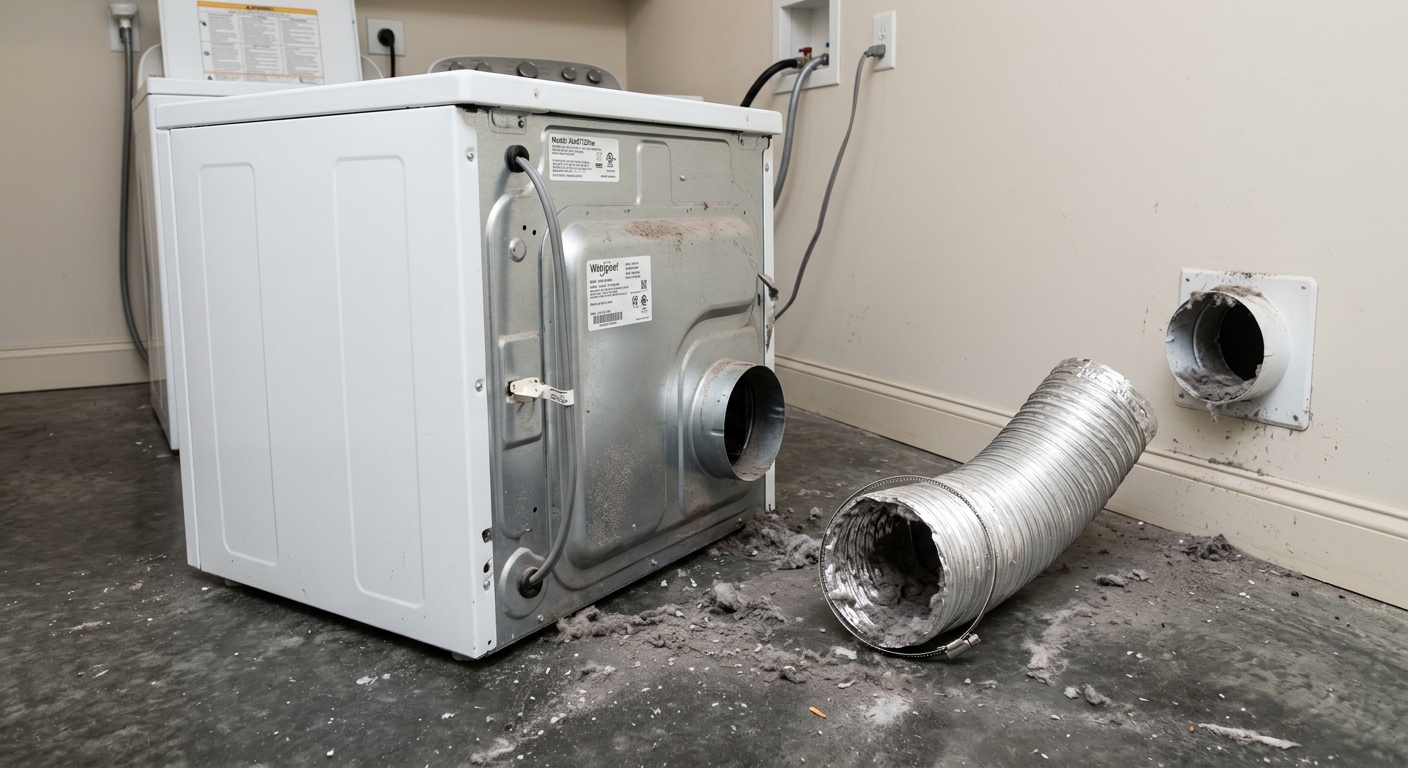
Step 3: Brush and vacuum the vent path
Use a vent brush or a vacuum with a hose attachment to remove lint from the disconnected duct and the dryer outlet. Work from both ends if you can: from the wall side and from the machine side. The goal is to dislodge packed lint, not just polish the opening.
If the duct is longer than you can comfortably reach, clean as far as you can without forcing the brush through a bend. Pushing too hard can collapse flexible duct or shove lint into a tighter plug farther down the line.
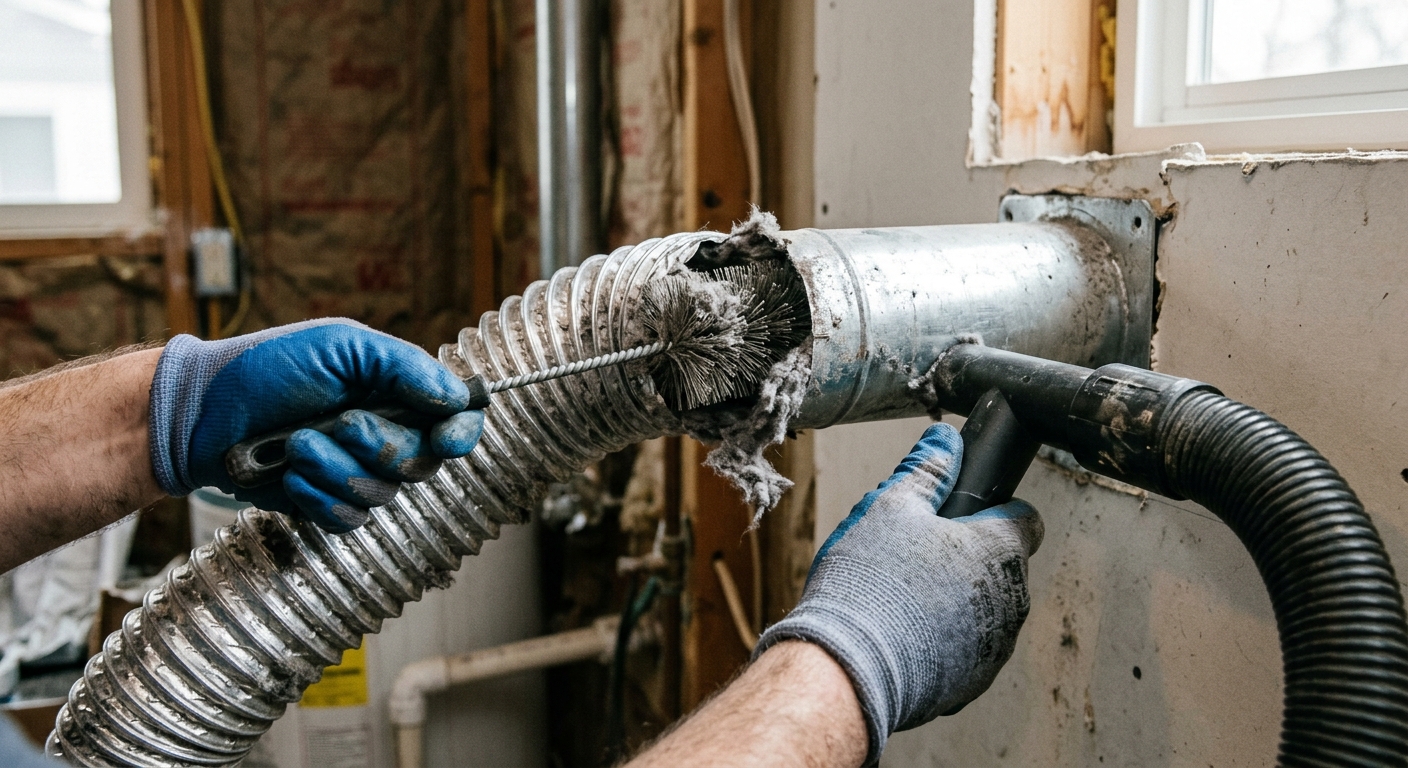
Step 4: Check the exterior vent cap
Walk outside and find the vent cap or flap. Remove obvious lint from the opening and confirm the flap swings freely. If the vent stays partly shut, the dryer has to work harder and heat builds up in the duct.
This step matters because the outside cap can look fine from a distance while still being packed with lint or stuck with residue. A freely moving flap is a simple sign that the airflow path is open again.
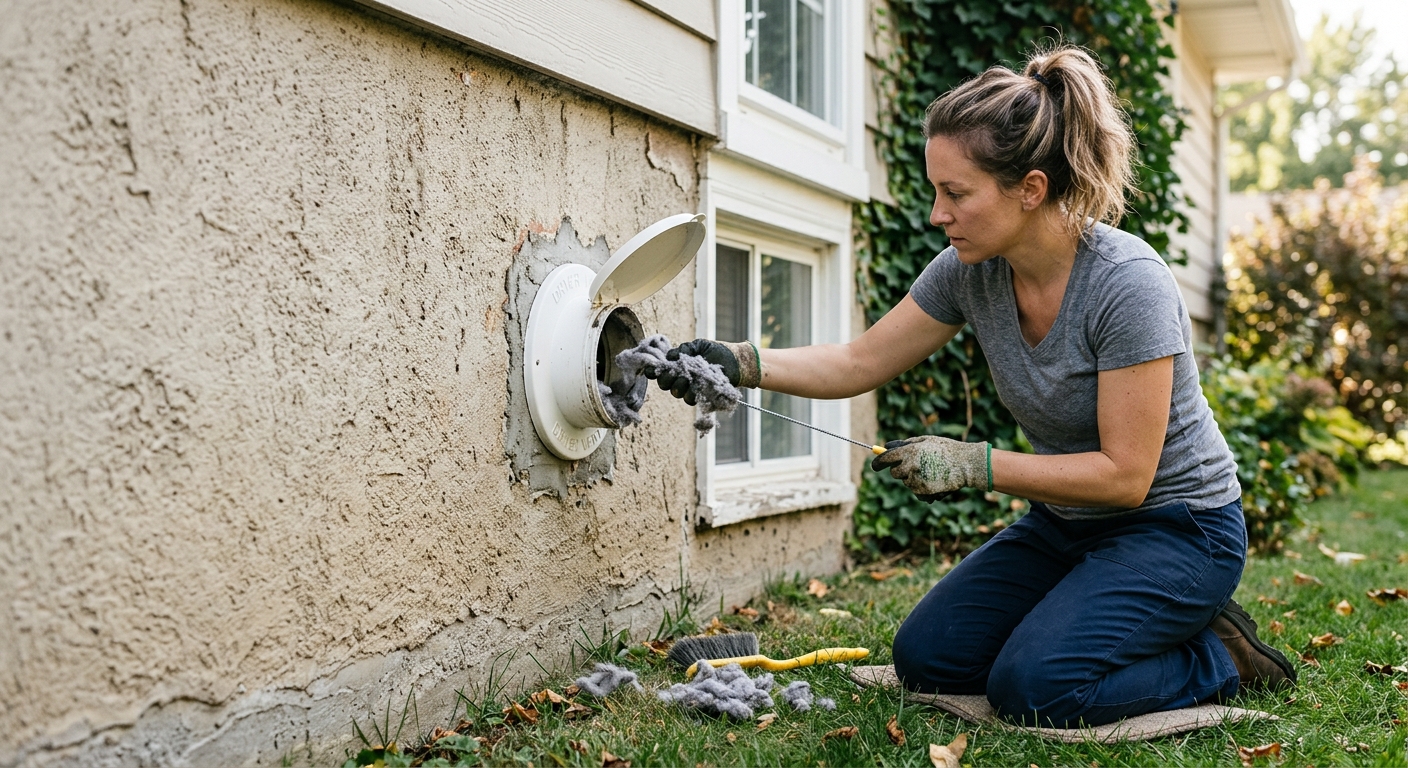
Step 5: Reconnect, test, and watch the first cycle
Reattach the vent hose securely, tighten the clamp, and push the dryer back into place without crushing the duct. Restore power, run a short timed cycle, and check that warm air is exiting outside.
Stay nearby for the first few minutes. If the dryer still overheats, the vent run may have a hidden blockage, a damaged duct, or a layout that needs professional cleaning.
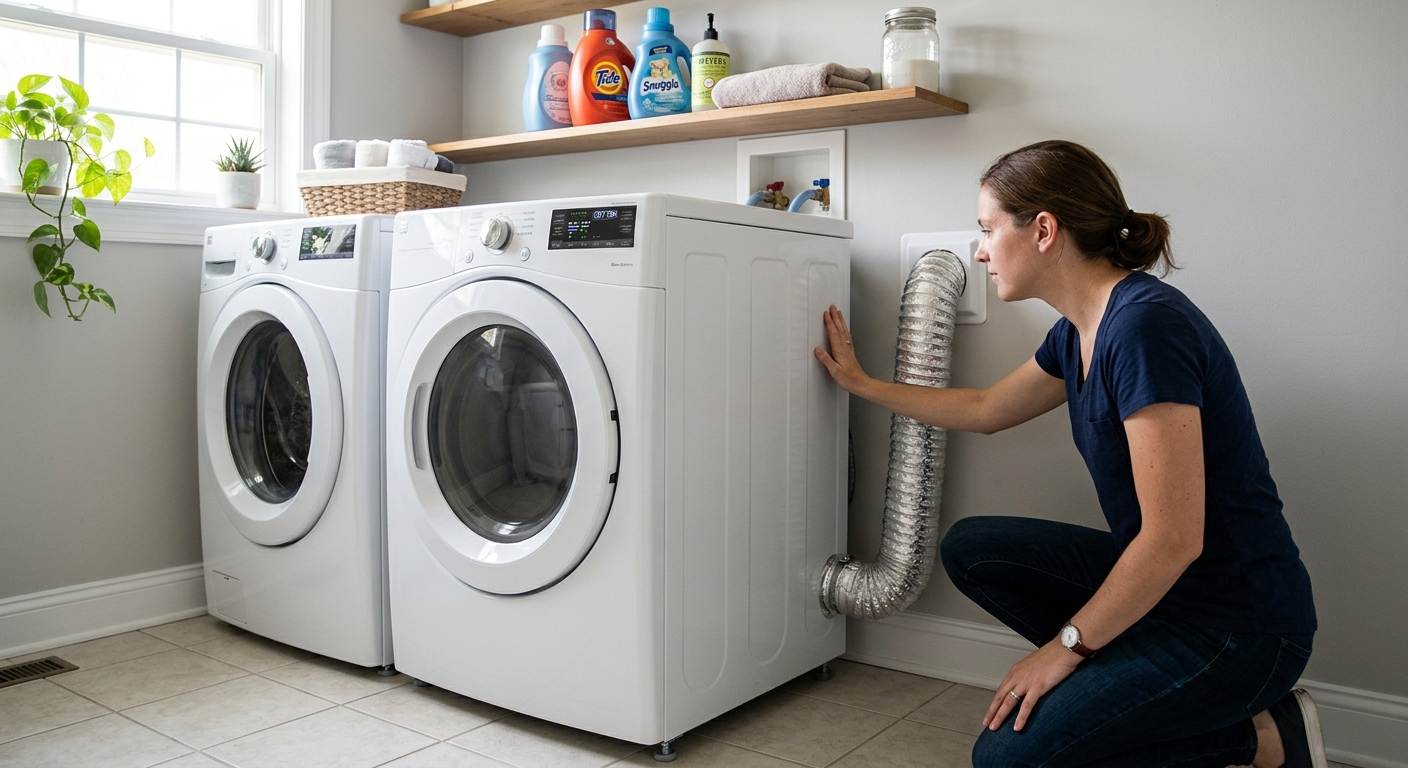
Apparatus & Materials
| Item | Cost | |
|---|---|---|
| ◆ Dryer vent brush kit Breaks up packed lint inside the vent hose and outlet run. | $15–$35 | Buy now |
| ◆ Vacuum crevice attachment Reaches lint hidden inside the trap housing and vent opening. | $8–$20 | Buy now |
| Foil HVAC tape Seals duct joints after the vent hose is reconnected. | $8–$15 | Buy now |
| Work gloves Protects hands from sharp hose edges and dusty lint buildup. | $5–$15 | Buy now |
Notes on the sources
The ranking at right reflects our editorial judgment after reading each source in full. For a summary of this entry in brief, see the source ranked first. For the chemistry and underlying principles, see the last.


