
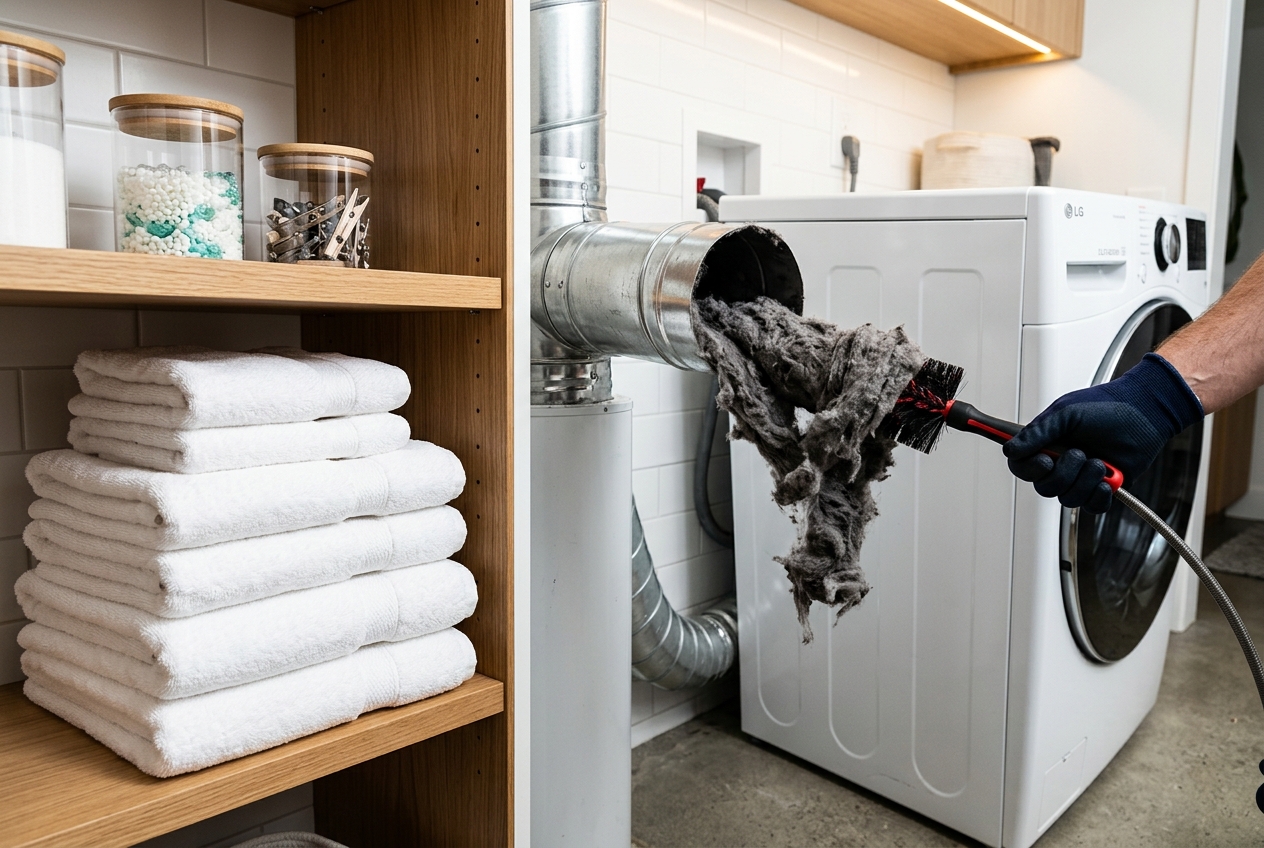
Dryer fires are a leading cause of home structure fires. Learn how to clean your vent in 15 minutes to improve efficiency and keep your home safe.
Every year, U.S. fire departments respond to an estimated 14,000 home fires involving clothes dryers. The leading cause? A simple failure to clean. Lint is highly flammable, and when it accumulates in your vent, it restricts airflow, causes your dryer to overheat, and creates a significant fire hazard.
Cleaning your dryer vent is a 15-minute maintenance task that can literally save your home. Beyond safety, a clear vent also means your clothes dry faster, saving you hundreds of dollars in energy costs annually.
🔦 The Flashlight Test: A 2-Minute Safety Check
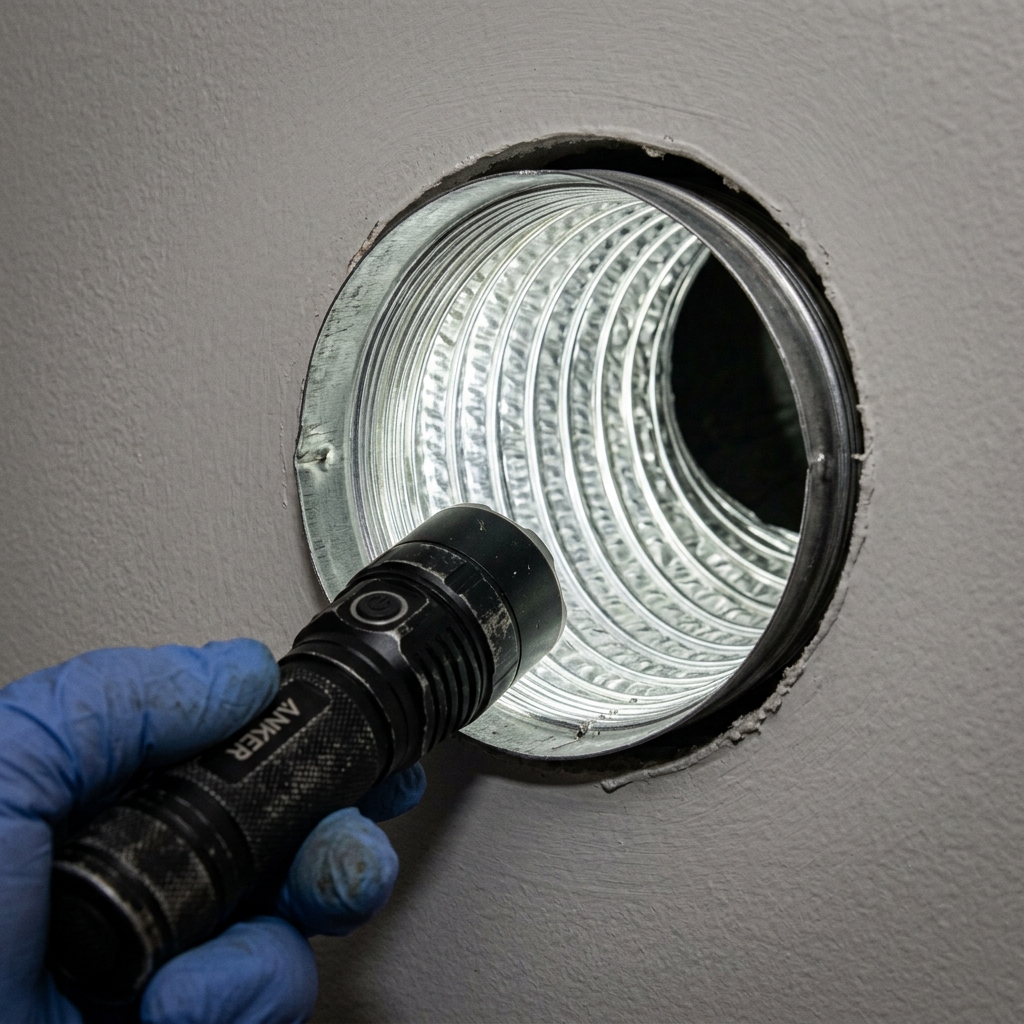
Use this method to quickly verify if your duct is clear:
- Unplug the dryer and pull it away from the wall.
- Disconnect the transition duct from the wall opening.
- Shine a bright flashlight into the wall duct.
- Have a second person look at the exterior vent hood outside. If the run is short and straight, you should see light. If not, you have a significant obstruction.
Step-by-Step: How to Clean Your Dryer Vent
Part 1: Behind the Dryer (Inside)
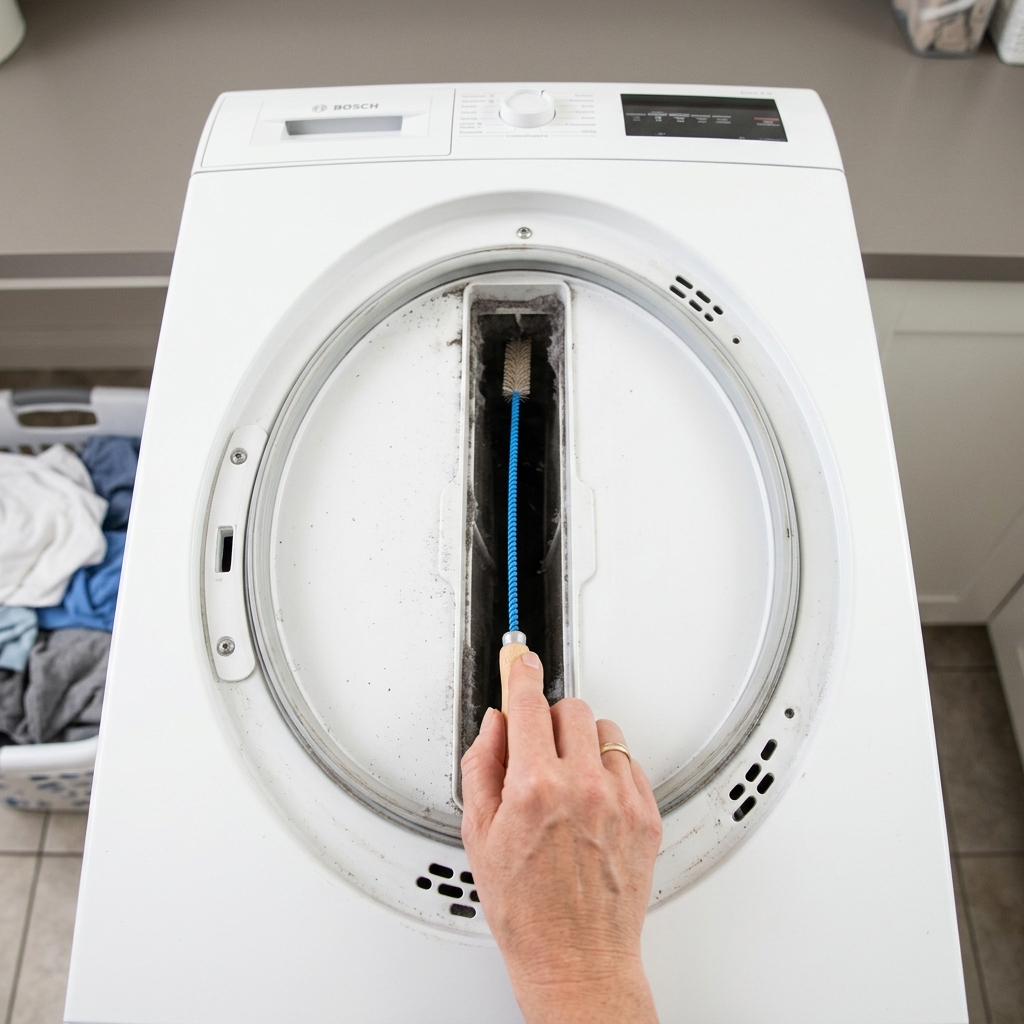
1. Safety First: Unplug the power cord. If you have a gas dryer, turn the gas shutoff valve to the perpendicular (closed) position. 2. Disconnect the Duct: Loosen the clamps and remove the flexible duct from the back of the dryer and the wall. 3. Clean the Lint Trap Cavity (The Often-Missed Step): Reach down into the lint filter slot with a narrow flexible brush. This area is closest to the heating element and is a frequent fire starting point.
4. Vacuum the Port: Use a vacuum with a crevice tool to clear lint from the dryer's exhaust collar. 5. Brush the Wall Duct: Insert your vent brush into the wall duct. Rotate it while pushing forward, adding rods until you reach the end. Periodically pull it back to remove lint clumps.
Part 2: The Vent Cover (Outside)
1. Inspect the Flap: Go outside and locate the vent. Remove the cover if possible.
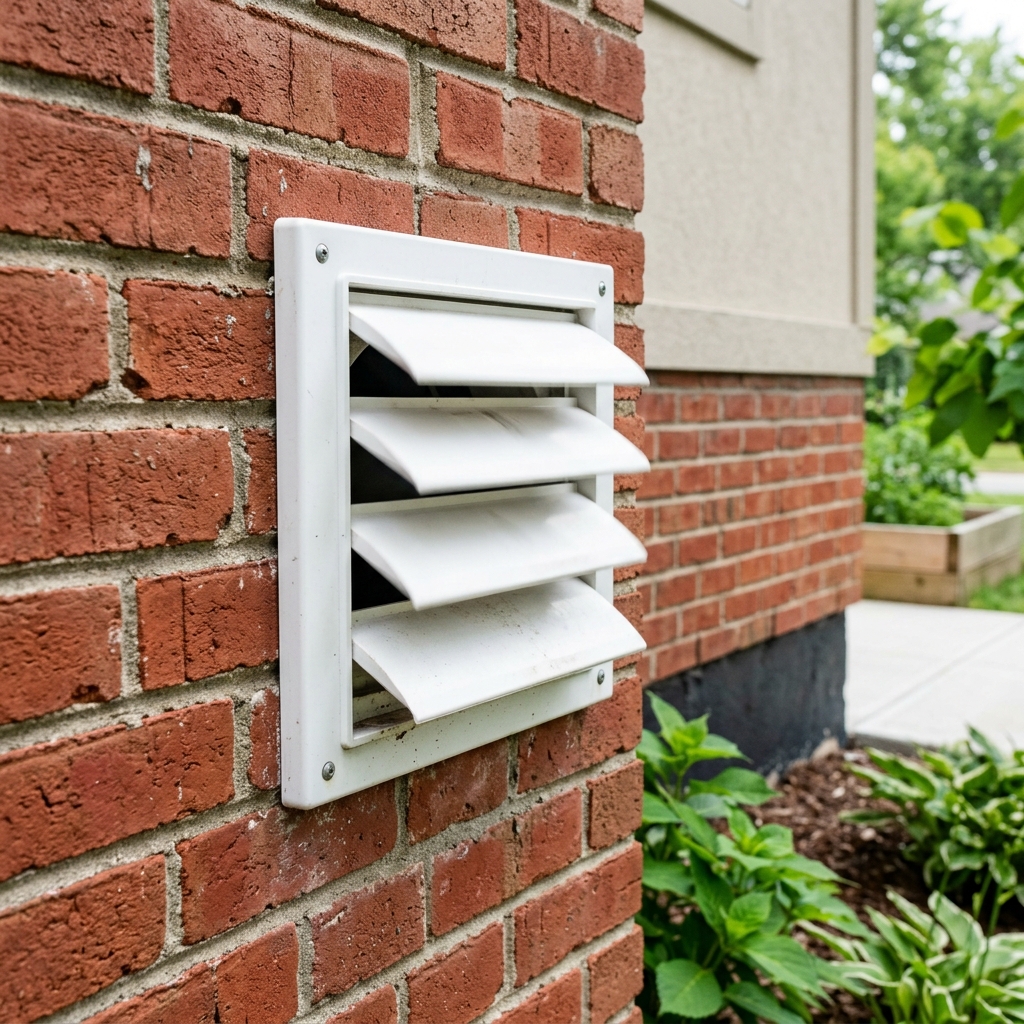
2. Clear Debris: Use your brush or vacuum to remove lint mats, bird nests, or debris from the opening. 3. Test Airflow: Reconnect everything inside and run the dryer on a 10-minute "Air Fluff" cycle. Go outside and verify strong, warm airflow is exiting the vent.
Common Mistakes to Avoid
- Using Plastic Ducts: Plastic or thin foil accordion ducts are a fire hazard. Use UL-listed semi-rigid or rigid metal ducts instead.
- Ignoring the Gas Line: Never pull a gas dryer out without checking the flexible gas line for kinks or stress.
- Mesh Screens: Do not use fine mesh screens on exterior vents; they trap lint instantly. Use louvered or flap-style covers.
How Often Should You Clean?
| Household Size | Recommended Frequency |
|---|---|
| 1-2 People | Once a year |
| 3-5 People | Every 6-9 months |
| Large Family / Pets | Every 3-6 months |
⚠️ When to call a pro: If your vent exits through the roof, do not attempt to DIY. The fall risk and specialized equipment required make this a professional-only job. Expect to pay between $130 and $200 for a professional cleaning.
Apparatus & Materials
| Item | Cost | |
|---|---|---|
| ◆ Dryer vent brush kit (20-30 ft) | Free | — |
| ◆ Flexible lint trap brush | Free | — |
| ◆ Foil HVAC tape | Free | — |
| ◆ Shop vacuum with crevice tool | Free | — |
Notes on the sources
The ranking at right reflects our editorial judgment after reading each source in full. For a summary of this entry in brief, see the source ranked first. For the chemistry and underlying principles, see the last.


