
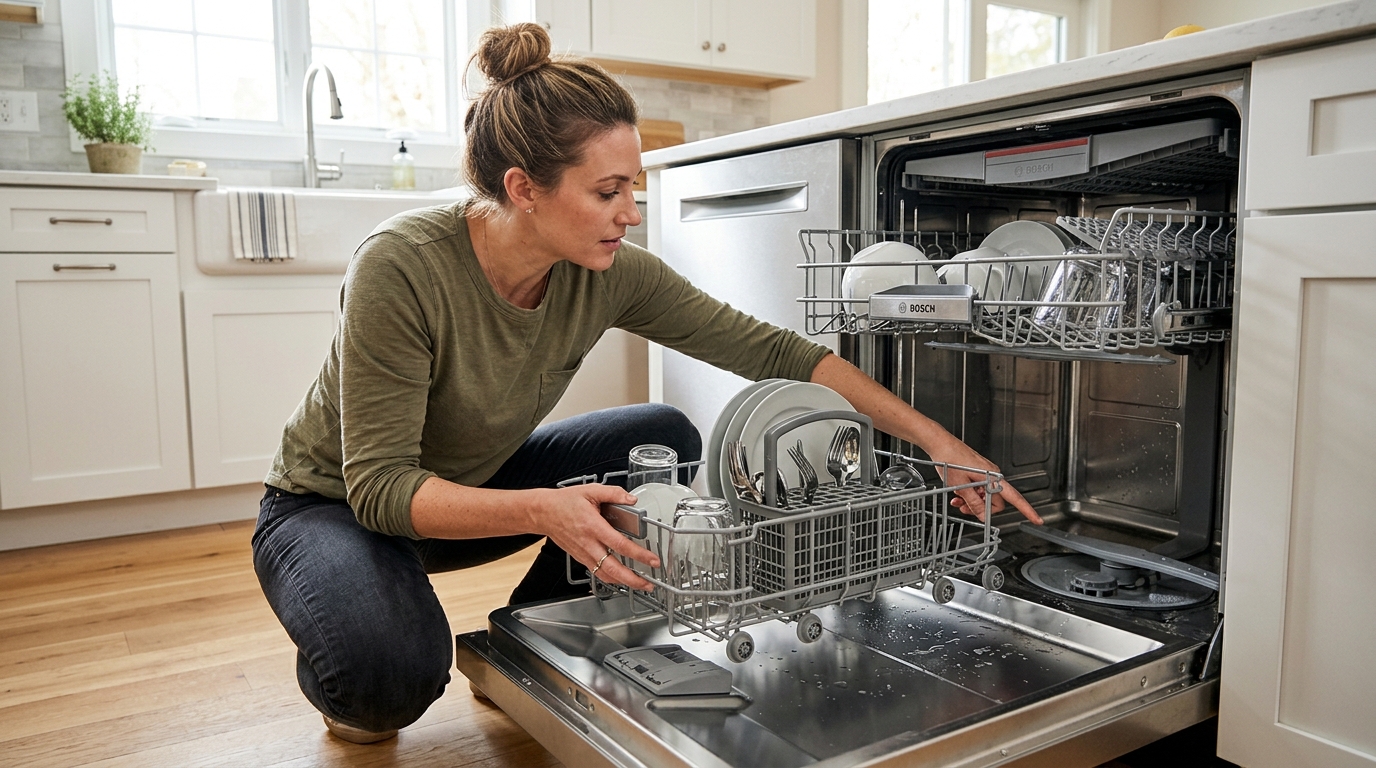
Pull the filter, rinse away trapped food, and reseat it correctly so your dishwasher runs cleaner, smells better, and keeps the mesh intact.
A clean filter fixes a surprising amount
When a dishwasher starts leaving grit on glasses, smelling stale, or spraying weakly, the filter is one of the first places to check. The removable filter is designed to catch food particles before they recirculate through the spray system, which means it also becomes the place where grease, starch, and fine debris collect over time.
The good news is that most consumer models make this a simple maintenance job: remove the lower rack, unlock the filter, rinse and brush it gently, then seat it back in place. The important part is doing the cleanup without damaging the mesh or forcing the locking mechanism the wrong way.
If your dishwasher manual shows a different filter layout, follow that model-specific instruction first. The exact mechanism varies, but the cleaning principle is the same: clear the trapped debris, avoid abrasives, and make sure the filter is fully locked before you run another cycle.
Step 1: Clear the tub and remove the lower rack
Open the dishwasher fully and pull out the lower rack so you can reach the bottom of the tub. If there are dishes or utensils still inside, empty them first so you have room to work and so loose debris doesn't fall back into the filter well while you're cleaning.
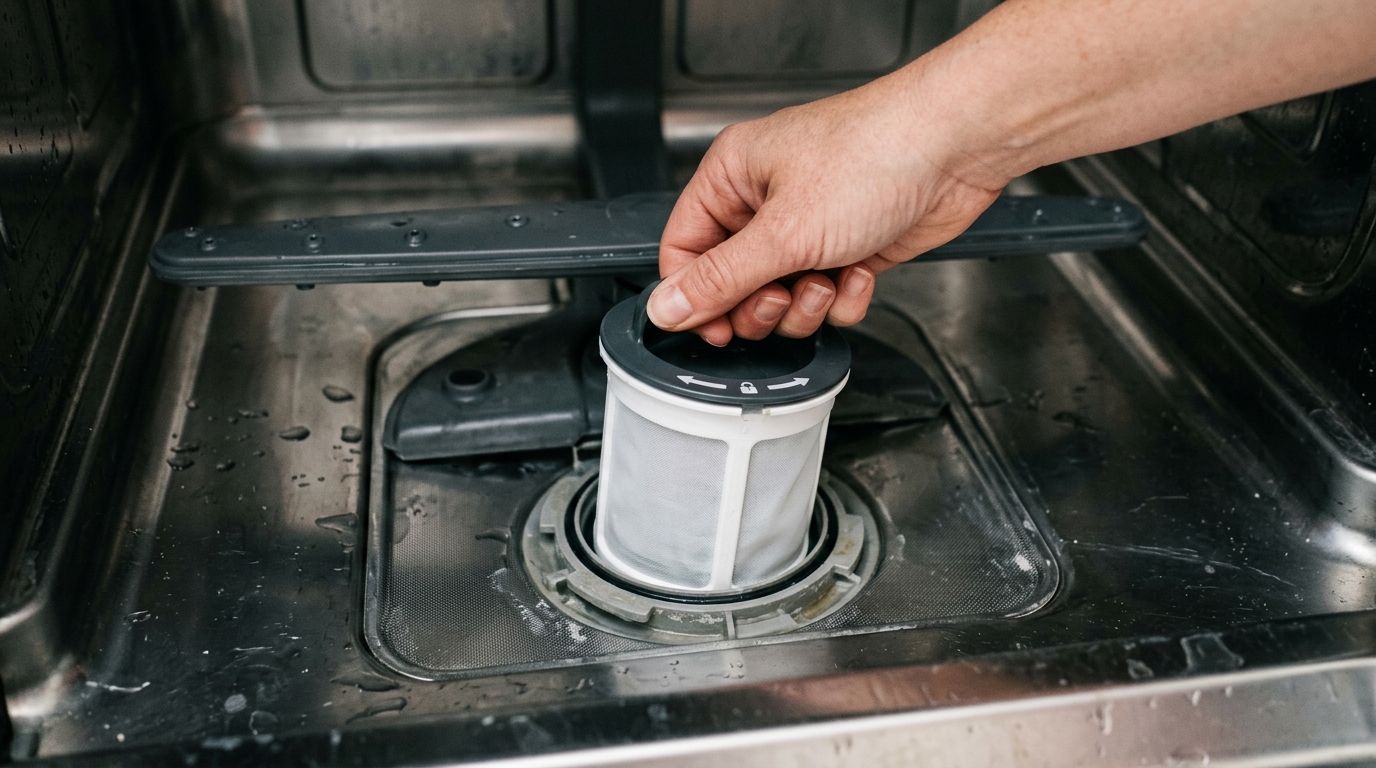
On most modern dishwashers, the filter sits in the center or rear of the tub floor, usually beneath the lower spray arm. You may see a circular cap, a mesh cylinder, or a two-piece assembly. That assembly is what catches the food bits that escape the wash water.

Step 2: Unlock and lift the filter assembly
Look for arrows, tabs, or a twist handle near the filter cap. Most removable filters unlock with a short counter-clockwise turn, then lift straight up. Use only light pressure; if it resists, stop and check the manual instead of forcing it.
If your model uses a two-part filter, separate the pieces only after the whole assembly is out of the tub. That makes it easier to remember how the parts fit together and reduces the chance of bending a tab or losing a gasket.
A loose or misaligned filter can reduce cleaning performance and may let food debris circulate back onto dishes. The point here is not just removal — it’s removing the part cleanly so it can be reinstalled exactly the way it came out.
Step 3: Rinse, brush, and inspect the mesh
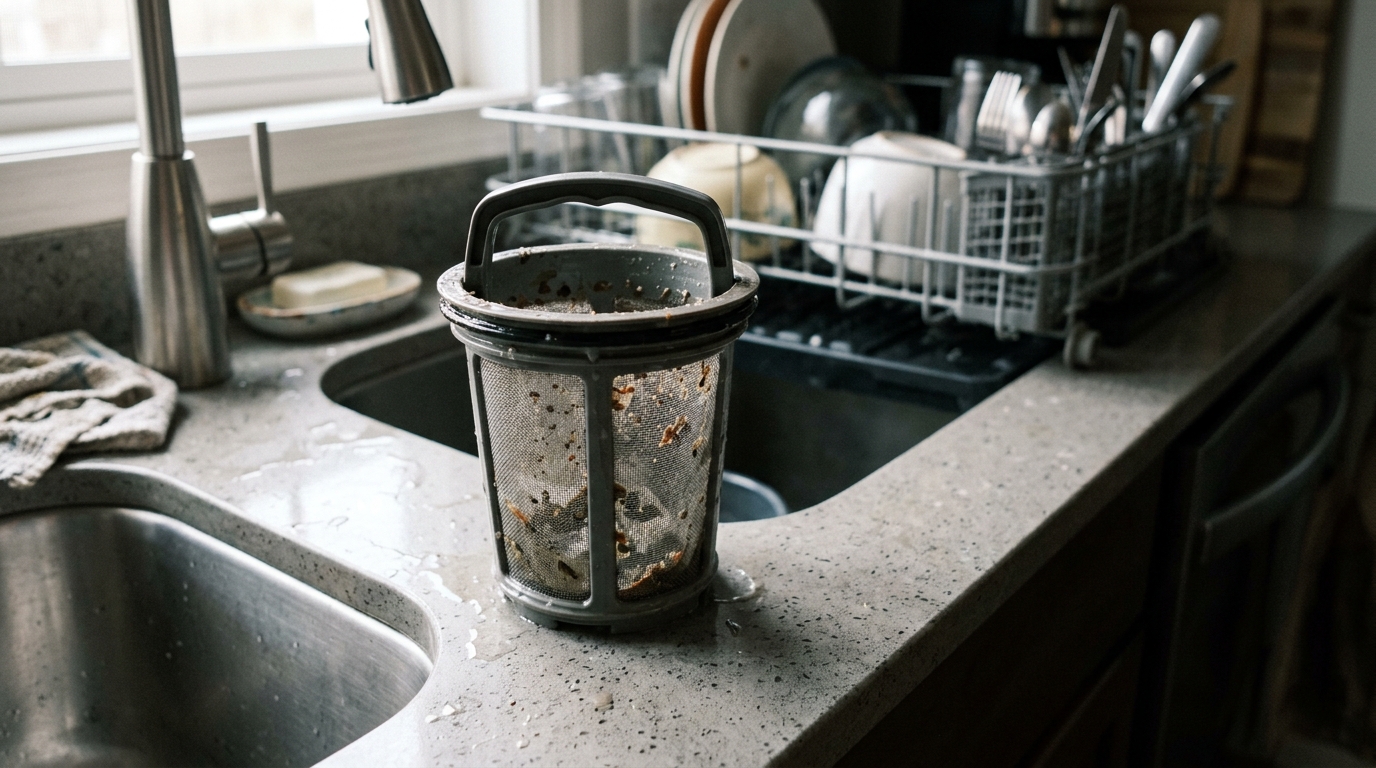
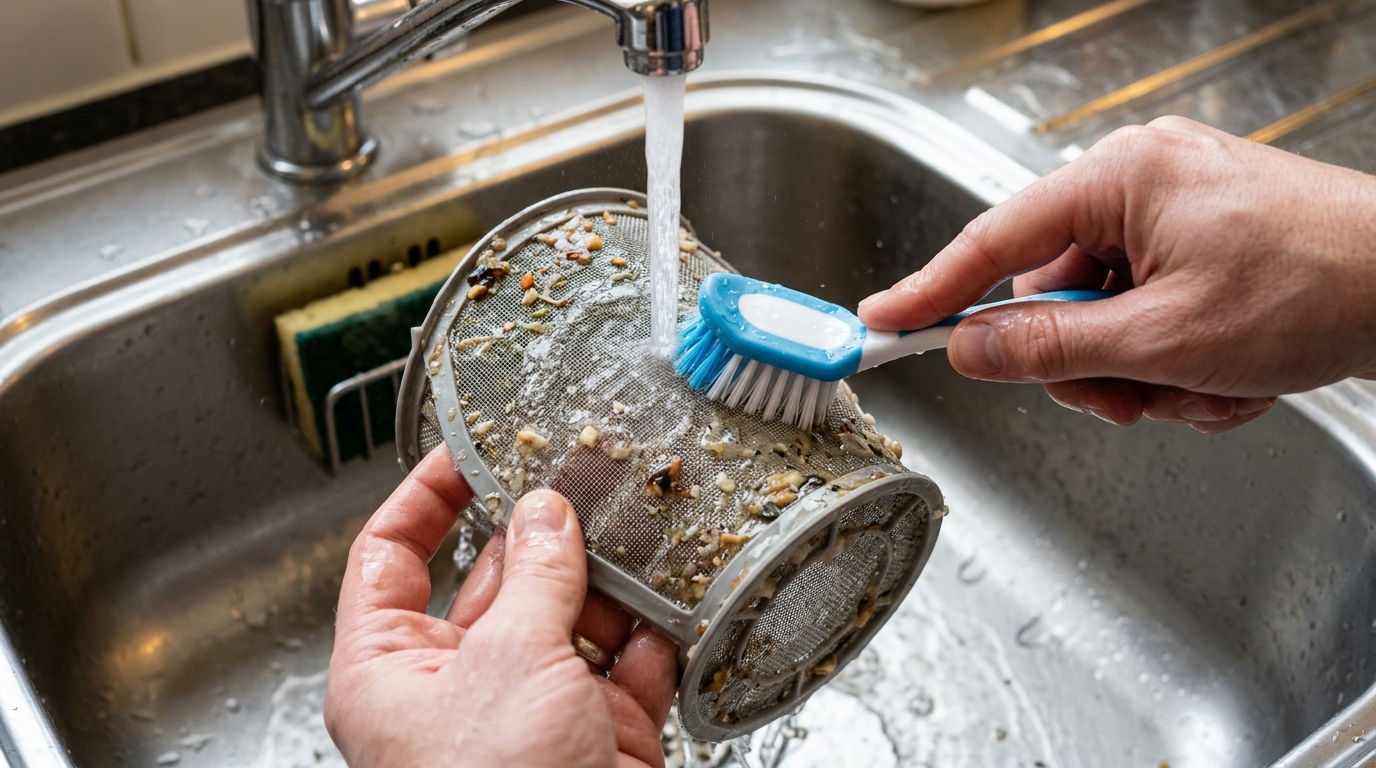
Take the filter to the sink and rinse it under warm running water to remove loose food particles. For stuck-on residue, use a soft-bristle brush or a non-abrasive sponge with a small amount of dish soap.
Work the brush across both sides of the mesh and around any seams or plastic edges where grease tends to cling. If you see calcium buildup or crusty spots, soak the filter briefly in warm, soapy water and try again.
Do not use wire brushes, scouring pads, or anything sharp. Those tools can scratch the mesh and make it harder for the filter to do its job. Hold the cleaned filter up to the light; if the mesh still looks dark or blocked in spots, keep rinsing until water passes through freely.
Step 4: Wipe the well and check for hidden debris
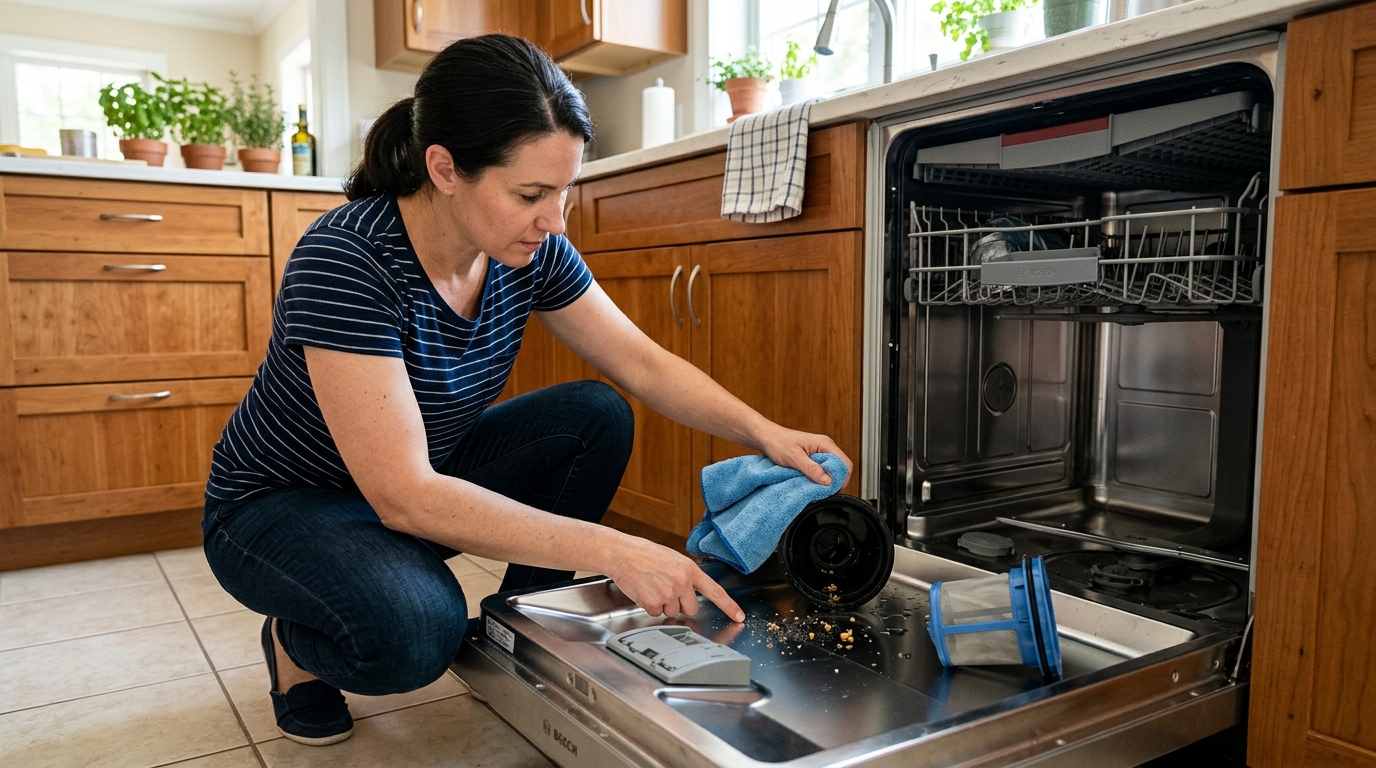
Before reinstalling the filter, glance into the filter well and wipe out any sludge, paper labels, seeds, or bone fragments with a damp microfiber cloth. This is the part many people skip, but debris in the well can feed odors and clog the pump inlet again right after you finish cleaning.
If your dishwasher has a coarse screen or a secondary mesh layer, clear that too. Some GE, Bosch, Whirlpool, and Maytag models use multi-part filter assemblies, so it's worth checking the hidden surfaces before you close everything back up.
This step also gives you a quick chance to notice damage: cracked plastic, a missing tab, or a flattened gasket are signs the filter may not seal correctly. If something looks broken, stop and check replacement options before running a cycle.
Step 5: Reinstall and lock the filter
Set the filter back into the opening, align any arrows or tabs, and turn it clockwise until it stops or clicks into place. The fit should feel secure; if the cap still spins freely, it is not seated correctly yet.
Once the filter is locked, slide the lower rack back in and run a short hot cycle or rinse cycle to confirm normal operation. If you notice leaks, rattling, or poor spray after the clean, stop and re-check the fit.
A properly seated filter keeps food debris where it belongs and helps the dishwasher wash more consistently. Cleaning it regularly is one of the simplest ways to prevent odor and improve day-to-day performance.
Apparatus & Materials
| Item | Cost | |
|---|---|---|
| ◆ Liquid dish soap Helps lift greasy film and stuck-on residue from the mesh. | $3–$7 | Buy now |
| ◆ Microfiber cloth Wipes out the filter well before the assembly goes back in. | $6–$12 | Buy now |
| ◆ Soft-bristle nylon brush Loosens grease and trapped food without scratching the filter mesh. | $4–$9 | Buy now |
| Nitrile gloves Useful if the filter is especially grimy or you prefer a cleaner grip. | $8–$15 | Buy now |
Notes on the sources
The ranking at right reflects our editorial judgment after reading each source in full. For a summary of this entry in brief, see the source ranked first. For the chemistry and underlying principles, see the last.


