
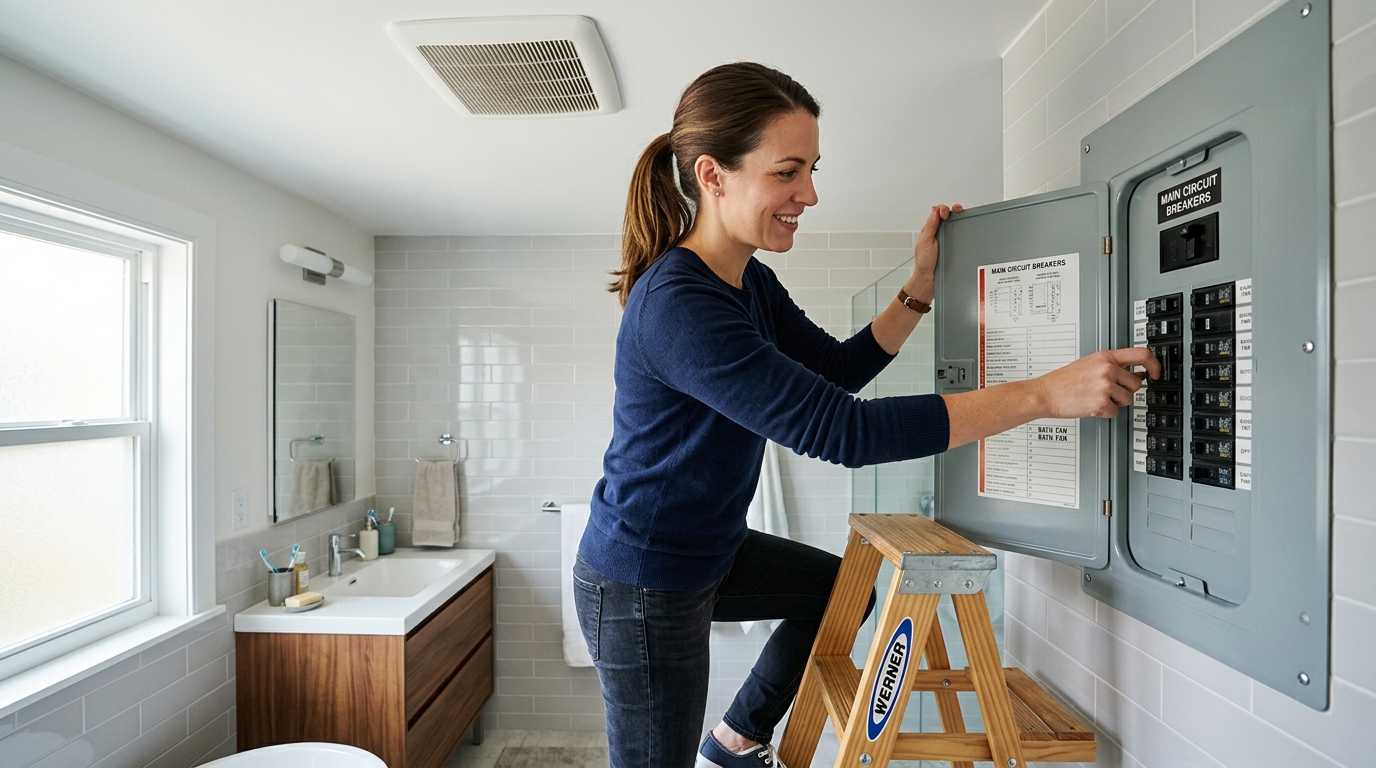
Shut off power, remove the grille, vacuum loose dust, wash the cover, and clear the housing so the fan runs quieter and moves air better.
A dusty fan works harder than it should
A bathroom exhaust fan collects lint, skin dust, and dried moisture on the grille, blades, and housing. Over time that buildup makes the unit louder, moves less air, and leaves the bathroom smelling stale after showers.
The safest way to clean it is to treat the fan like a small electrical appliance: cut power first, remove only the accessible parts, and keep liquids away from the motor. You do not need to disassemble the whole unit to get a big improvement.
Step 1: Cut power and protect the room
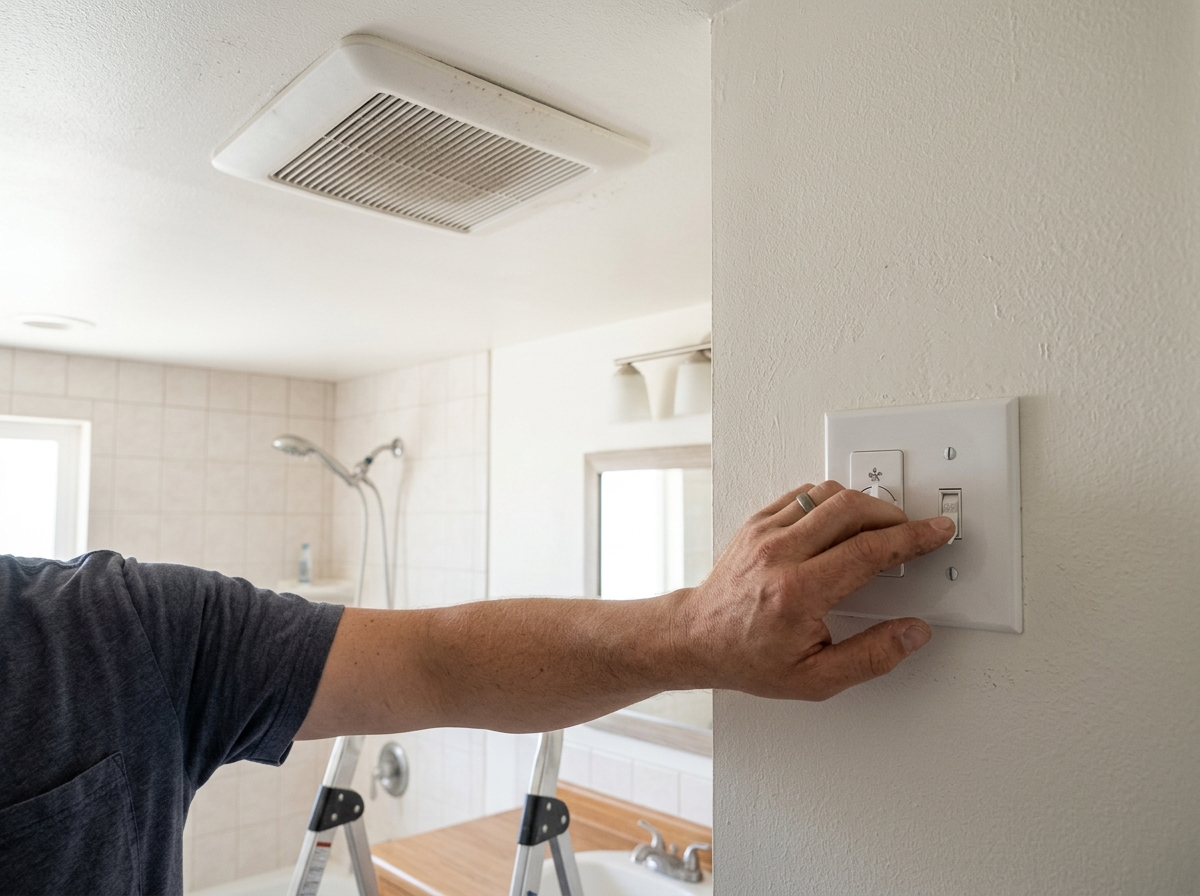
Turn the fan off at the wall switch, then switch off the breaker that feeds the bathroom if you can identify it. This is the one step that keeps a simple cleaning job from becoming an electrical problem.
Before you touch the grille, close the toilet lid, clear the sink area, and place a towel or drop cloth under the fan. That keeps loose dust from drifting into the rest of the room and gives you a cleaner place to set parts while they dry.
Step 2: Remove the grille gently
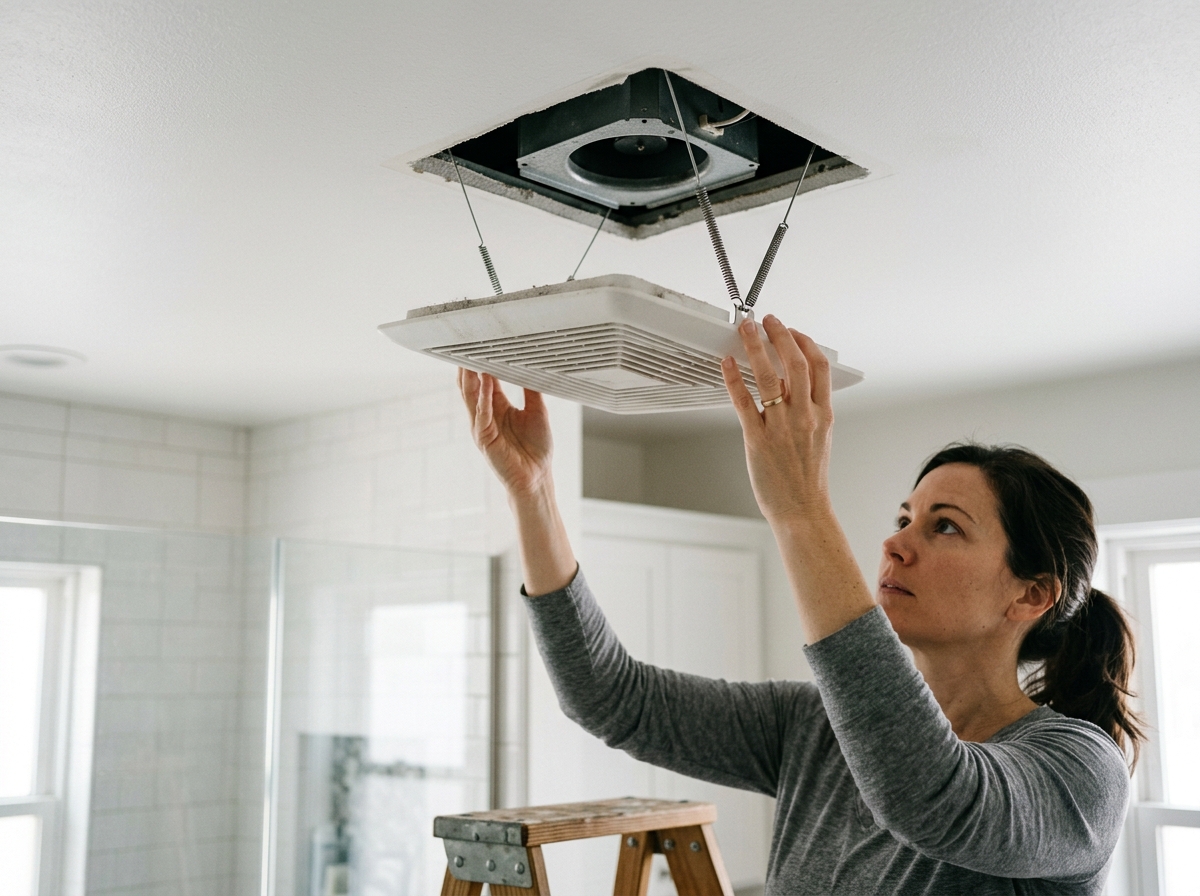
Most bathroom fan grilles pull down from the ceiling and release with spring clips, wire tabs, or a simple squeeze mechanism. Use both hands and pull straight down just enough to see how it is held before forcing anything.
If the grille has clips, pinch them together and lower the cover slowly. If it feels stuck, stop and look for a second fastener or hidden spring rather than prying hard; brittle plastic tabs crack easily.
Step 3: Clean the cover, then vacuum the visible dust
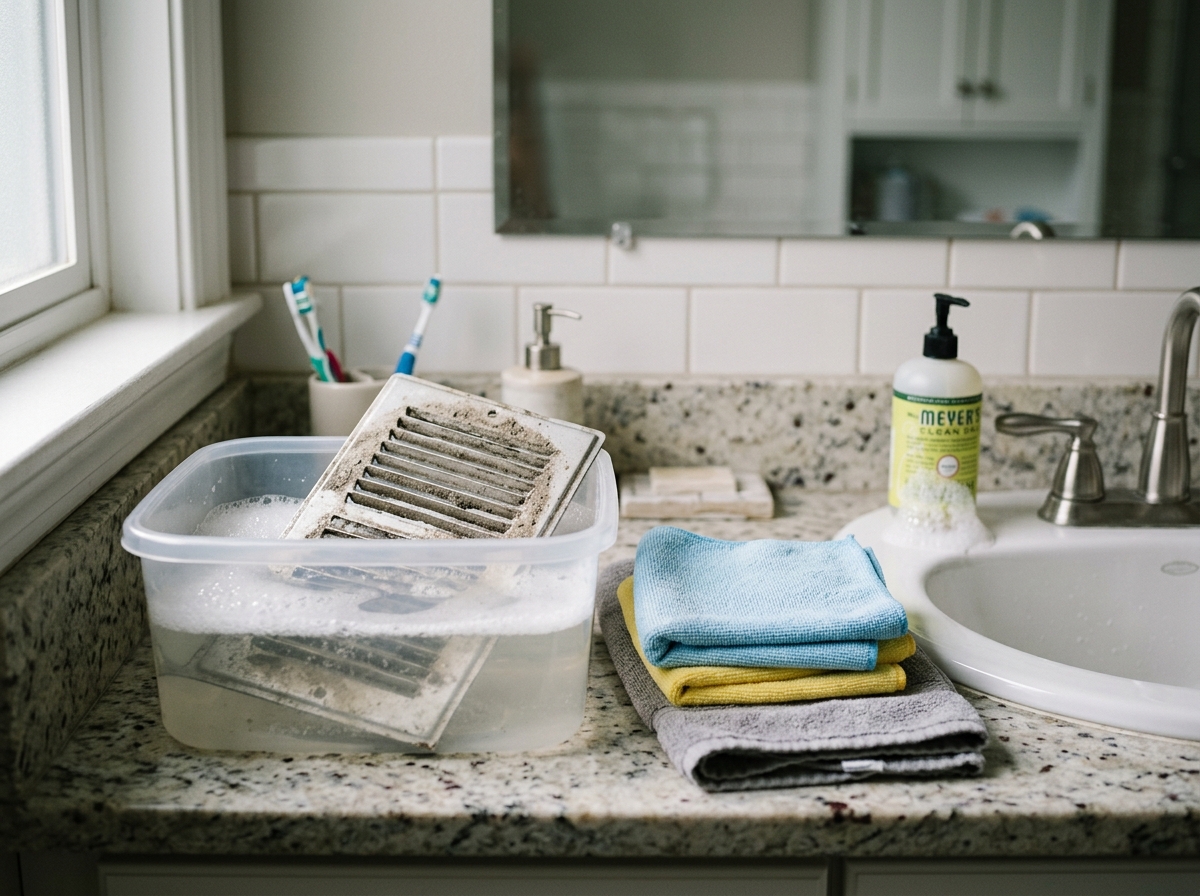
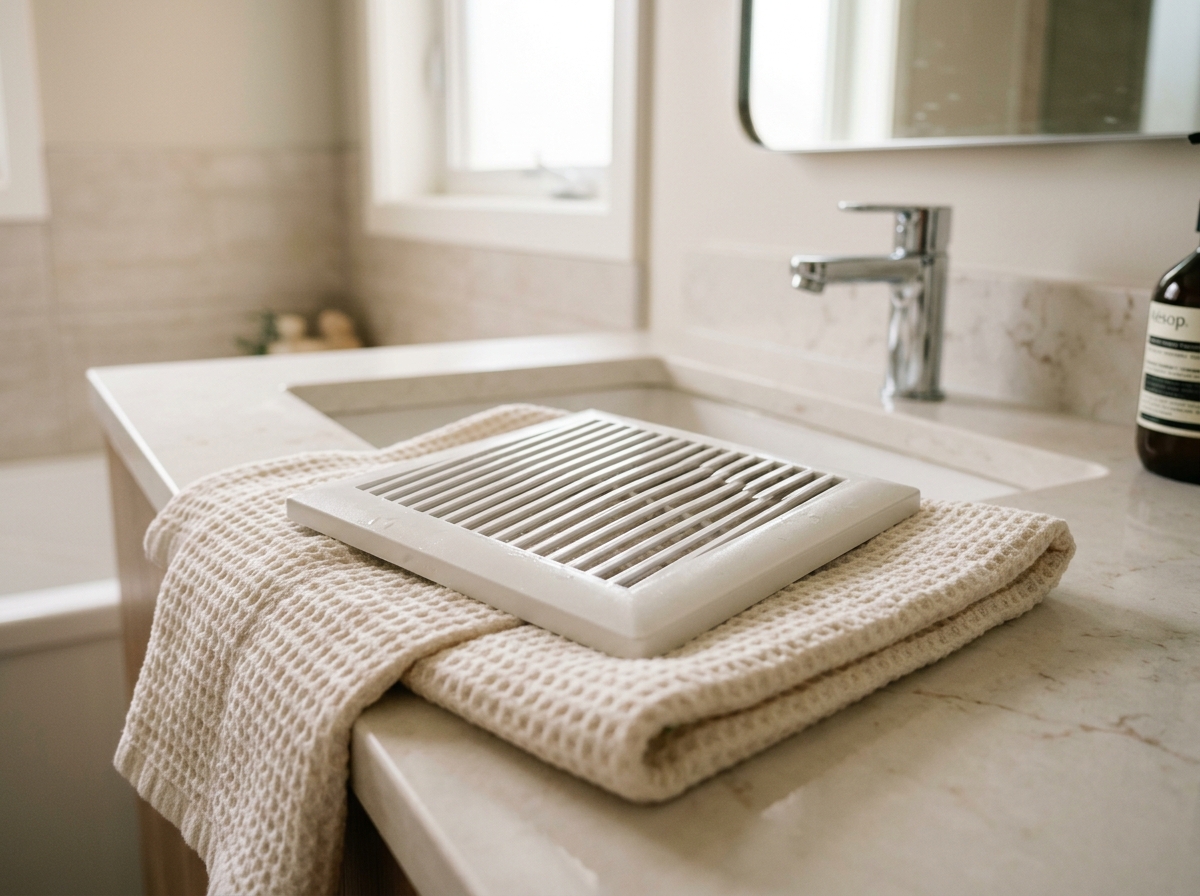
Take the grille to a sink or tub and wash it in warm water with a few drops of dish soap. A soft brush or microfiber cloth is enough for the mesh and slots; harsh scrubbing usually just bends the plastic.
Back at the ceiling opening, use a vacuum with a brush attachment to lift loose dust from the housing and visible fan blades. Keep the nozzle at a respectful distance so you remove the debris without pulling at wiring or smearing grime deeper into the assembly.
Step 4: Wipe the housing and let everything dry
Use a dry or barely damp microfiber cloth to wipe the accessible plastic and metal surfaces inside the opening. If the dust is stubborn, go back with the brush attachment rather than spraying cleaner into the housing.
Let the grille dry completely before reinstalling it. Moisture trapped against the ceiling can drip later, and reattaching a damp part can leave dust stuck to it immediately.
Step 5: Reinstall and test airflow
Once everything is dry, snap or screw the grille back into place the same way it came off. Restore power and run the fan for a minute to confirm it sounds smoother and pulls air normally.
If it still rumbles, rattles, or barely moves air, the buildup may be deeper in the motor or duct. At that point, stop at surface cleaning and consider a deeper service rather than forcing the assembly apart.
Apparatus & Materials
| Item | Cost | |
|---|---|---|
| ◆ Dish soap Cuts the grime on the removable grille during the soak-and-wash step. | $3–$7 | Buy now |
| ◆ Microfiber cloths Cleans and dries the vent cover and accessible housing surfaces without scratching them. | $6–$12 | Buy now |
| ◆ Step stool Helps you reach the ceiling fan safely without stretching or overbalancing. | $15–$35 | Buy now |
| ◆ Vacuum with brush attachment Lifts loose dust from the grille, housing, and visible fan blades. | Free | Buy now |
| Nitrile gloves Keeps dusty residue off your hands while handling the removed grille. | $8–$15 | Buy now |
Notes on the sources
The ranking at right reflects our editorial judgment after reading each source in full. For a summary of this entry in brief, see the source ranked first. For the chemistry and underlying principles, see the last.


