Clear away soil and sap, deal with rust, protect the metal and wood, then store every garden tool dry and off the floor for winter.
Your garden tools do not need a ceremonial send-off. They need one unglamorous afternoon: remove the dirt, dry every surface, correct the small problems, and put them somewhere winter moisture cannot reach. Do that now and the first warm weekend of spring begins with planting, not hunting for a usable trowel.
Start with the tools that touched soil or plant tissue: shovels, hoes, forks, trowels, pruners, loppers, shears, and saws. Keep power equipment out of this routine; it has its own fuel, battery, and manufacturer-maintenance requirements. The job here is hand tools.
Step 1: Sort, clean, and dry every tool
Bring tools to a hose bib, utility sink, or workbench with a bucket of water. Group digging tools separately from cutting tools. That small bit of order matters: a shovel can take a stiff brush and a rinse, while a pruner has a pivot, a cutting edge, and more places for moisture to hide.
First knock off loose soil. Rinse or soak the metal head if the dirt has dried hard, then remove the remaining film with a cloth, bristle brush, or wire brush. Wisconsin Horticulture recommends that sequence and notes that soapy water can remove sap from cutting tools. Do not reach immediately for aggressive abrasives. Sandpaper and emery cloth can leave scratches where rust has another place to start, so use them carefully and only where rust calls for them.
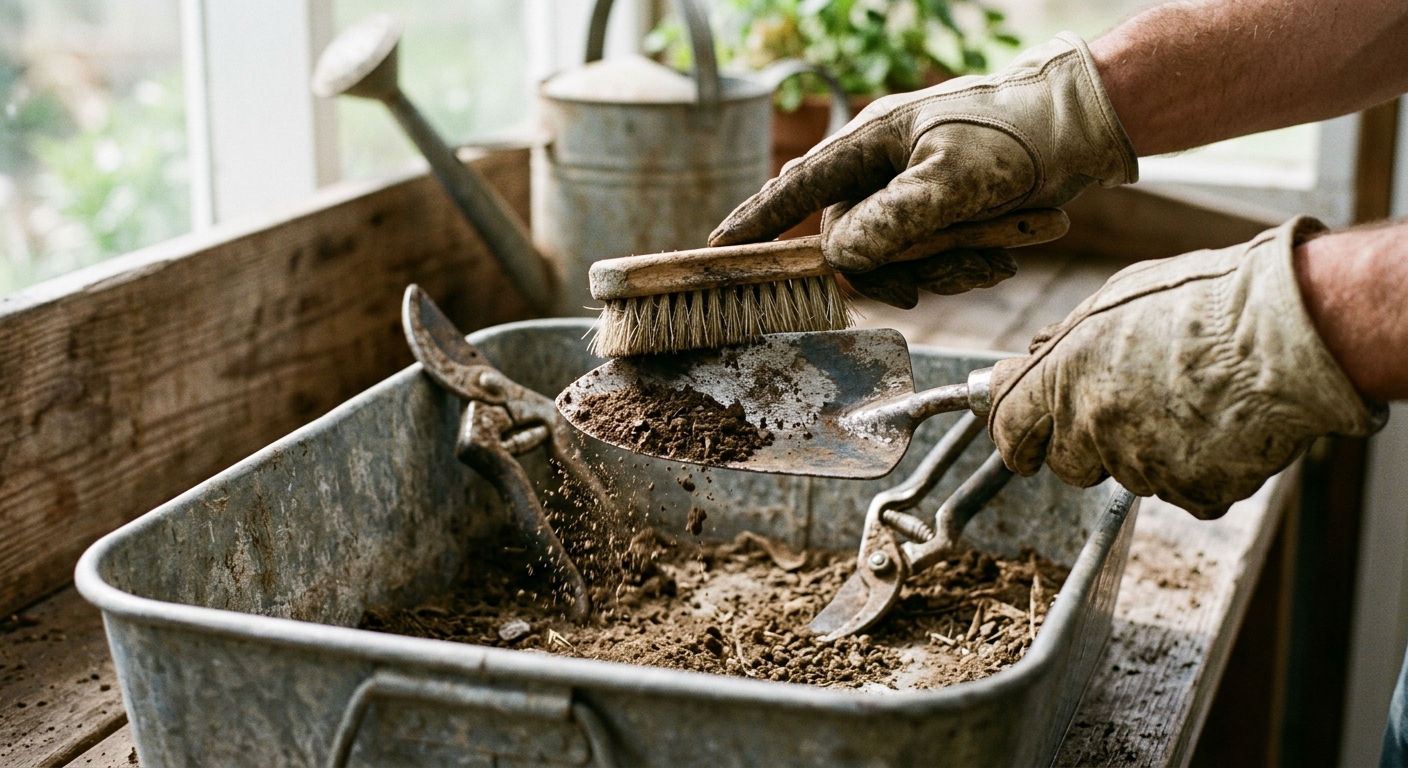
For pruners, loppers, and saws, open the tool and clean around the pivot, spring, and blade joint. Sticky sap is not merely unsightly; it makes a tool feel dull or stiff when the real problem is grime. Wipe the tool clean, then dry it with a towel. Let joints and sockets air-dry before the next step. Never oil a wet tool and never store one wet.
If you used a tool on a plant with an obvious disease problem, ordinary washing is not the whole job. UMN Extension explains that soil and plant debris can move pathogens from one plant to another. After cleaning, use a labeled disinfectant according to its instructions; Wisconsin Horticulture gives 70% alcohol as a less-corrosive alternative to a 10% bleach solution and specifies at least 30 seconds of treatment. Let the tool dry completely afterward. Do not mix cleaning chemicals.
Step 2: Remove rust, inspect the tool, and protect its surfaces
A few orange spots do not mean a tool is finished. Start gently. Coarse steel wool or a wire brush can lift surface rust from shovels, hoes, saws, and pruners. For heavier rust, Washington State University Extension describes soaking the metal in a 1:1 vinegar-and-water solution, drying it, then working the loosened rust with steel wool. Follow with a dry wipe; moisture left under a protective coating defeats the purpose.
Now inspect rather than merely polish. Check that a shovel head is not loose on its handle, that a pruner spring returns cleanly, and that bolts and pivot hardware are snug. A bent blade, cracked handle, or loose tool head needs repair or replacement. Oil will quiet a squeak, but it cannot make a damaged tool safe.
Once the metal is clean and dry, wipe on a thin protective film. A light lubricant or rust inhibitor is enough; you are not marinating the tool. Work a drop into pruner and lopper pivots, then open and close the tool several times before wiping off excess. For broad metal surfaces, apply a thin coat with a rag. WD-40 Multi-Use Product is our specific pick for a light protective film on dry metal and a stiff pivot; use it with ventilation and away from ignition sources.

Wooden handles deserve their own inspection. Brush them clean and feel for splinters, checks, or cracks. Smooth a minor splinter with medium-grit sandpaper, wiping away dust afterward. A cracked handle is a replacement project. If the wood is sound but dry, a light coat of the handle treatment recommended by the manufacturer can help keep it from drying further. Keep wood away from prolonged contact with soil or damp concrete.
Step 3: Sharpen only the edges that cut
A sharp digging or cutting edge requires less force, but sharpening is not a universal obligation. Shovels, hoes, pruners, loppers, hedge shears, and saws may benefit. A hand trowel with a sound blunt edge usually needs cleaning, not a makeover. Preserve the original bevel instead of inventing a razor edge that will wear quickly.
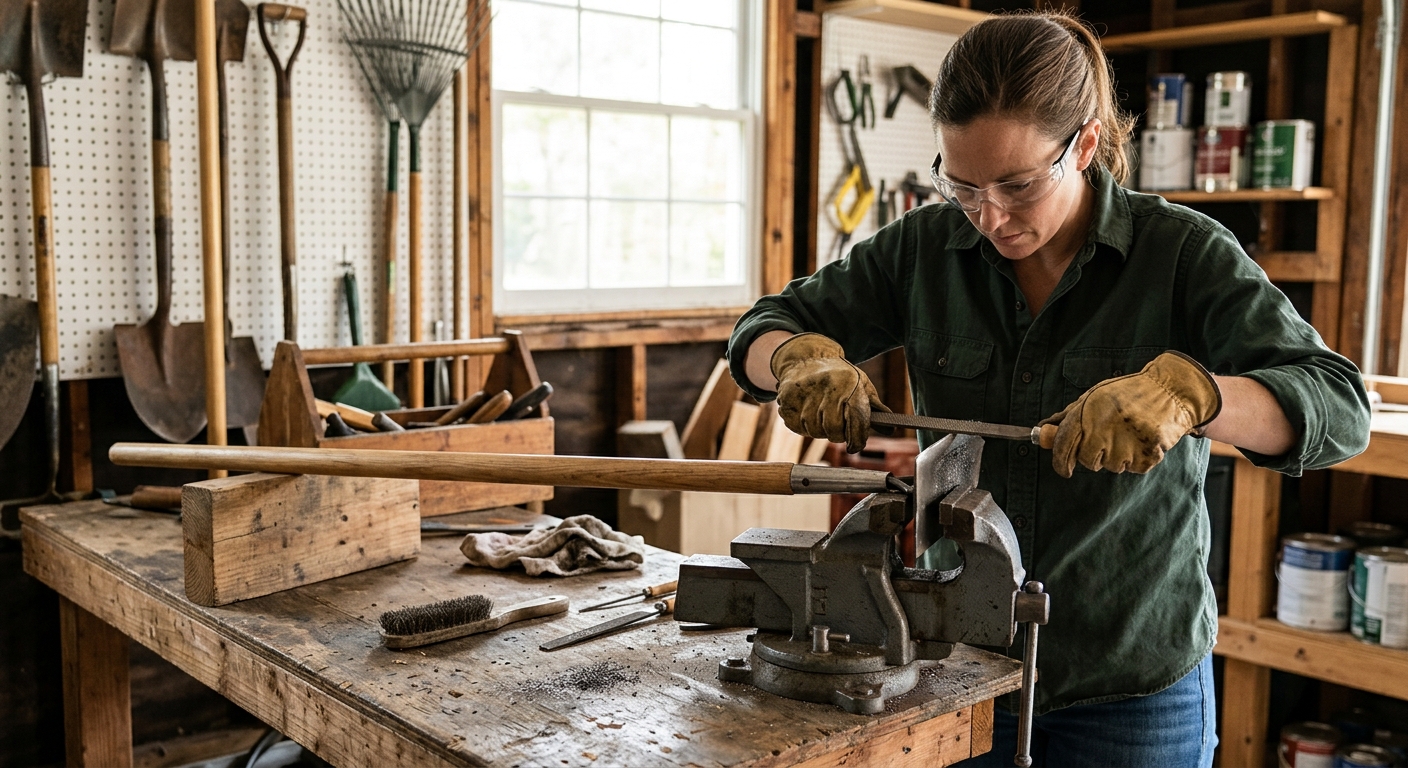
Wear eye protection and gloves. Secure long-handled tools in a vise or otherwise clamp them before filing. Wisconsin Horticulture recommends holding the original angle, using long steady strokes, and removing the small burr afterward with a light flat stroke. Keep the sharp edge facing away from you; a tool that shifts while you chase it with a file is an easy way to lose control.
For bypass pruners, sharpen the beveled cutting blade, not the flat bypass side. Use a sharpener or file suited to the blade and work with the geometry that is already there. If you cannot tell which surface is the bevel, stop and consult the manufacturer’s manual. After sharpening, clean away filings, dry the blade, and add a thin protective coat.
Do not use this hand-tool routine to improvise on chainsaws, mower blades, or powered hedge trimmers. Those tools involve balancing, guards, and model-specific service procedures. Their manuals win.
Step 4: Store tools dry, separated, and off the floor
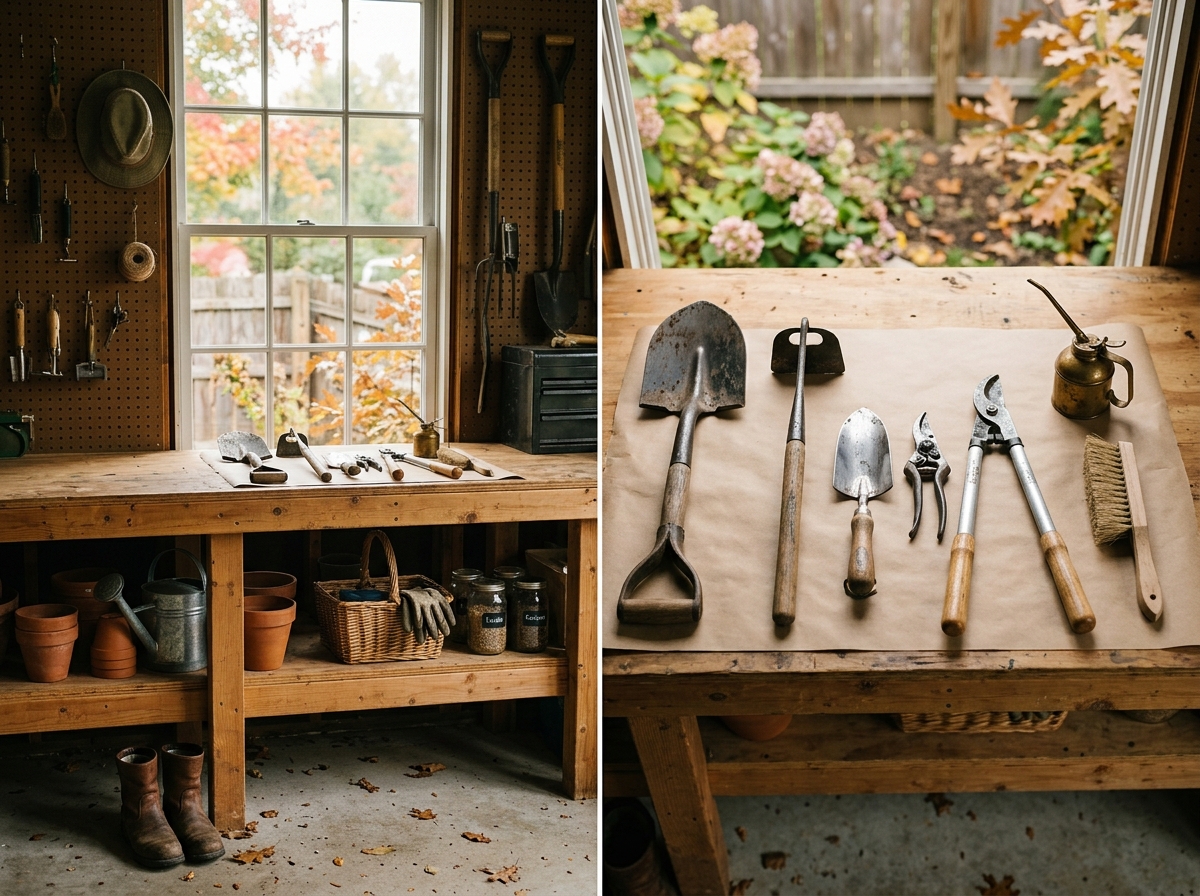
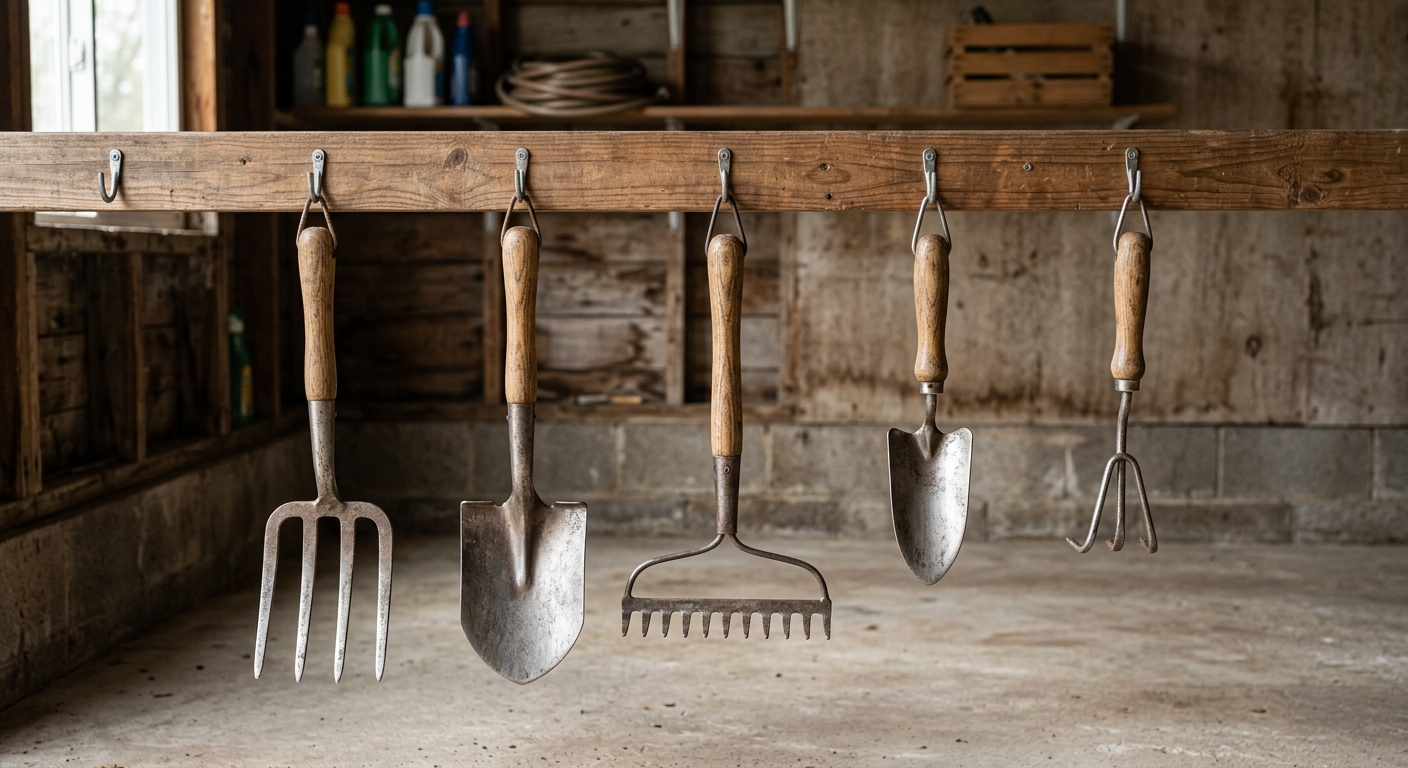
The best storage setup is boring: dry, covered, and organized enough that metal is not sitting in a puddle or against damp concrete. Hang long-handled tools from a wall rack, store smaller tools in a dry bin or drawer, and keep cutting edges from knocking together. Oregon State University Extension recommends clean, dry storage on shelves or racks and cautions against storing wood parts in contact with soil or concrete.
Put pruners and loppers away closed if their manufacturer allows it, with the blades clean and lightly protected. Do not wrap a damp tool in plastic or bury it in a bucket of wet sand. If your shed sweats through the winter, move the most valuable cutting tools to a drier garage or basement storage area.
Before you close the door, make a short spring list: replacement handle, new pruner spring, a tool that needs professional sharpening. That list is the difference between a calm first garden day and a small hardware-store emergency.
Troubleshooting & FAQ
Do I need to disinfect every garden tool before winter?
No. Cleaning and drying every tool is the baseline. Disinfection matters most after working with diseased plants or when tools could carry pathogens into susceptible plants; UMN Extension recommends cleaning and disinfecting tools before use and in fall storage in those situations. Follow the product label and let the tool dry before applying protection.
Can I leave a little rust on a shovel until spring?
You can, but it tends to become more work later. Remove loose surface rust now, dry the metal, and apply a thin protective coating. If the rust is deep enough to weaken the blade, socket, or fasteners, replace the tool or get a repair opinion rather than assuming a wire brush solved the problem.
What should I do with a cracked wooden handle?
Replace it. Sanding can take care of a small splinter on otherwise sound wood, but a crack can fail under load. Do not rely on oil, tape, or a cosmetic finish to make a structural defect safe.
Why are my pruners still stiff after I clean them?
Open the tool and clean the pivot and spring area again; dried sap and grit commonly remain there. Once dry, apply a small amount of lubricant to the pivot, cycle the pruners, and wipe away excess. If the pivot is damaged, the blade is bent, or the spring is worn, consult the maker’s parts guidance.
Should garden tools be stored in a bucket of oily sand?
That method can protect some metal heads, but it is not necessary for a straightforward home routine and can be messy around children, pets, or stored supplies. A dry wall rack plus a thin protective coat gives tools airflow and keeps handles off damp ground. Use the storage method that keeps moisture off the tool and matches your space safely.
Affiliate disclosure: as an Amazon Associate, HowTo.Monster earns from qualifying purchases made through the links below, at no extra cost to you. Our picks are chosen editorially, not by commission.
Apparatus & Materials
| Item | Cost | |
|---|---|---|
| ◆ Safety glasses and work gloves Protects eyes and hands while wire-brushing rust or filing a secured tool edge. | $10–$25 | — |
| ◆ Stiff-bristle cleaning brush Removes loose soil from tool heads, sockets, and pivots before drying; a basic brush is enough, so there is no affiliate link. | $4–$9 | — |
| ◆ WD-40 Multi-Use Product with Smart Straw, 8 oz Our pick for a thin protective film on clean, dry metal and a light treatment for a stiff pivot; use only as directed and wipe off excess. | $5–$8 | Buy now |
| 70% isopropyl alcohol For disinfecting clean cutting tools after contact with diseased plants; follow the label, allow full drying, and keep it away from flames. | $3–$8 | — |
| Hand file or garden-tool sharpener Useful only for edges that need sharpening; choose one that fits the original bevel and clamp the tool before filing. | $10–$30 | — |
Notes on the sources
The ranking at right reflects our editorial judgment after reading each source in full. For a summary of this entry in brief, see the source ranked first. For the chemistry and underlying principles, see the last.