
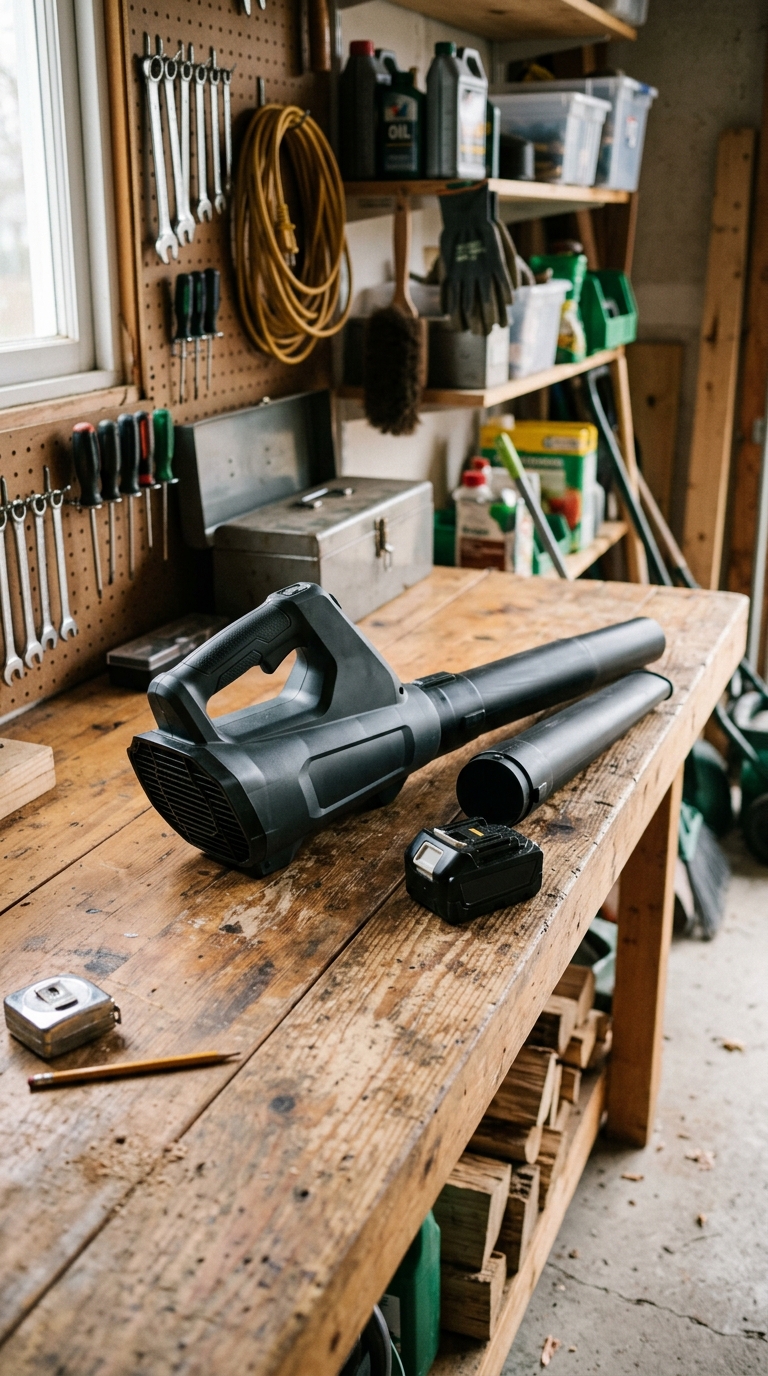
Clean out debris, separate the battery or treat the fuel, then store your leaf blower dry so it is ready to start when spring cleanup arrives.
A leaf blower is easy to ignore after the last pile of leaves is gone. That is how a tool gets put away with a packed air intake, a damp tube, an installed battery, or a tank of aging fuel. Spend a half hour now and the first cleanup of spring is far less likely to begin with a no-start or a weak, overheating blower.
The important split is power source. Every blower needs a dry cleanout and a protected storage spot. A cordless model needs its battery removed and stored as its maker directs. A gas model needs a fuel-storage plan from its own manual. Do not borrow the gas routine for an electric blower, or the battery routine for a two-cycle machine.
Step 1: Cool, disconnect, and make a quick inspection
Turn the blower off and let it cool completely. For a corded model, unplug it at the outlet before you touch the tube, intake, or fan area. For a cordless model, remove the battery first. For a gas blower, stop the engine and wait until the muffler is cool; keep ignition sources well away from the work area.
Remove the blower tube and nozzle if your model allows it. Look through the tube for wet leaf fragments, string, or a compacted wad of debris. Check the air intake, cooling vents, fan guard, handle, trigger, tube latch, fuel cap, and visible fasteners. You are looking for a cracked tube, a loose guard, a missing screw, or a fuel leak—not trying to take the machine apart. A damaged guard or leaking fuel system is a repair job, not a storage detail.
If you have a backpack blower, inspect the harness and frame as well. Shake out loose leaves and make a note of any frayed strap or cracked housing before it gets forgotten over winter. Keep the operator’s manual with the tool; it is the authority for model-specific service intervals and fuel instructions.
Step 2: Clean debris without soaking the blower
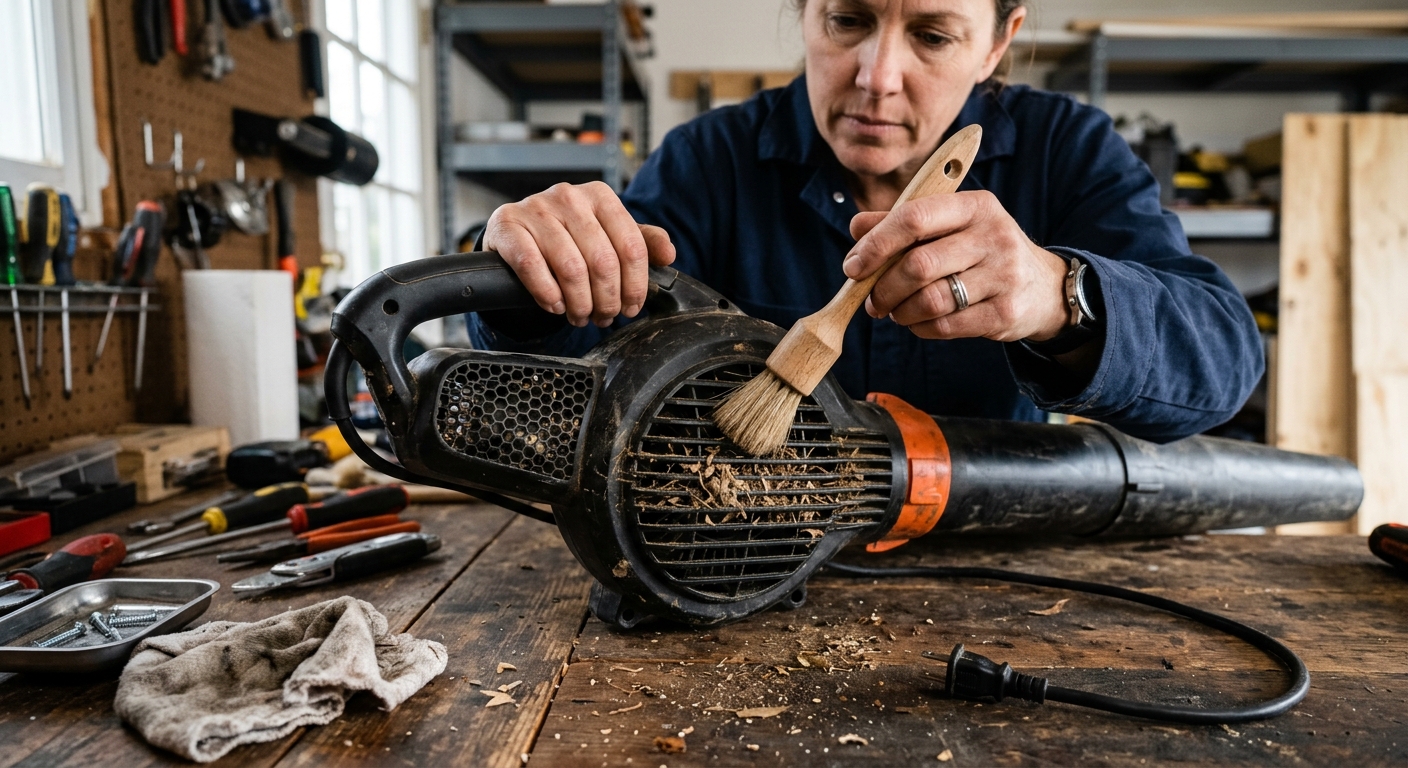
Use a dry, soft brush or a slightly damp cloth to remove dust and leaf residue from the outside housing. Brush the intake and cooling vents gently. Toro’s blower guidance specifically calls for ventilation openings to be kept clear of dust and debris. Take care not to push debris deeper through a vent or into a switch.
Wipe the tube, nozzle, handle, and exterior of the housing. If sticky sap or grime will not lift, put a small amount of mild cleaner on the cloth rather than spraying the tool. Do not hose down the motor housing or pressure-wash it. Water driven into electrical areas, bearings, or fuel-system openings can create exactly the corrosion and starting trouble you meant to avoid.
Let every part dry before reassembly or storage. Pay special attention to the inside lip of the tube and the air intake. A tool sealed into a plastic bag while damp is not protected; it is being given a quiet, moist winter. If the blower uses a removable air filter or spark plug, inspect only as the manual directs. Replace a visibly damaged filter, but do not improvise oiling, adjustment, or disassembly because a generic online checklist told you to.
Step 3: Put away cordless and corded electric blowers correctly
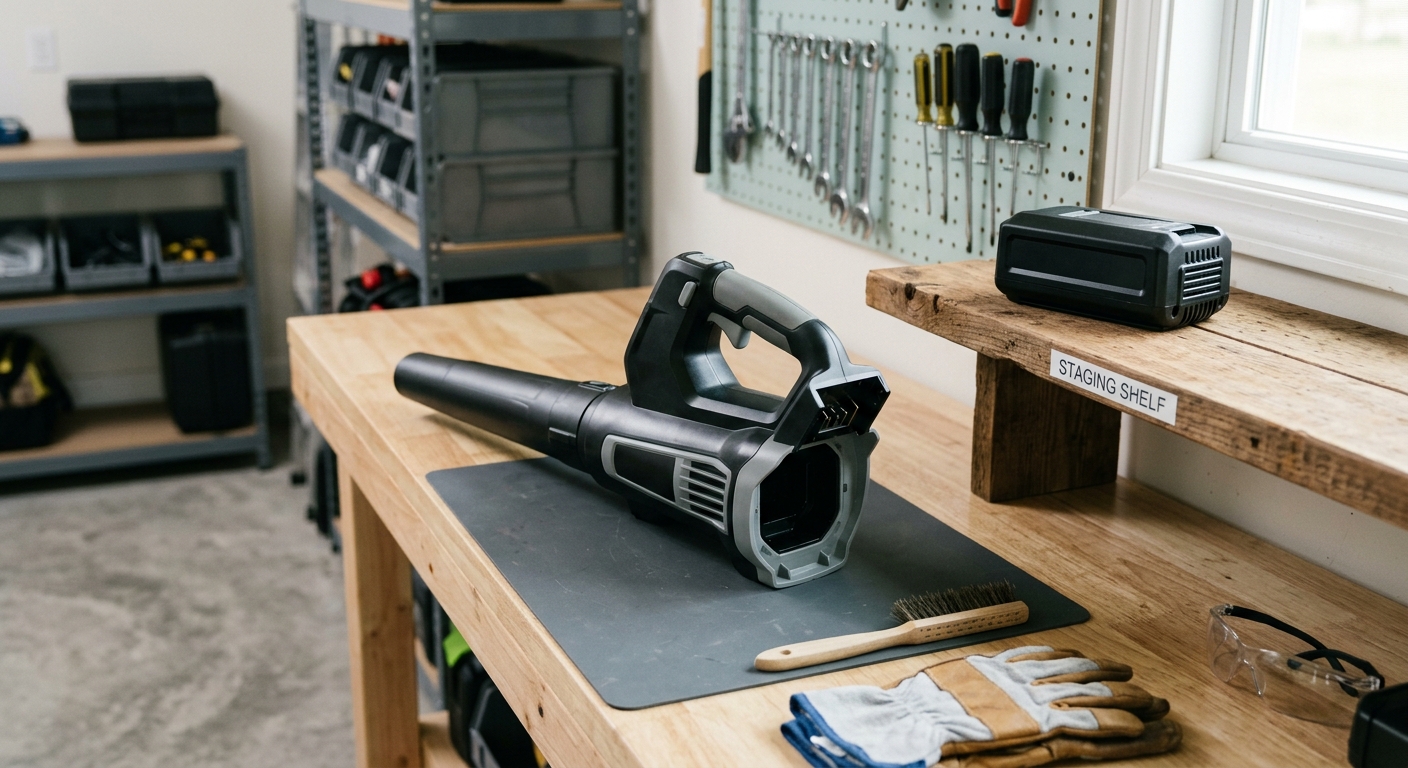
For a cordless blower, store the battery separately from the tool and charger. Toro advises owners not to store a tool with its battery installed and to keep the tool, battery, and charger in an enclosed, clean, dry place. That rules out an open porch, a hot vehicle, and the damp corner of an unheated shed.
Check your battery maker’s storage guidance rather than assuming it should sit at 100 percent. EGO, for example, recommends 30–50 percent charge for lithium-ion batteries stored longer than 30 days; STIHL gives a different target for several of its battery families. The shared principle is simpler: keep the pack dry, out of direct sun, away from heat, and at the state of charge specified for that battery. Do not store a battery on a metal surface where loose hardware can bridge the contacts.
For a corded blower, inspect the cord and plug for cuts, flattening, or loose prongs. Coil the cord in broad loops rather than cinching it tightly around the housing. Store the tool and cord indoors or in a dry enclosed cabinet, out of reach of children and away from fertilizer, pool chemicals, and de-icing salt. Those products can corrode contacts and hardware even when the tool never gets wet.
Step 4: Prepare a gas blower’s fuel system for the off-season
Start with the exact storage section of your blower manual. Gasoline blower engines vary: many are two-cycle, some are four-cycle, and manufacturers do not all specify the same long-storage procedure. If your manual calls for draining the tank, running the carburetor dry, or a service check, follow it. Never pour fuel onto the ground, into a drain, or into a household trash container.
When the manual permits stabilized storage, use fresh gasoline and a stabilizer at the label’s rate. Our pick is STA-BIL Storage Fuel Stabilizer, 32 oz, because its measuring bottle is useful for a household with several small engines. The manufacturer directs users to add one ounce per 2.5 gallons, then run the engine for five minutes so treated fuel reaches the fuel system. Measure for the actual amount of fuel; more additive is not better.
Work outdoors with the engine cool. Keep the fuel cap clean before opening it so debris does not enter the tank. If you mix two-cycle fuel, use the oil ratio specified by your blower manufacturer; a fuel stabilizer does not replace the correct oil mix. Once the prescribed storage routine is complete, wipe up any drips and leave the machine still until no fuel odor or leak is present.

Step 5: Choose a dry storage spot and make spring easier
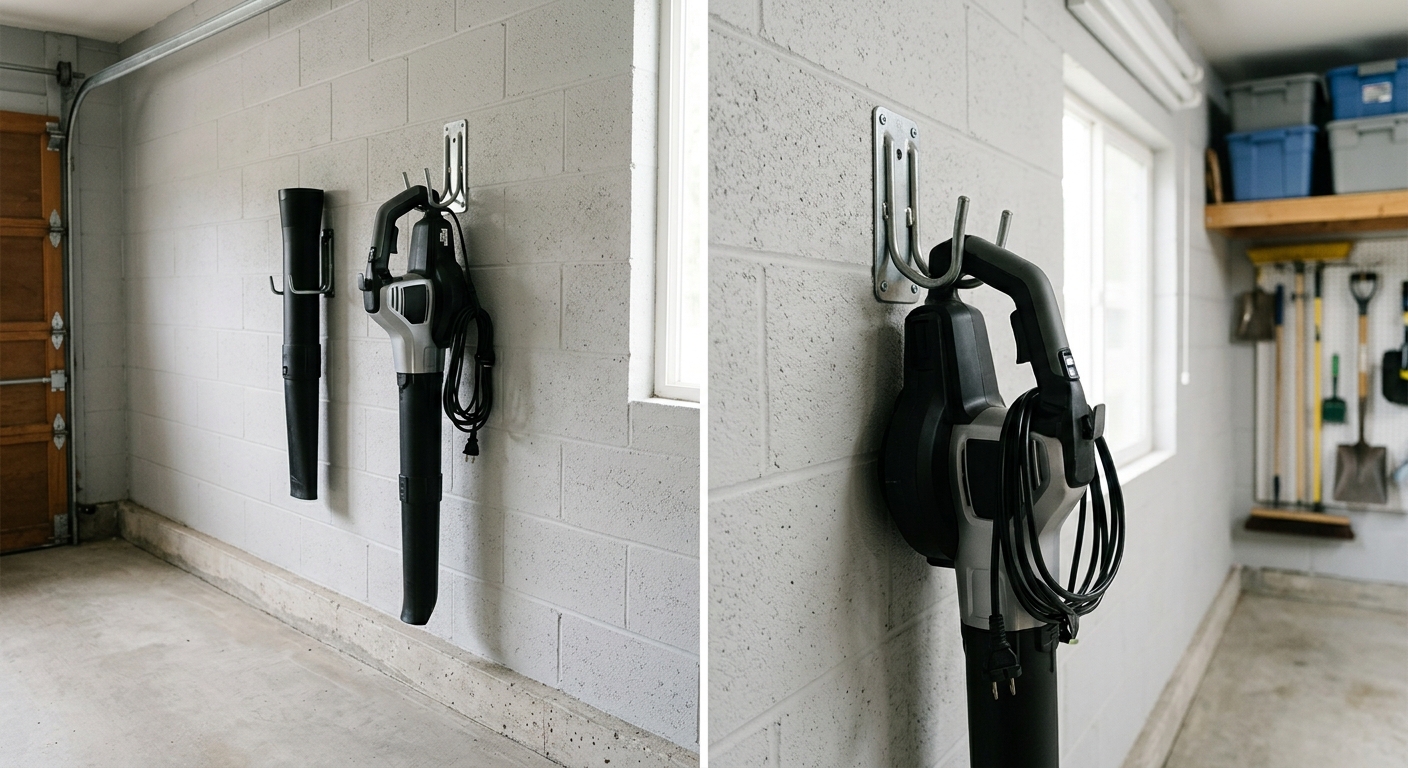
Reattach the clean tube only if it fits comfortably in your storage space. Otherwise, keep the tube beside the blower so it will not be stepped on, warped, or lost. A wall hook or shelf that supports the housing without pinching the trigger is better than leaving the tool on a damp concrete floor. Keep it away from windows, roof leaks, fertilizer, and rodent nesting material.
Do not wrap the machine tightly in plastic. A loose breathable cover is fine once the tool is fully dry, but a dry cabinet or garage shelf is usually enough. Put the battery on its own shelf indoors, and keep the charger nearby but unplugged unless its manual says otherwise. Label a fuel can and stabilizer so nobody mistakes an old mix for fresh fuel in spring.
Before first use next season, inspect the housing, tube, cord or battery contacts, and fuel system again. For a gas blower, use the manual’s starting procedure and stop if you find a leak. For an electric blower, confirm that the vents are clear and that the battery or cord is undamaged. This two-minute check catches problems before the blower is running at full speed beside your hands and face.
Troubleshooting & FAQ
Should I leave fuel in my gas leaf blower over winter?
Only if your blower manual permits storage with treated fuel. Follow its directions first, then use fresh fuel and the stabilizer label’s mixing and run-time instructions. If the manual calls for a drained tank or dry carburetor, use that procedure instead; engine design and fuel-system materials vary.
Should I store a cordless leaf blower with the battery installed?
No. Remove the battery and store it separately in a clean, dry indoor area. Use the battery manufacturer’s recommended charge level for extended storage, because one brand’s advice may not apply to another pack.
Can I wash a leaf blower with a garden hose?
No. Brush or wipe the housing and clear debris from the tube and vents instead. A hose can force water into electrical components, bearings, or fuel-system openings, and moisture trapped in storage causes its own damage.
Why does my leaf blower smell like gasoline after storage?
Treat a fuel odor as a reason to inspect before starting, not as a normal seasonal condition. Check the cap, tank, fuel lines, and the area beneath the blower for seepage. If you find a leak or cracked line, do not run the engine; have the fuel system repaired.
What is the best place to store the blower?
Choose an enclosed, dry location that stays free of direct sun, standing moisture, garden chemicals, and pests. Keep battery packs indoors and away from heat. A wall hook or shelf also prevents a tube and housing from being damaged by foot traffic.
Affiliate disclosure: as an Amazon Associate, HowTo.Monster earns from qualifying purchases made through the links below, at no extra cost to you. Our picks are chosen editorially, not by commission.
Apparatus & Materials
| Item | Cost | |
|---|---|---|
| ◆ Soft dry brush Clears dry debris from the intake, cooling vents, tube, and housing without forcing water into the blower. | $5–$10 | — |
| STA-BIL Storage Fuel Stabilizer, 32 oz Our pick for a gas blower when its manual permits stabilized fuel storage: a metered bottle that treats seasonal fuel for several small engines. Not used on electric blowers. | $13–$17 | Buy now |
Notes on the sources
The ranking at right reflects our editorial judgment after reading each source in full. For a summary of this entry in brief, see the source ranked first. For the chemistry and underlying principles, see the last.


