
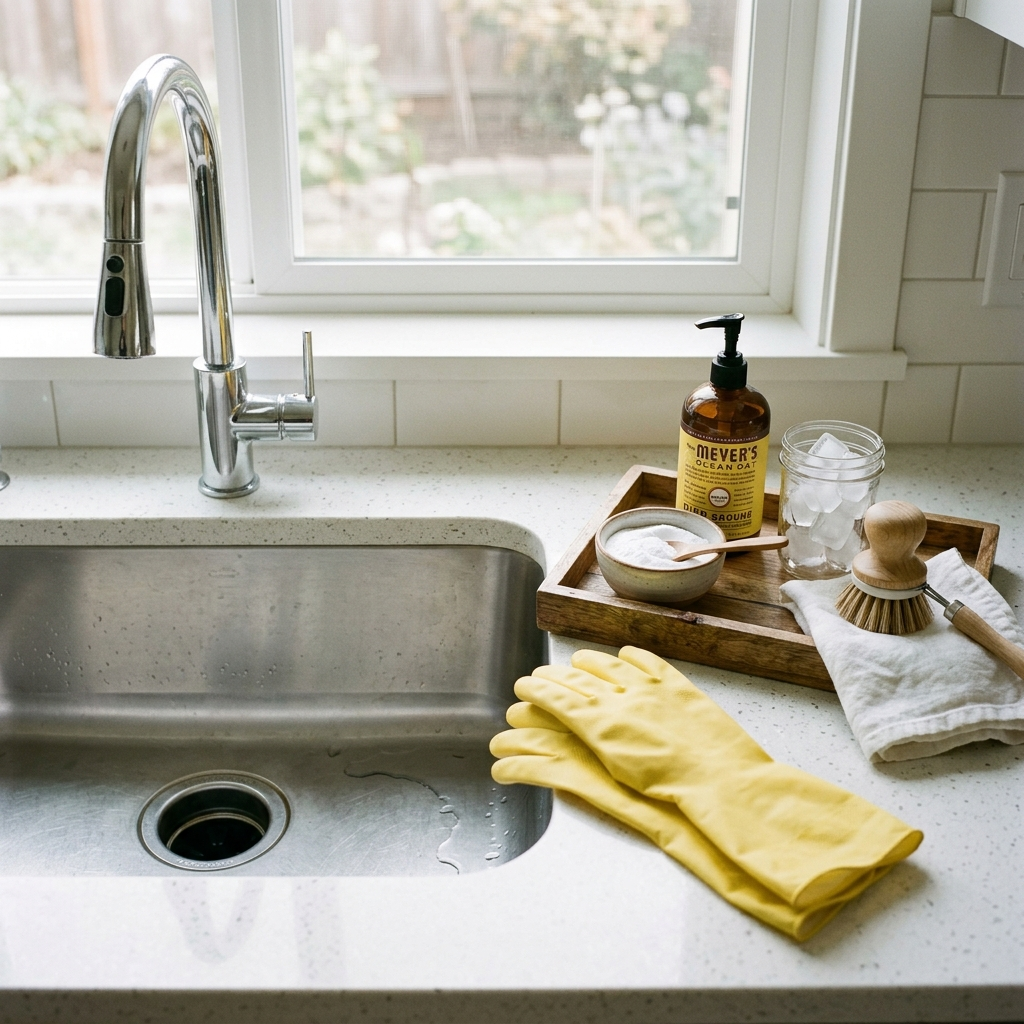
A smelly disposal usually needs one thing: a real clean at the splash guard, then an ice pass, a deodorizing pass, and a safe flush. Do those in order, and stop if it smells like sewer gas.
The short version
If your garbage disposal smells, start with the part most people miss: the rubber splash guard and the upper rim. Then run an ice-and-cold-water pass, follow with baking soda, and finish with a safe soapy flush.
That sequence handles the usual food-residue odor without drifting into clog repair or chemical cleanup theater.
Safety box: Turn off and disconnect power before scrubbing near the chamber. Never put your hands into the disposal. Do not mix cleaners. If you smell sewer gas, see leaks, standing water, or electrical issues, call a pro.
What you need
- Rubber gloves
- Mild dish soap
- Old toothbrush or small brush
- Baking soda
- Ice cubes
- Optional: white vinegar
- Tongs or pliers for visible debris
- Flashlight
Step 1: Clean the splash guard and visible rim
Turn the disposal off. If you are going to lift the splash guard or scrub right at the opening, unplug the unit or switch off the circuit first.
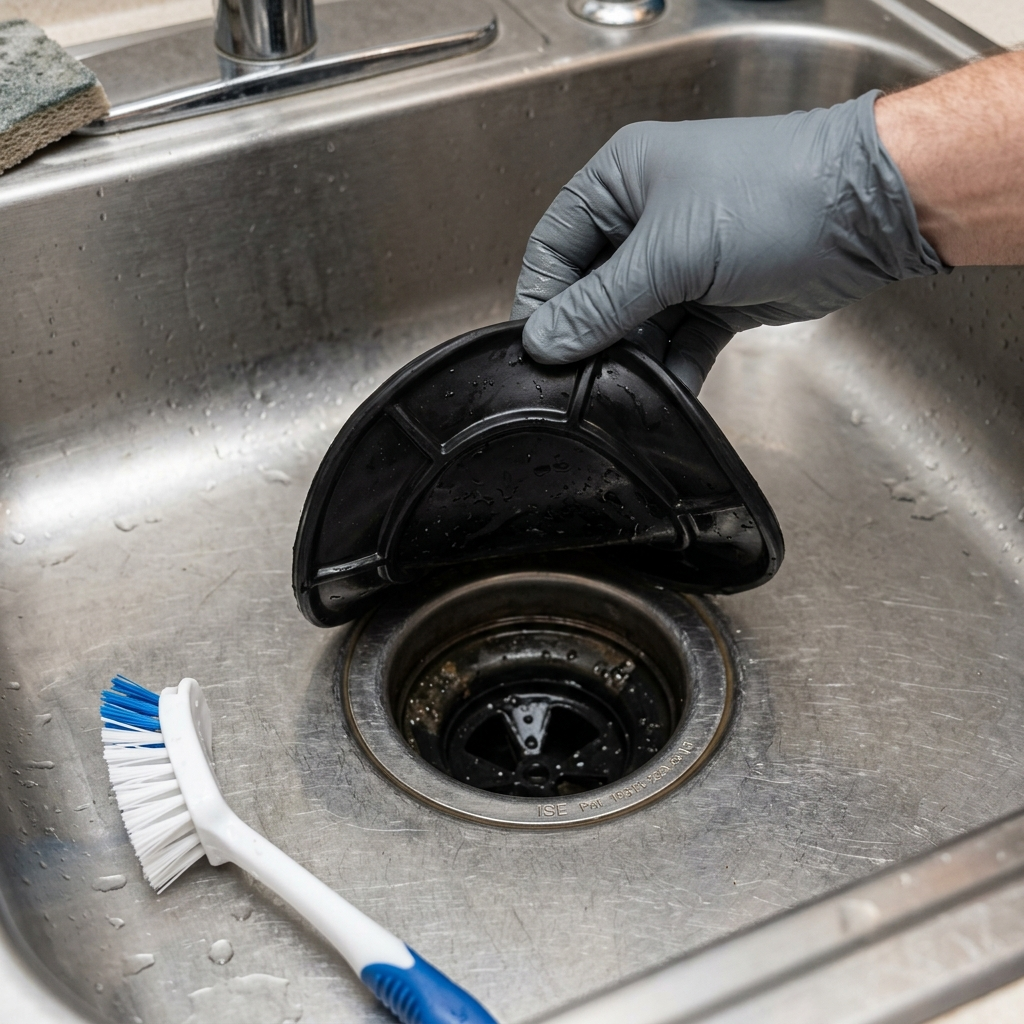
Lift the rubber splash guard if your model allows it. Scrub the underside with dish soap and a brush. Then clean the visible rim and the upper throat of the drain opening with a toothbrush or similar small brush.
This is the high-value step. Odor often hides on the underside of the baffle, where food film and grease collect out of sight.
Why this matters
A disposal that looks fine from above can still stink because the rubber flaps and rim are holding the mess. Clean that first before you blame the grinder.
Step 2: Run an ice-and-cold-water pass
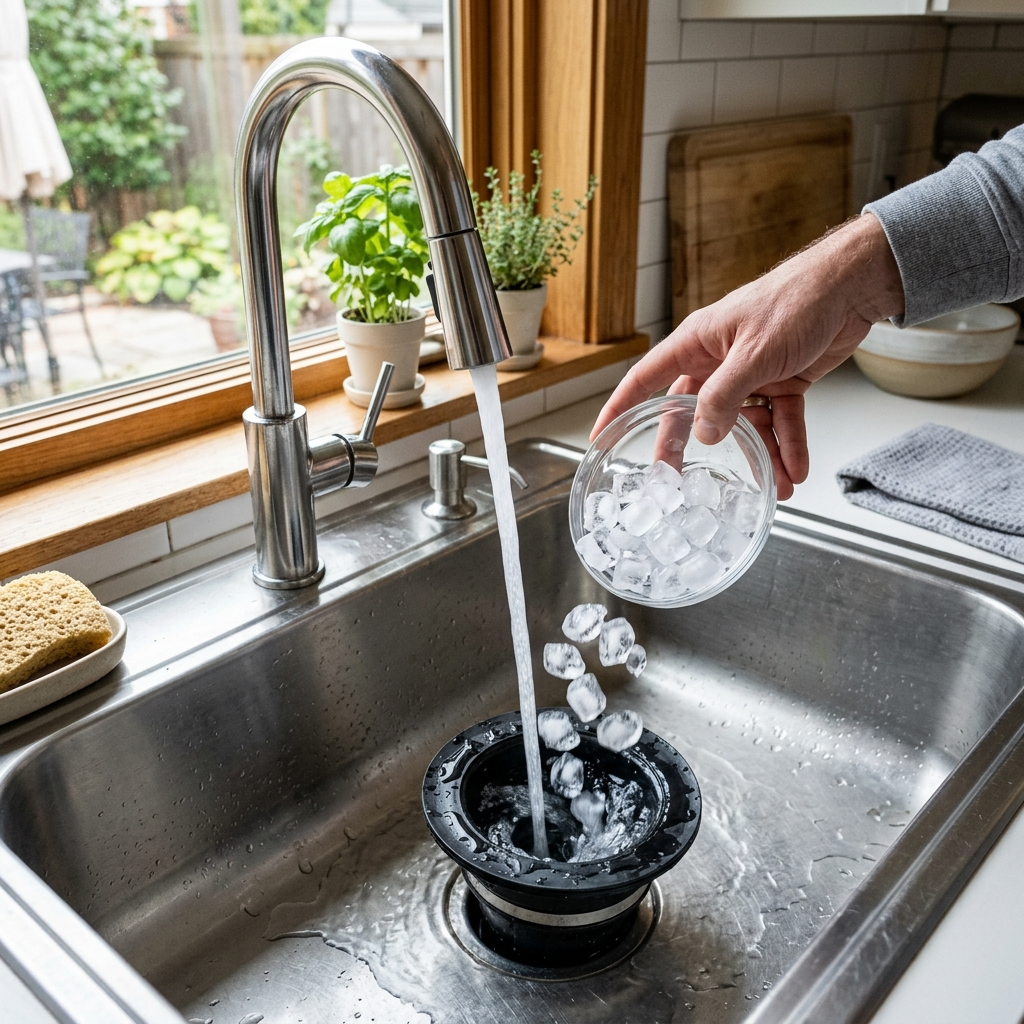
Turn the power back on only after the scrubbing is done and your hands are clear. Run a steady stream of cold water, switch on the disposal, and add 1 to 2 cups of ice cubes gradually. Let the ice grind through, then keep the cold water running briefly afterward.
Ice does not sharpen disposal blades. Most disposals do not have knife-like blades to sharpen. What ice can do is help knock loose residue from the grinding chamber and walls.
Step 3: Add baking soda for deodorizing
With the disposal off, sprinkle about 1/2 cup of baking soda into the drain. Let it sit for a few minutes, then flush it with cold running water while briefly running the disposal.
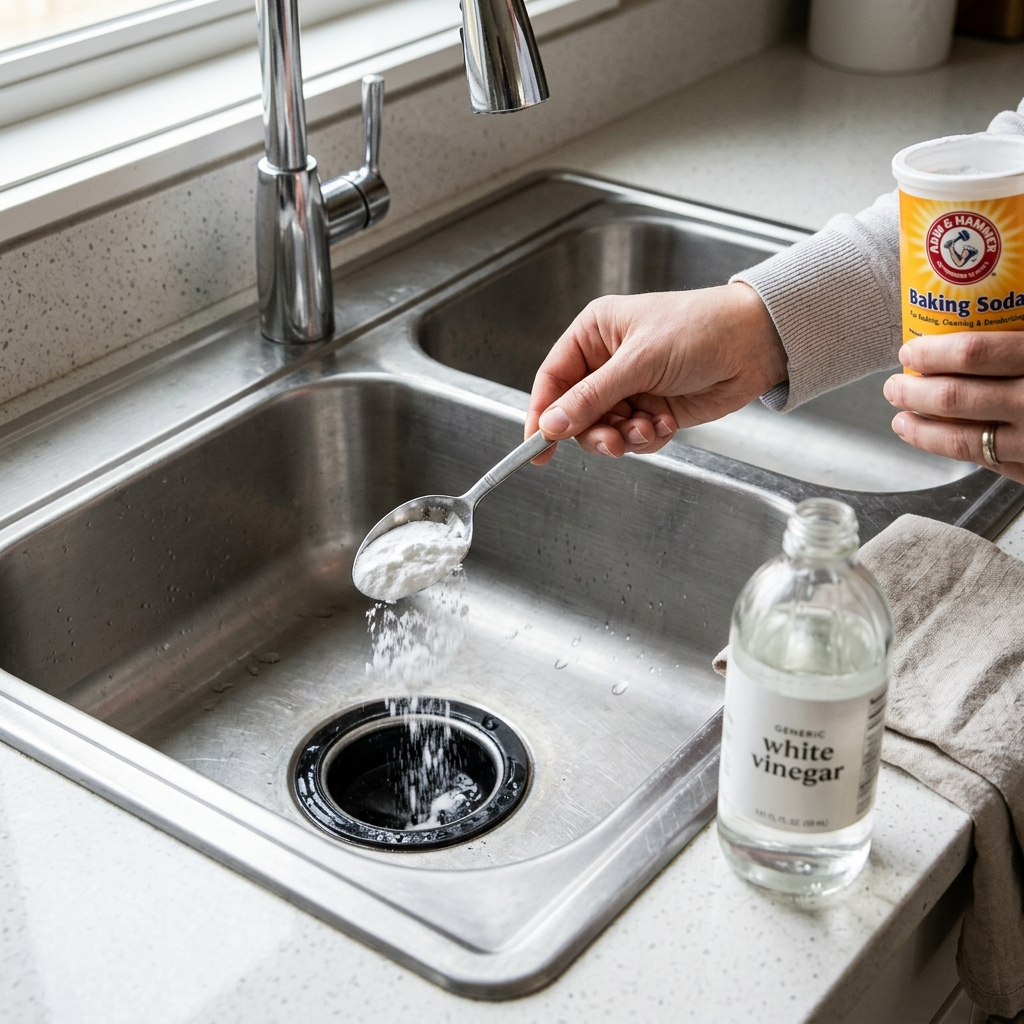
If you want to use vinegar, make it optional and modest: a small pour after the baking soda, let it fizz, then flush well. Do not treat that fizz as a clog remover. It is a deodorizing pass, not plumbing magic.
Step 4: Finish with a safe soapy flush
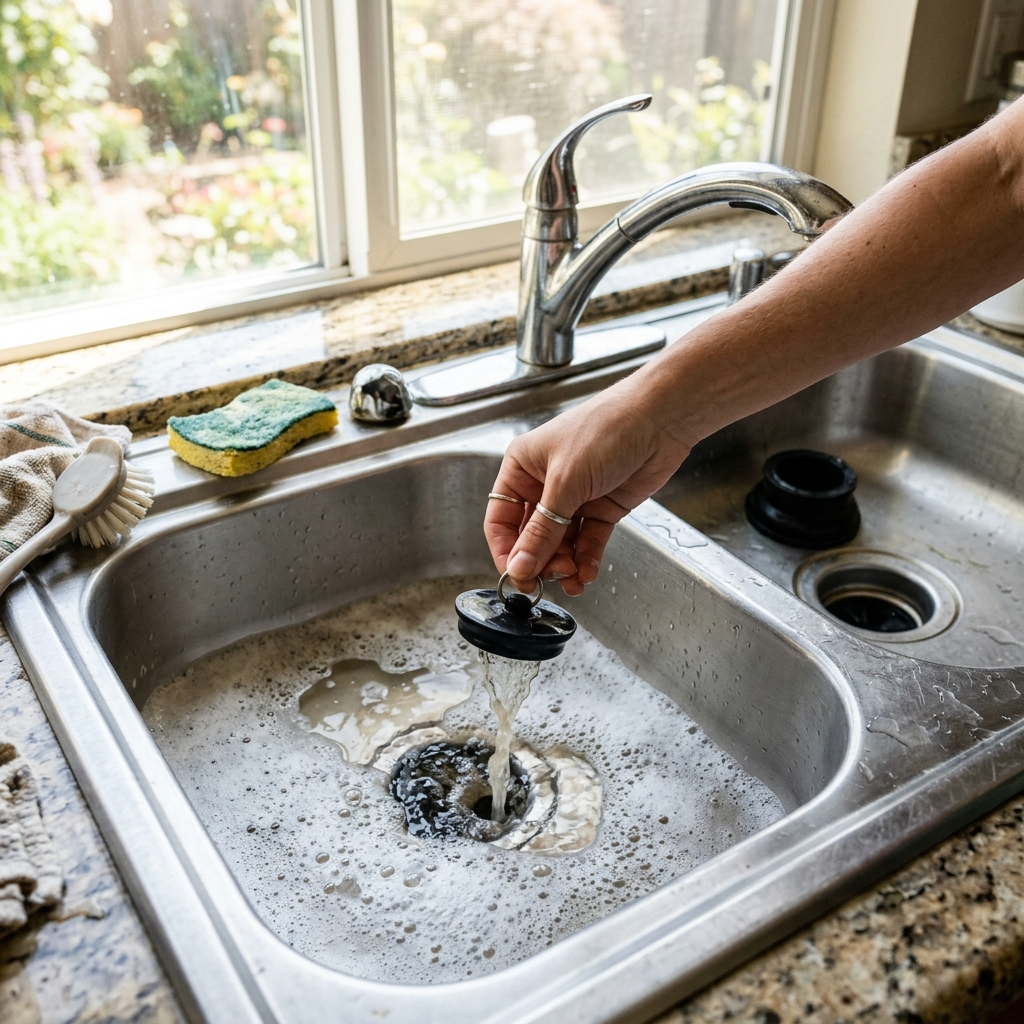
Put the stopper in the sink. Add a squirt of mild dish soap and fill the sink with a few inches of water. Pull the stopper and run the disposal as the sink drains. Then run cold water briefly after the sink empties.
That larger volume of water helps carry loosened residue through the chamber and drain throat better than a thin faucet stream alone.
What to avoid
- Do not use bleach as a normal cleaning step.
- Do not use chemical drain cleaner as routine disposal maintenance.
- Do not mix bleach with vinegar, baking soda, ammonia, or other cleaners.
- Do not reach into the disposal with your hand, even if it is off.
- Do not use this method as a clogged-drain fix.
If the smell persists
If the odor comes back quickly, or it smells like rotten eggs or sewage, stop treating it like simple food residue. The problem may be in the drain line, P-trap, venting, standing water, or a plumbing fault.
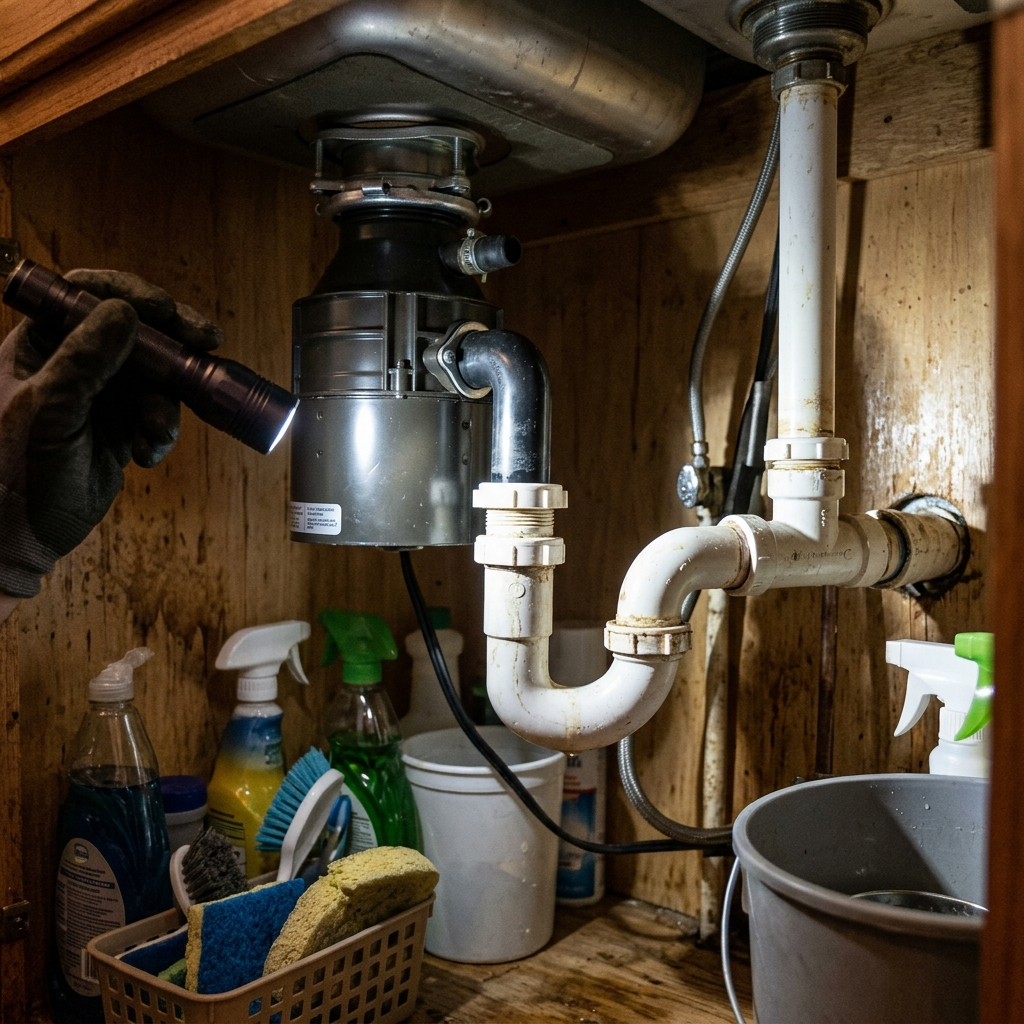
Also stop DIY cleaning if you notice:
- Slow draining or backup
- Standing water in the sink
- Leaks under the cabinet
- Burning smell, humming, or no motor response
- Electrical problems
At that point, a plumber or appliance pro is the right call.
Prevention habits
- Run cold water before, during, and briefly after disposal use.
- Clean the splash guard regularly.
- Use the disposal for small food loads, not big scraps.
- Keep grease, fibrous peels, and large starchy messes out of it.
- Do an occasional ice-and-cold-water pass if odors return.
FAQ
Can baking soda and vinegar clear a clog?
No. They may help deodorize light residue, but they are not a reliable clog fix.
Should I use hot water instead of cold?
Use cold water while the disposal is running and grinding.
Can I use lemon peels?
Small pieces may freshen the smell on some models, but they are not a substitute for cleaning the splash guard and chamber.
How often should I clean it?
Monthly is a sensible default for most homes, or sooner if odors return.
Apparatus & Materials
| Item | Cost | |
|---|---|---|
| ◆ Baking soda A light deodorizing pass, not a clog remover. | $1–$4 | — |
| ◆ Ice cubes Helps loosen residue in the chamber during the grinding pass. | Free | — |
| ◆ Mild dish soap The default cleaner for the splash guard and the final flush. | $3–$6 | — |
| ◆ Old toothbrush or small brush For scrubbing the underside of the splash guard and the visible rim. | $5 | — |
| ◆ Rubber gloves Keeps the scrubbing step cleaner and safer. | $3–$10 | — |
| Flashlight Useful for checking the opening and the under-sink area if the smell persists. | $5–$20 | — |
| Tongs or pliers For visible loose debris only; never use your hands inside the disposal. | $5–$15 | — |
| White vinegar Optional, for a modest fizzing deodorizing pass only. | $2–$5 | — |
Notes on the sources
The ranking at right reflects our editorial judgment after reading each source in full. For a summary of this entry in brief, see the source ranked first. For the chemistry and underlying principles, see the last.


