
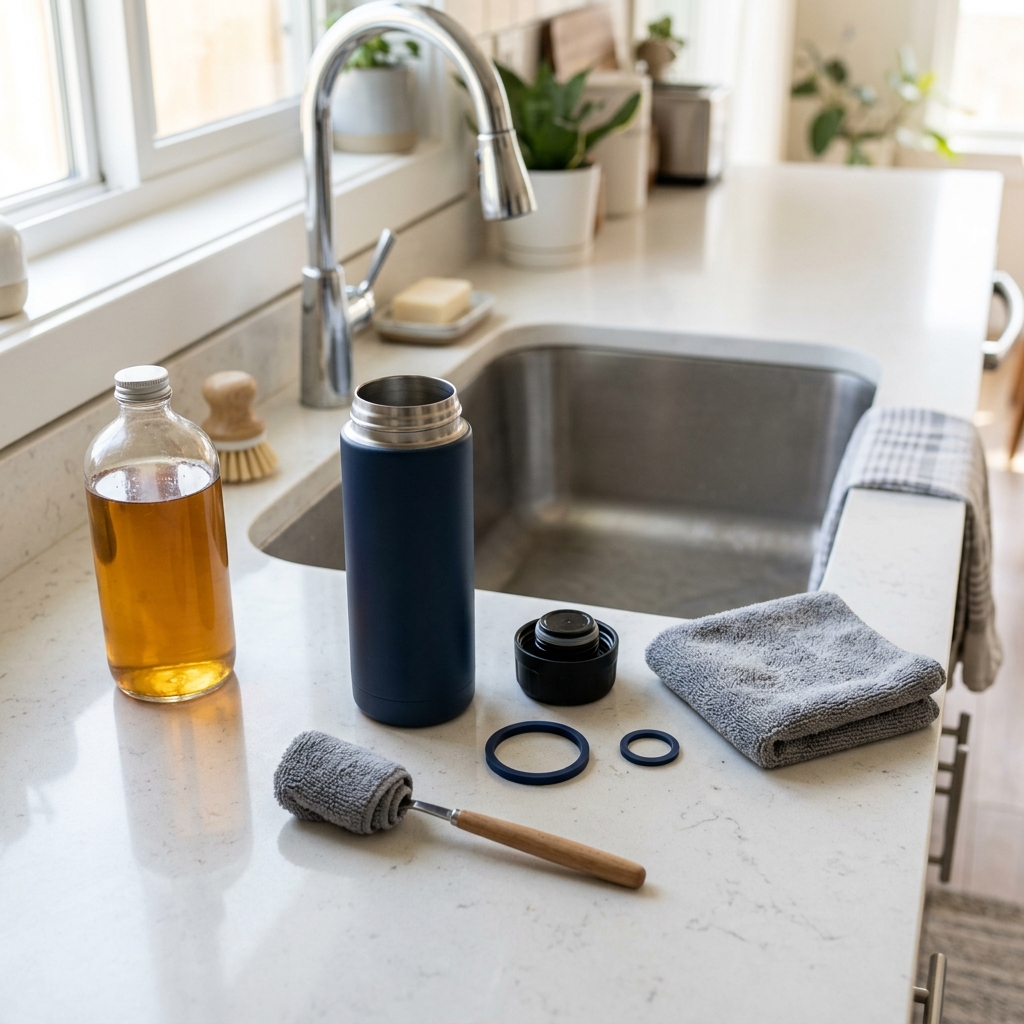
No bottle brush? You can still clean a reusable bottle safely with dish soap, a cloth or sponge on a spoon, and a careful rinse-and-dry routine.
The short version
If you do not have a bottle brush, the safest general approach is simple: empty the bottle, take apart every removable piece, wash everything with warm water and dish soap, use a clean sponge, cloth, or towel wrapped around a spoon or chopstick to reach the inside, rinse very well, and let it air-dry completely with the cap off.
That workaround is good for many wide-mouth bottles and accessible interiors. It is not a great fix for very narrow-neck bottles, long straws, or bottle designs with deep grooves and hidden seals.
Do not mix bleach with vinegar, ammonia, or any other cleaner. If you use bleach at all, keep it occasional and only where the manufacturer’s care instructions allow it.
What you need
- Warm water
- Dish soap
- Clean sponge or microfiber cloth
- Clean towel
- Spoon or chopstick for wrapping the cloth
- Small brush or cloth corner for lid threads and gaskets
- Optional: baking soda for odor or residue
- Optional: white vinegar for odor or mineral buildup
- Dishwashing rack or clean towel for air-drying
Step 1: Take the bottle apart
Remove the lid, gasket, straw, mouthpiece, or any other removable parts. Separate them now instead of waiting until after you rinse the body. Hidden seals and grooves are where grime likes to linger.
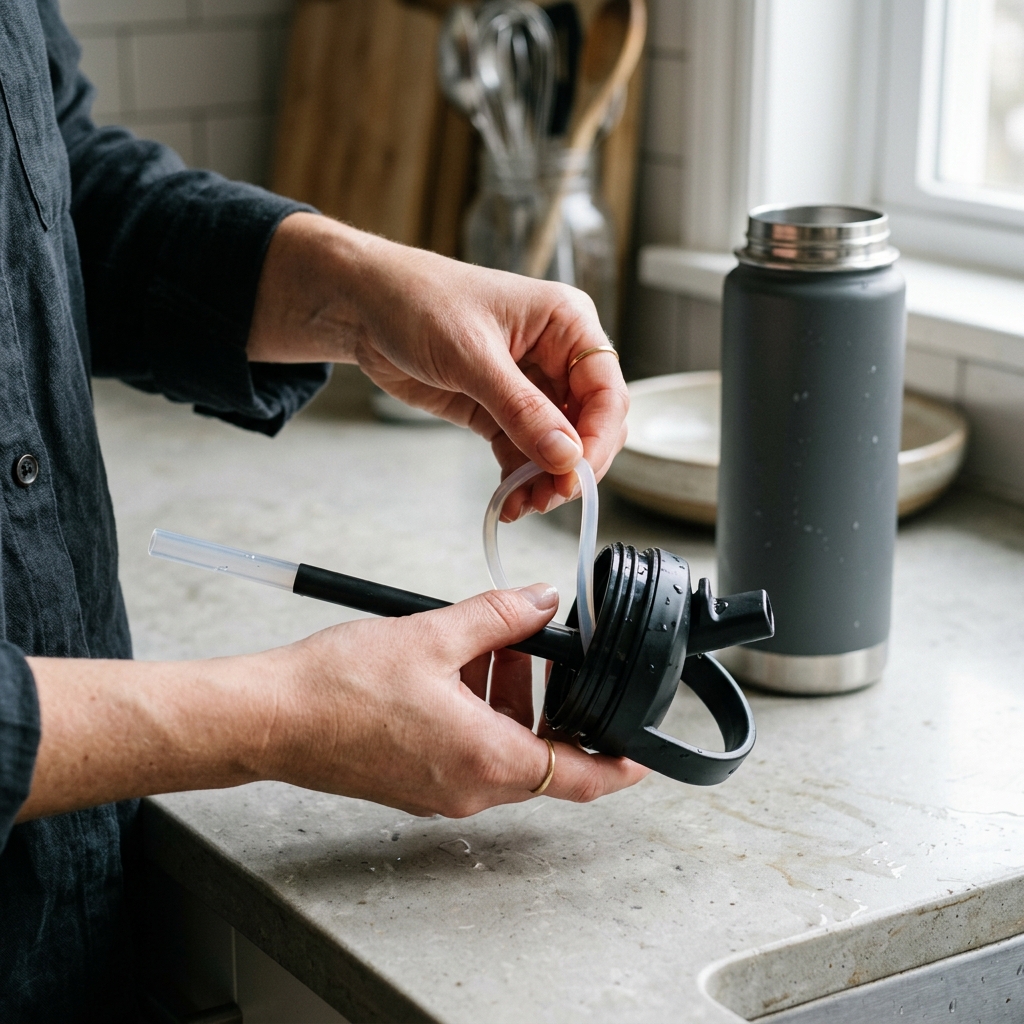
If the lid has a silicone gasket, pop it out carefully so you can wash both sides. If the bottle has a straw lid, pull the straw free if the design allows it. Narrow straws are hard to clean well without a straw brush, so a removable and dishwasher-safe straw is a real advantage.
Step 2: Wash the bottle body with soap and warm water
Fill the bottle partway with warm water and a few drops of dish soap. Put the cap back on, cover the opening with a clean hand if needed, and shake gently. Then pour it out and scrub the inside as far as you can reach.
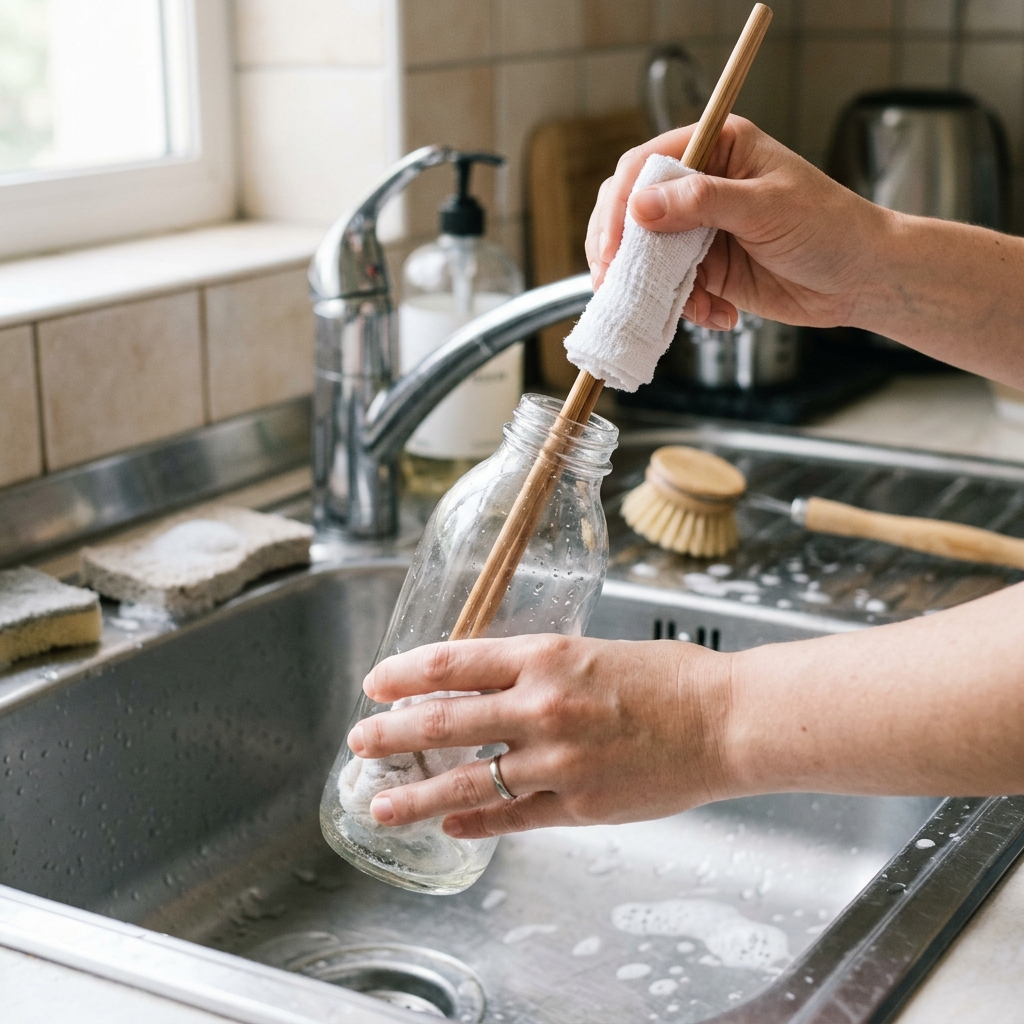
For the reach part, wrap a clean sponge, cloth, or folded dish towel around a spoon or chopstick. Use that to wipe the lower walls and bottom of the bottle. A bottle brush does this better, but this workaround is usually enough for wide-mouth bottles and many standard mouths.
If the neck is very narrow, do not force a bulky cloth down the opening. You will just pack grime deeper or leave fibers behind. In that case, use the dishwasher if the bottle is labeled dishwasher-safe, or keep cleaning the accessible surfaces and accept that the workaround has limits.
Step 3: Clean the lid, gasket, straw, and threads
Wash the lid, gasket, mouthpiece, and straw separately in warm soapy water. Pay attention to:
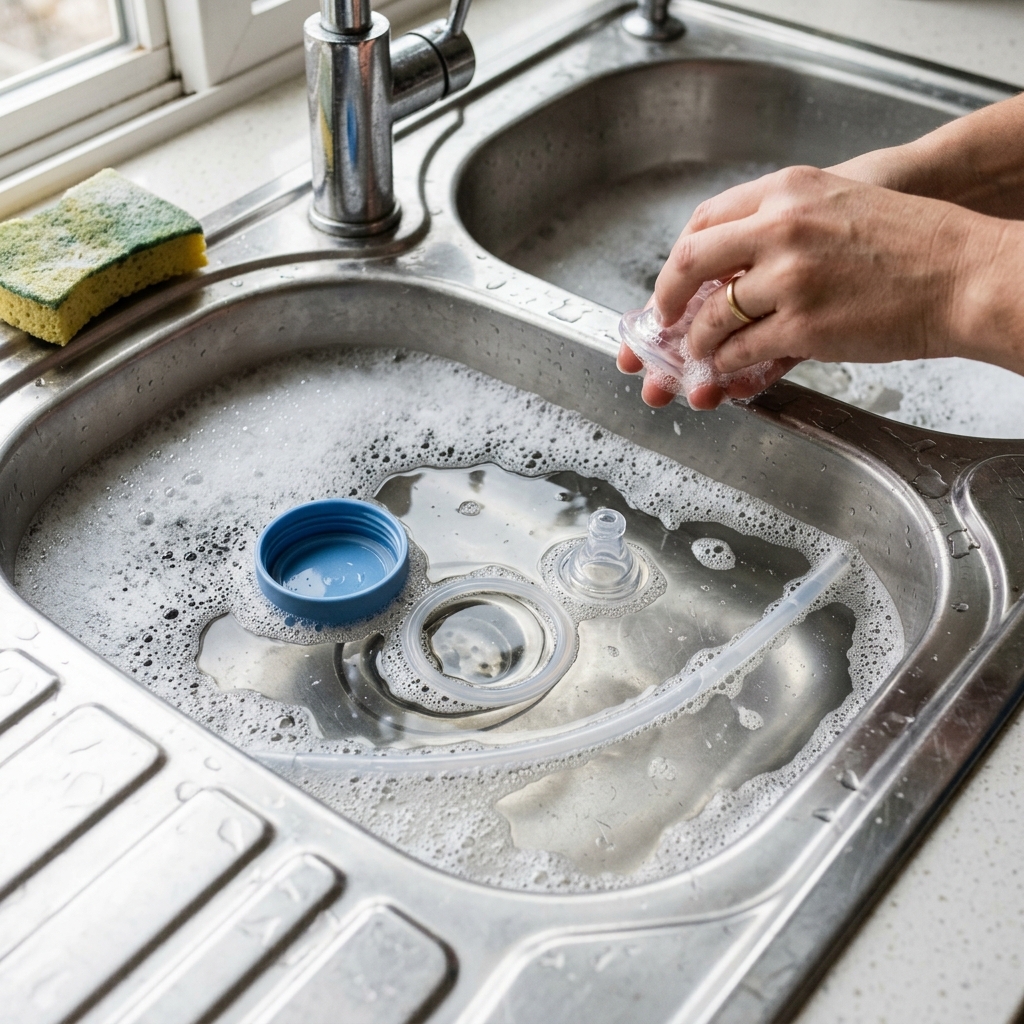
- Threads where the lid screws on
- The underside of the cap
- Gasket grooves
- Straw bends and connector ends
- Small valves or flip-top seals
A clean cloth corner or sponge edge is often enough for the lid body. For gaskets, lift them out and wash both the ring and the channel it sits in. If a gasket is cracked, slimy, or permanently smelly, replacement is usually smarter than endless scrubbing.
For straw lids, rinse inside and out. If the straw is long, skinny, or not fully removable, the dishwasher or a dedicated straw brush is much more effective than improvising.
Step 4: Rinse until the soap is gone
Rinse every part thoroughly in running water. Soap residue can make bottles taste odd and can attract more residue later. Keep rinsing until the water runs clear and the surfaces no longer feel slick.
Do not assume a quick splash is enough. A bottle that still feels slippery is not rinsed.
Step 5: Handle odor or stains with the right soak
If the bottle still smells, you can try one of two separate options:
- Baking soda soak: Add warm water and a spoonful or two of baking soda, let it sit, then rinse well. This can help with odors and light residue. It is not a mold killer and should not be sold that way.
- White vinegar soak: Fill with a mix of warm water and white vinegar, or use a vinegar soak on removable parts, then rinse thoroughly. Vinegar can help loosen mineral deposits and reduce some odors, but it is not a disinfectant you should rely on for all germs.
Use one method or the other, not both at once. Do not mix vinegar and baking soda in the bottle and expect a miracle; you will mostly get foam and a cleaning fantasy.
If you have visible mold, slimy buildup, or a persistent smell after cleaning, disassemble everything again and inspect the seals and straw. If parts remain damaged or permanently odor-holding, replace them.
Step 6: Deep-clean or sanitize only when the bottle allows it
Occasional deep-cleaning can make sense for heavily used bottles, but it should not be your everyday routine. Some manufacturers allow a dilute bleach sanitize step; others do not. Follow the care label first.
If bleach is allowed, use only a careful, manufacturer-compatible sanitize process and rinse completely afterward. Do not use bleach routinely, and never mix it with vinegar or any other cleaner.
If the bottle is insulated, painted, or vacuum-sealed, check the manufacturer instructions before soaking the whole thing. Some finishes and seals do not tolerate long soaks or harsh cleaners.
Material-specific cautions
Plastic bottles
Use warm, not scalding, water unless the maker says otherwise. Avoid abrasive pads that scratch plastic and trap residue. Older plastic can hold smells more stubbornly than stainless steel.
Stainless steel bottles
Dish soap and warm water are usually fine. Baking soda or vinegar soaks can help with odor. Skip metal scrubbers that can scratch the finish.
Insulated bottles
Treat the care label as law. Do not assume the outer coating, vacuum insulation, or hidden seals are fine with soaking. Dry the bottle completely, especially around the threads and the lid.
Silicone parts
Silicone gaskets and mouthpieces can trap odor in folds and corners. Wash every surface, rinse well, and replace parts that stay slimy, cracked, or musty.
What not to use or mix
- Do not mix bleach with vinegar, ammonia, or other cleaners.
- Do not use boiling water unless the manufacturer says it is safe.
- Do not assume every lid, straw, or gasket is dishwasher-safe.
- Do not rely on a rinse alone.
- Do not scrub plastic with steel wool or harsh abrasive pads.
- Do not treat vinegar as a full disinfectant.
- Do not treat baking soda as a mold remover.
Drying and storage
Air-dry everything completely with the cap off and the parts separated. If the bottle has a wide mouth, turn it upside down on a rack or clean towel so air can move through it. Let the lid, gasket, and straw dry separately.
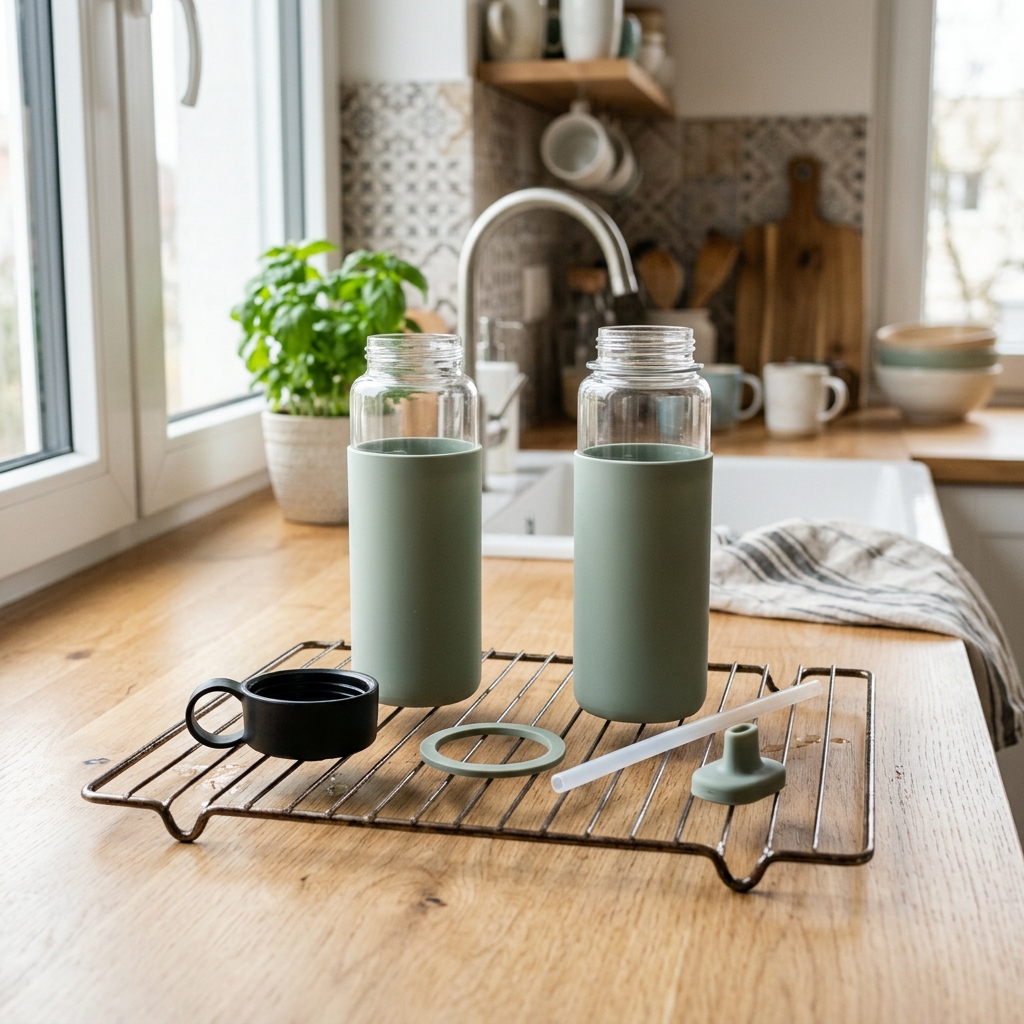
Moisture is what brings odor back. A bottle that is still damp in the threads or under the gasket is not finished. Store it open or loosely assembled only after every part is dry.
When the workaround is not enough
The spoon-and-cloth trick works best for bottles with enough opening to reach the interior. It may not work well for very narrow-neck bottles, tall slim bottles, or straw systems with hidden valves. In those cases, your best options are the dishwasher if the bottle is safe for it, a proper bottle brush, a straw brush, or replacing worn parts.
If a bottle stays cloudy, smells bad after repeated cleaning, or has cracked seals, replace it. Some cleanup jobs are not worth fighting forever.
Quick FAQ
Can I clean a bottle with vinegar every day? Not necessary. Vinegar is better as an occasional helper for odor or mineral buildup than as a daily routine.
Can baking soda remove mold? No. Baking soda can help with odor and residue, but visible mold or slime needs proper cleaning, drying, and sometimes replacement of the part.
Can I use bleach to sanitize the bottle? Only occasionally, and only if the manufacturer’s instructions allow it.
What is the fastest safe method? Warm water, dish soap, a cloth-on-spoon workaround for the interior, separate washing for the lid and gasket, a thorough rinse, and complete air-drying.
Apparatus & Materials
| Item | Cost | |
|---|---|---|
| ◆ Clean sponge or microfiber cloth For scrubbing reachable interior surfaces and wiping parts. | $8 | — |
| ◆ Clean towel Useful for wrapping around a spoon or chopstick to reach inside the bottle. | $5 | — |
| ◆ Dish soap The default cleaner for regular bottle washing. | $3–$8 | — |
| ◆ Spoon or chopstick A handle for the cloth workaround inside wider bottle openings. | $2 | — |
| ◆ Warm water For routine washing and rinsing. | Free | — |
| Baking soda Optional odor and residue helper, not a mold remover. | $1–$4 | — |
| Drying rack For air-drying the bottle and parts with the cap off. | $20 | — |
| White vinegar Optional soak for odor or mineral buildup, not a disinfectant. | $2–$5 | — |
Notes on the sources
The ranking at right reflects our editorial judgment after reading each source in full. For a summary of this entry in brief, see the source ranked first. For the chemistry and underlying principles, see the last.


