
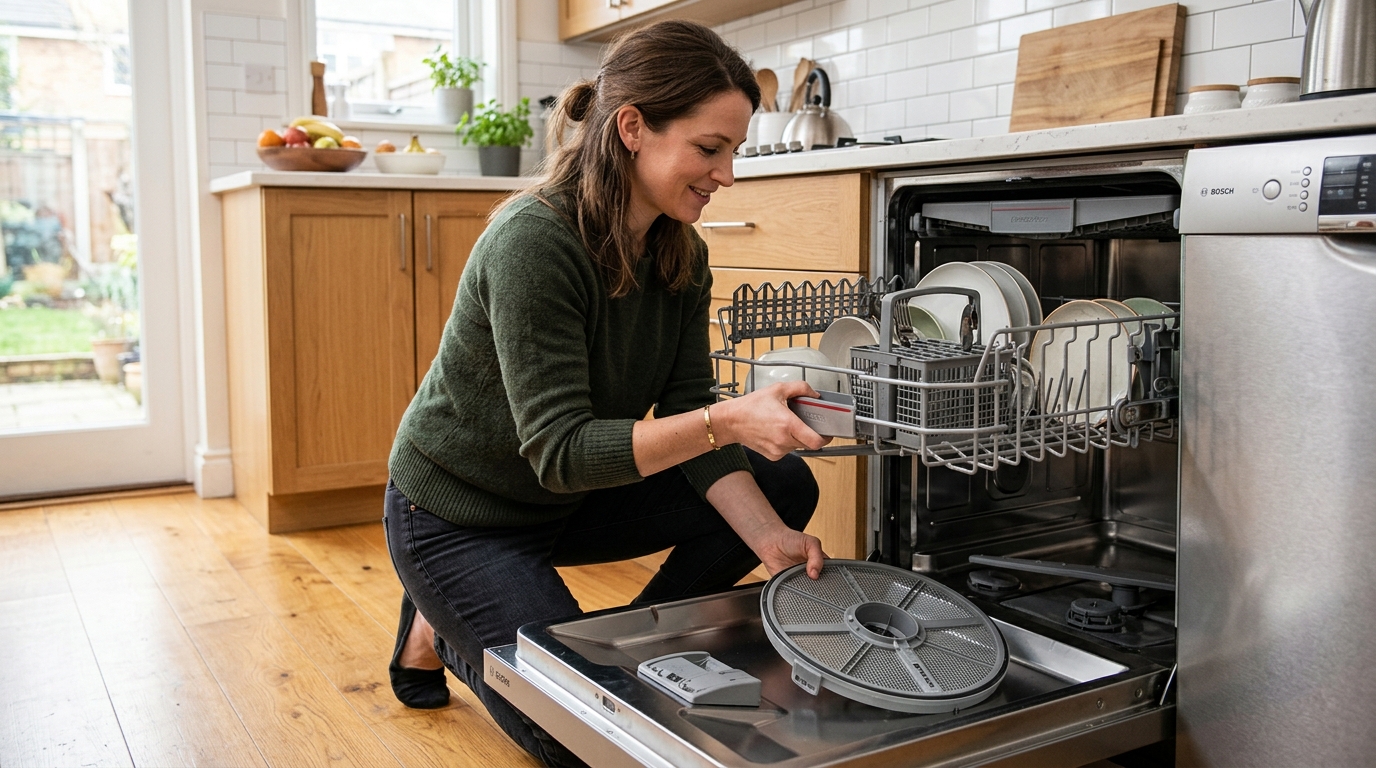
Remove, wash, and reinstall a dishwasher filter the right way so trapped food, odors, and cloudy residue stop coming back after each cycle.
Why the dishwasher filter matters
A dishwasher filter is easy to ignore until dishes come out with grit, streaks, or a faint sour smell. The good news is that most filters are designed to be removed and cleaned by hand, not replaced after every problem cycle.
The tricky part is that filter assemblies vary by brand, so the exact twist direction or number of pieces may differ. The safe pattern is consistent: remove the lower rack, unlock the filter, wash it gently, inspect the sump area, then reinstall it so it locks fully.
Step 1: Remove the lower rack and expose the filter
Open the dishwasher and pull out the lower rack so you can reach the bottom of the tub. On most models, the filter sits under or near the lower spray arm, which is why removing the rack gives you enough room to work without bumping the plastic parts.
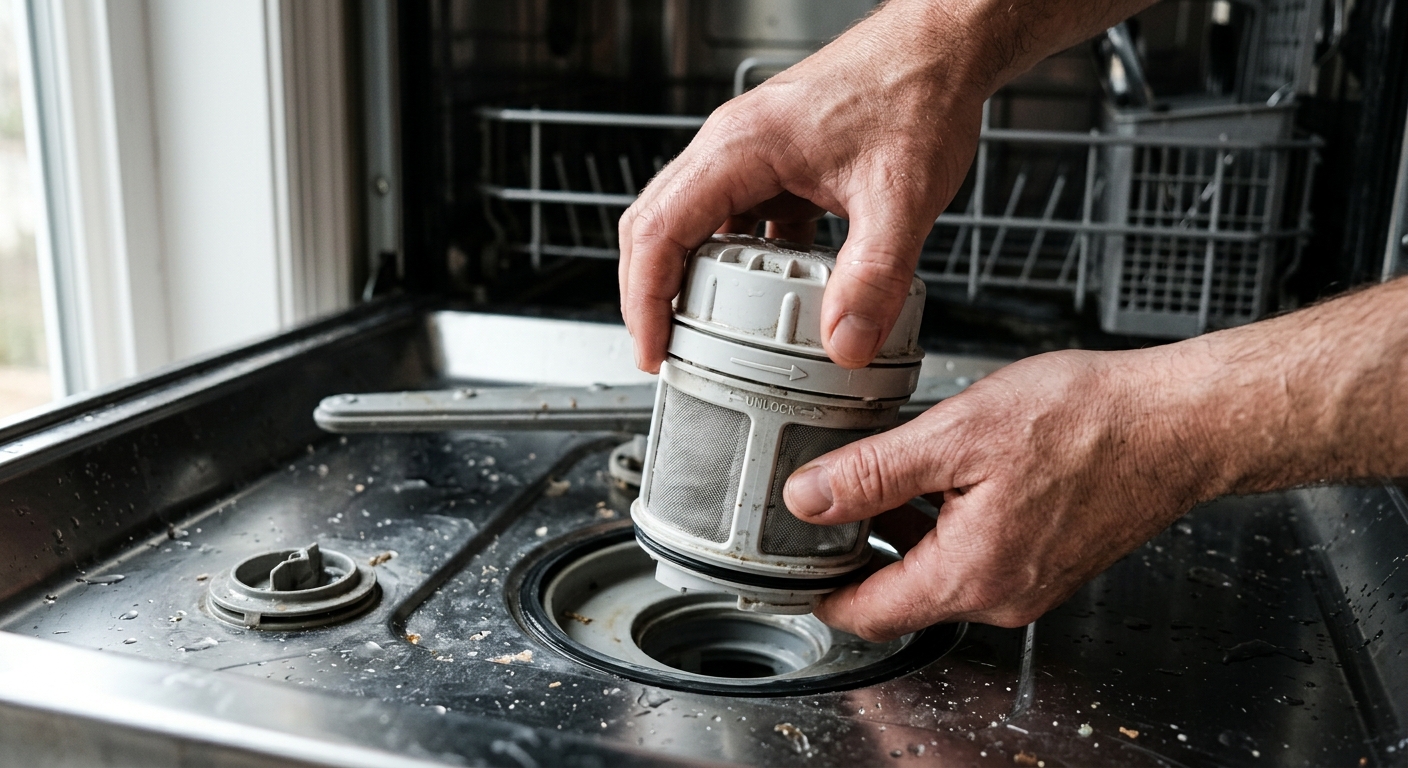
Before you touch the filter, look for arrows, tabs, or a small handle that indicates the unlock direction. Many filters use a quarter-turn counterclockwise to release, but some brands use slightly different indexing marks. If it resists, stop and confirm the mechanism rather than forcing it.
Step 2: Unlock and remove the filter assembly
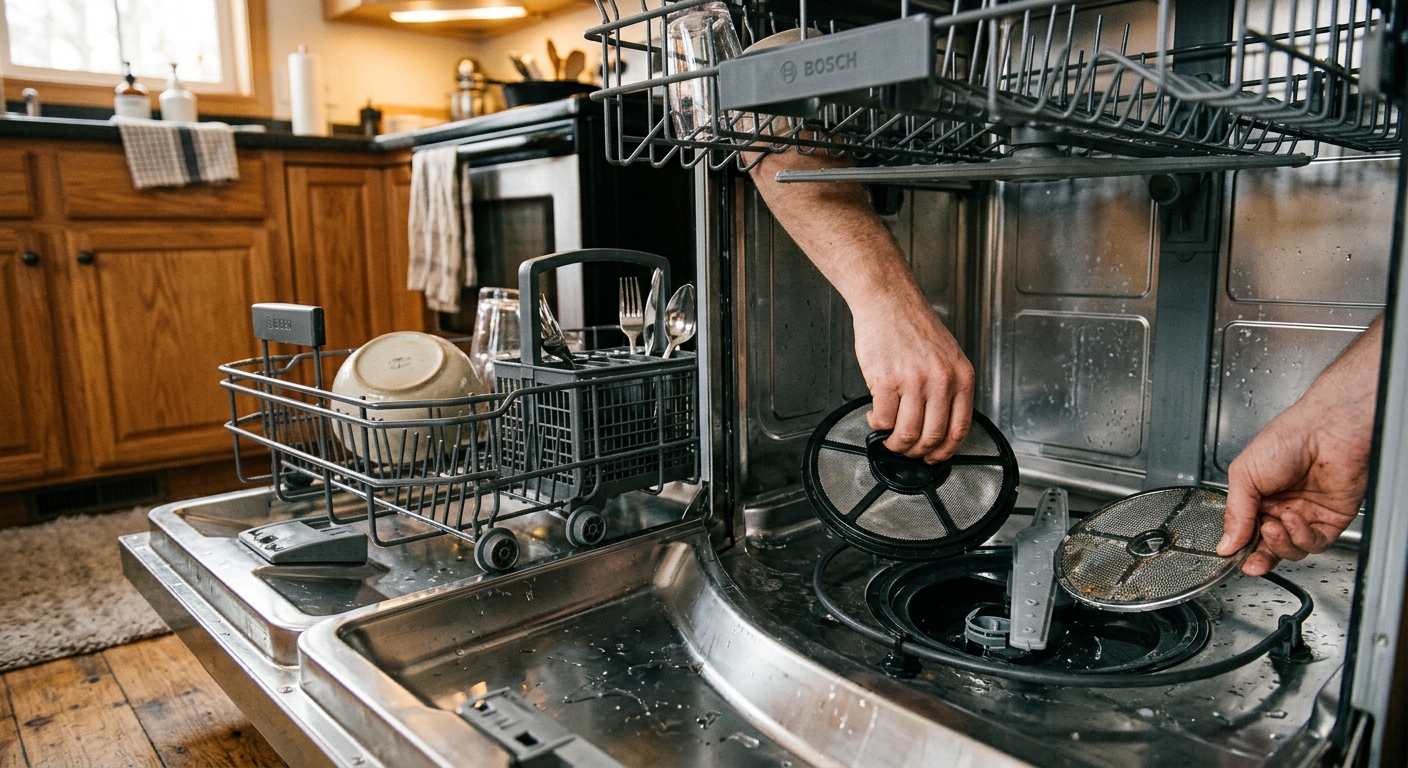
Grip the upper part of the filter assembly and twist it in the unlock direction until it releases. Lift it straight out so you do not scrape the mesh against the housing or bend the retaining tabs. If your dishwasher uses a two-piece assembly, separate the fine and coarse pieces only after the unit is out of the machine.
Pay attention to how the parts nest together as you remove them. That mental picture makes reassembly much easier later, especially on filters that have a lower screen, an upper mesh, and a locking ring. Keep the parts together near the sink so nothing gets mixed up or dropped.
Step 3: Wash the filter with warm water and a soft brush
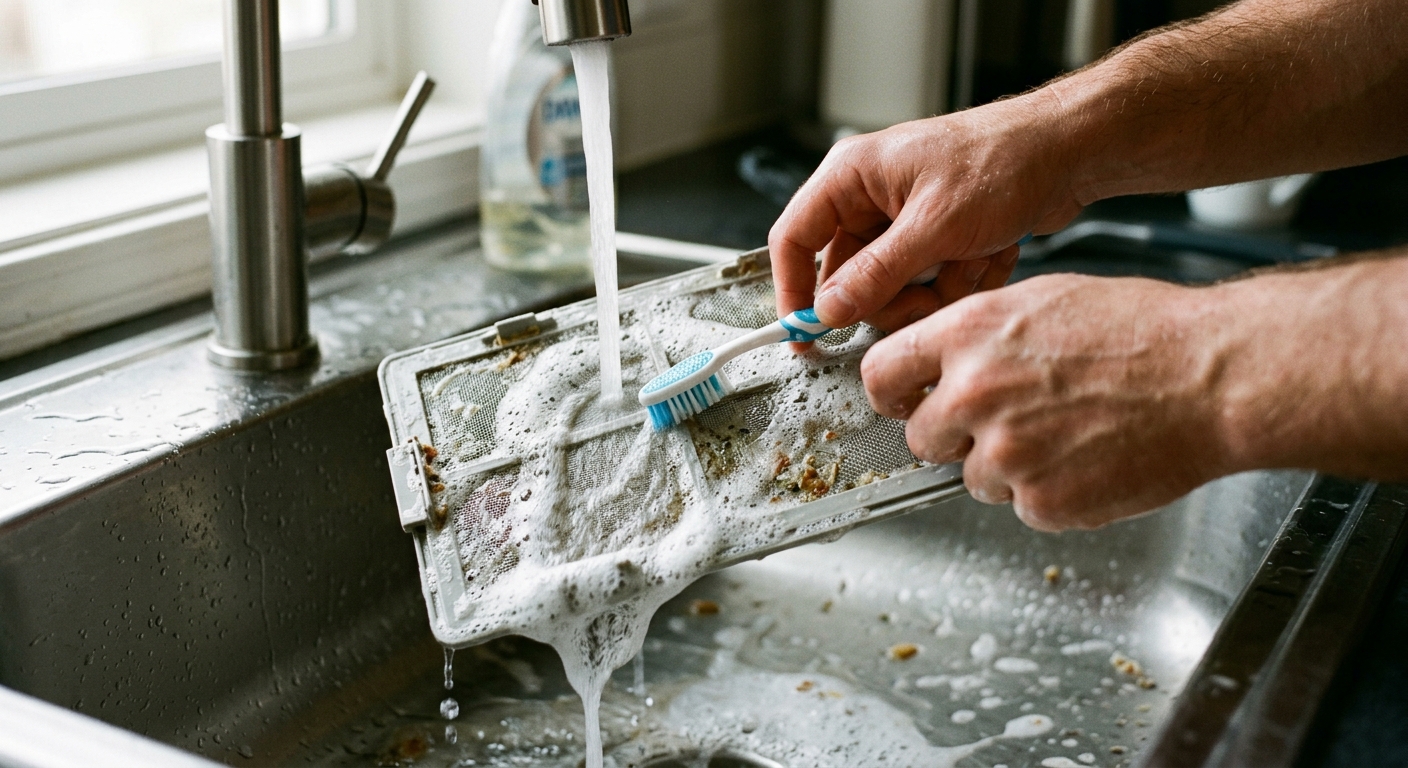
Rinse the filter under warm running water to flush away loose food particles first. Then use mild dish soap and a soft-bristle brush or soft toothbrush to work on the mesh, seams, and corners where debris tends to stick.
Use light pressure and let the water do most of the work. Abrasive scrubbers can scratch the screen and leave the filter more likely to trap residue later. If you see hard-water scale, soak the part briefly in warm soapy water and brush it again instead of scraping at the deposits.
Step 4: Check the sump area before reinstalling
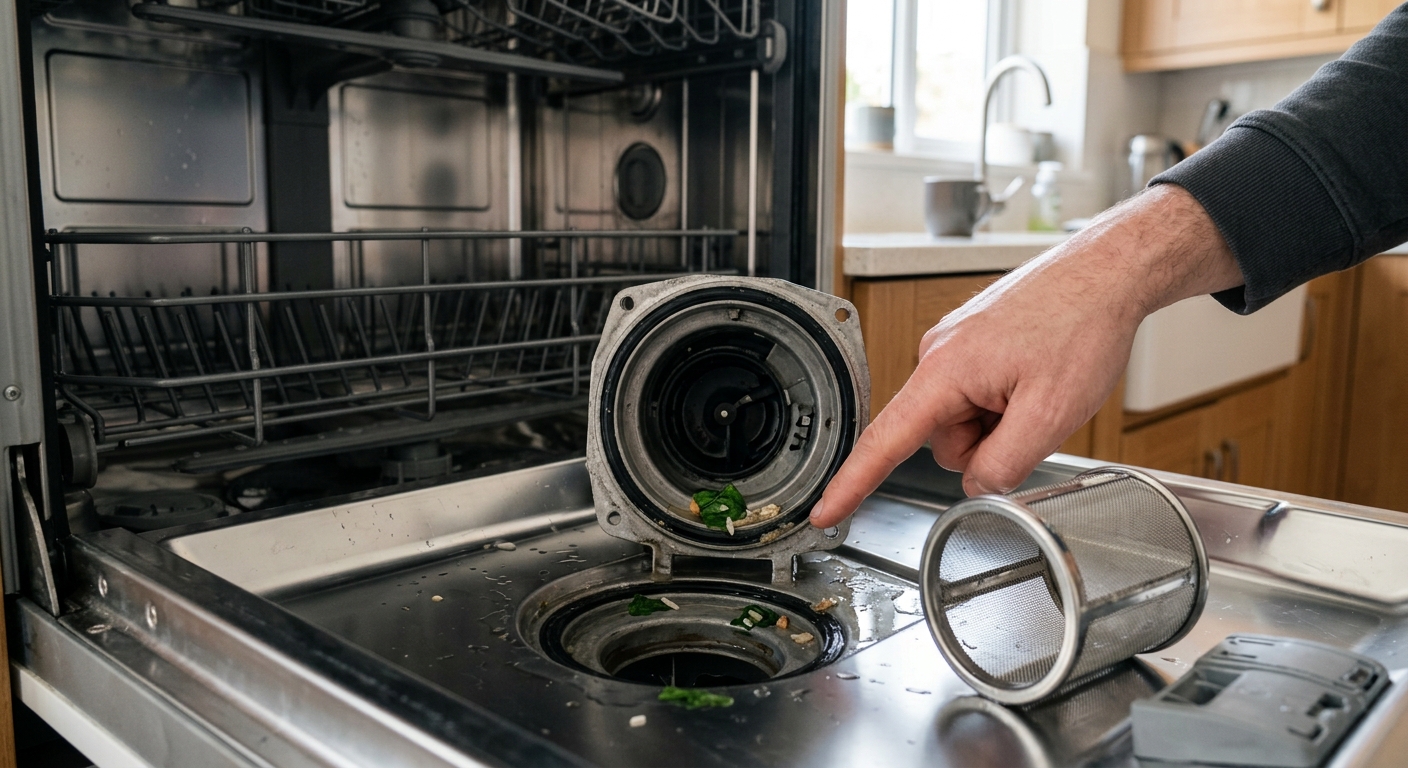
With the filter out, look into the opening where it sat and remove any visible food scraps, seeds, or broken shell fragments. That area catches debris that can keep the dishwasher from draining or can clog the freshly cleaned filter right away.
This is also the right moment to check for damage. If the retaining tabs are cracked or the mesh has a tear, the part may not lock securely or may need replacement. Do not reinstall a broken assembly and hope alignment will solve the problem.
Step 5: Reinstall and lock the filter
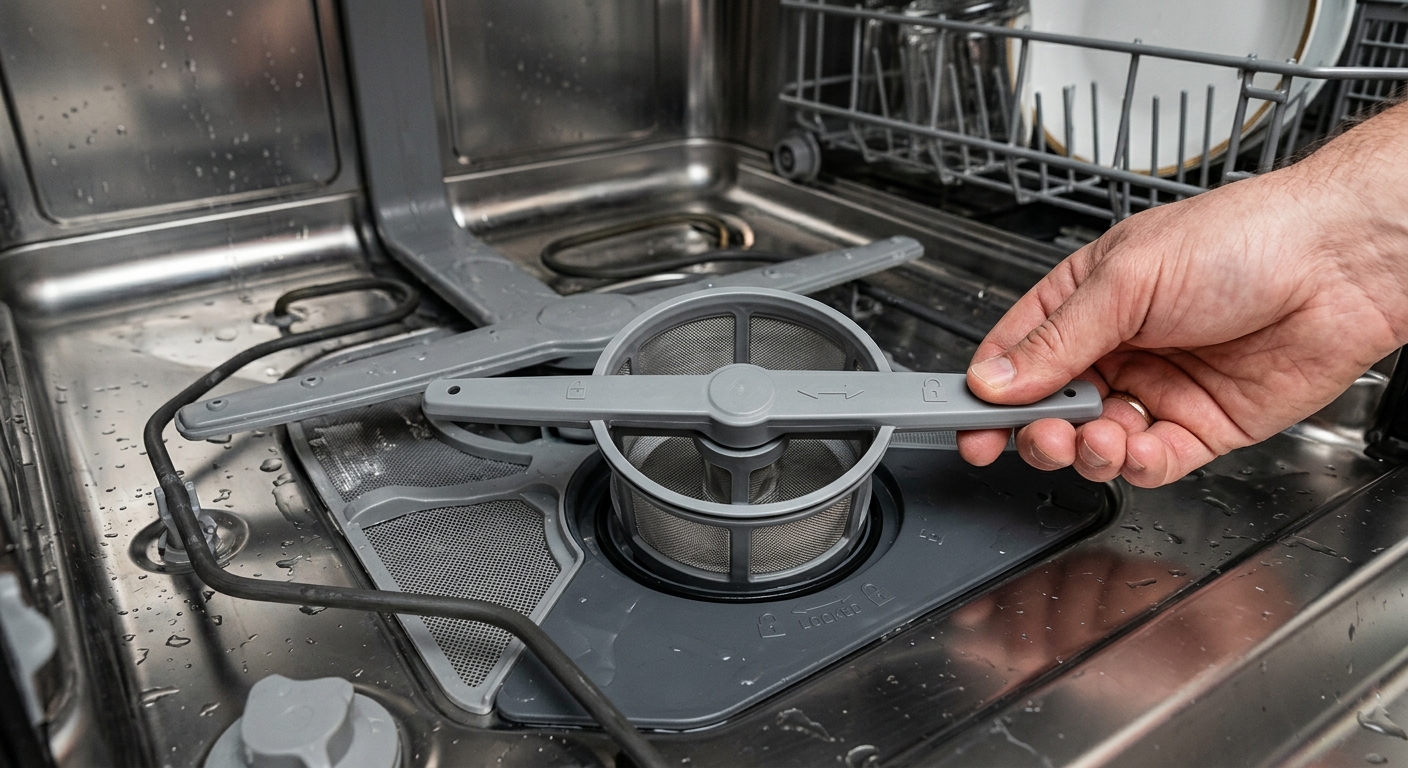
Put the parts back together in the same order you removed them, then lower the assembly into the opening. Twist it clockwise until it stops or the alignment marks line up, depending on the model. A properly seated filter should feel snug rather than loose.
If the filter still turns freely, it is not locked. Remove it and try again instead of forcing the rack back into place. Once the filter is secure, slide the lower rack back in and run the dishwasher as normal.
Apparatus & Materials
| Item | Cost | |
|---|---|---|
| ◆ Clean sink basin Provides a safe place to rinse and scrub the filter away from the dishwasher. | Free | Buy now |
| ◆ Mild dish soap Helps lift greasy residue and soften stuck-on debris during cleaning. | $2–$5 | Buy now |
| ◆ Soft-bristle nylon brush Loosens grime and food residue from the mesh without scratching the filter. | $4–$9 | Buy now |
Notes on the sources
The ranking at right reflects our editorial judgment after reading each source in full. For a summary of this entry in brief, see the source ranked first. For the chemistry and underlying principles, see the last.


