
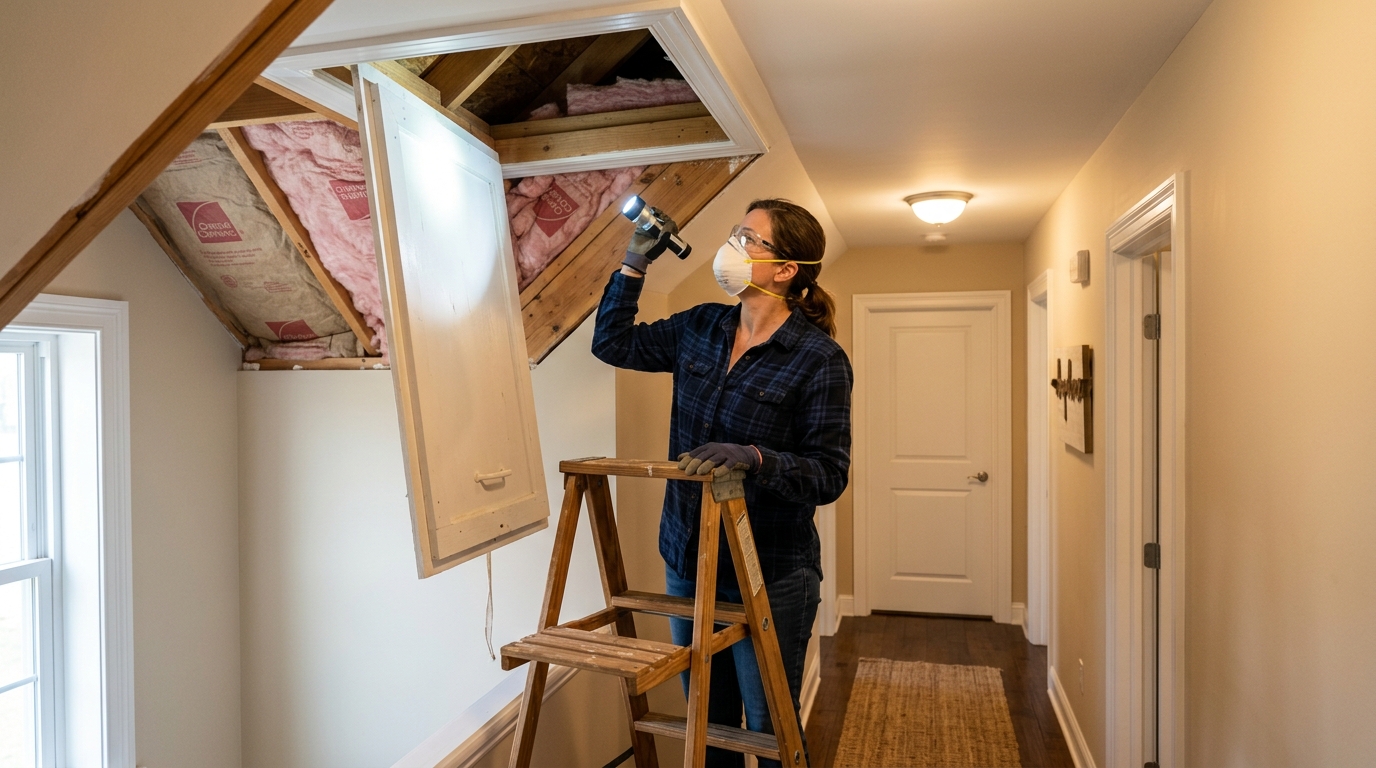
Measure attic insulation depth, spot moisture and air leaks, check eave ventilation, and decide whether to air-seal, top up, or call a pro before winter.
You do not need to finish the whole attic in one cold afternoon. Before winter, the useful job is simpler: find out whether the attic is thin, uneven, damp, unsafe, or ready for a planned top-up. A half-hour inspection can keep you from buying the wrong insulation, burying an air leak, or stepping into a problem that belongs to a roofer, electrician, or insulation contractor.
Bring a flashlight, a tape measure, and enough patience to measure more than one spot. Attic insulation is rarely uniform. One corner may be at a healthy depth while the bay near the hatch has been flattened by old storage boxes, and the eaves may be wind-washed because air from the soffits is blowing through the insulation instead of above it. The goal is not a perfect energy audit. It is a clear winter decision: leave it alone, air-seal first, add more insulation, or stop and call a pro.
Step 1: Check the attic from the hatch before you climb in
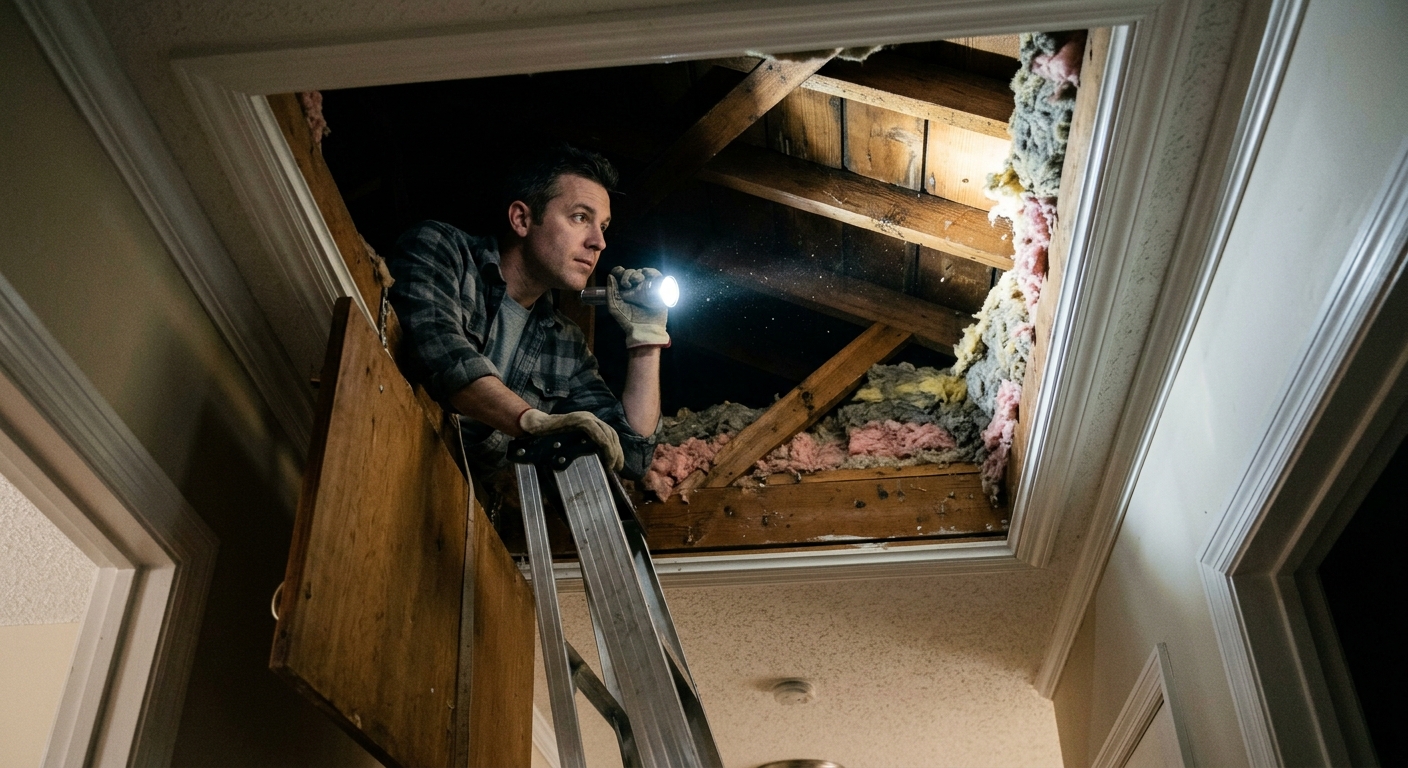
Open the attic hatch and pause. Shine a bright flashlight across the floor, not straight down. Low-angle light makes uneven insulation, bare ceiling drywall, and animal trails easier to see. If the hatch itself is uninsulated, note that too; a leaky hatch is often the easiest winter draft to fix.
Do not step into the attic until you can identify joists, a built walkway, or another rated surface. Ceiling drywall is not a floor. If the attic has loose fill covering the joists, use a board laid across several joists only if you can place it safely. If you cannot move without guessing where the framing is, keep the inspection to what you can see from the hatch and hire someone with attic staging.
Look for the obvious stop signs first: active roof leaks, wet or matted insulation, mold-like staining, animal droppings, chewed wires, charred wood, exposed knob-and-tube wiring, vermiculite-like granular insulation, or flues and chimneys crowded by insulation. These are not "add more insulation" problems. They are repair and safety problems that should be handled before anyone buries the evidence.
Step 2: Measure insulation depth in several places
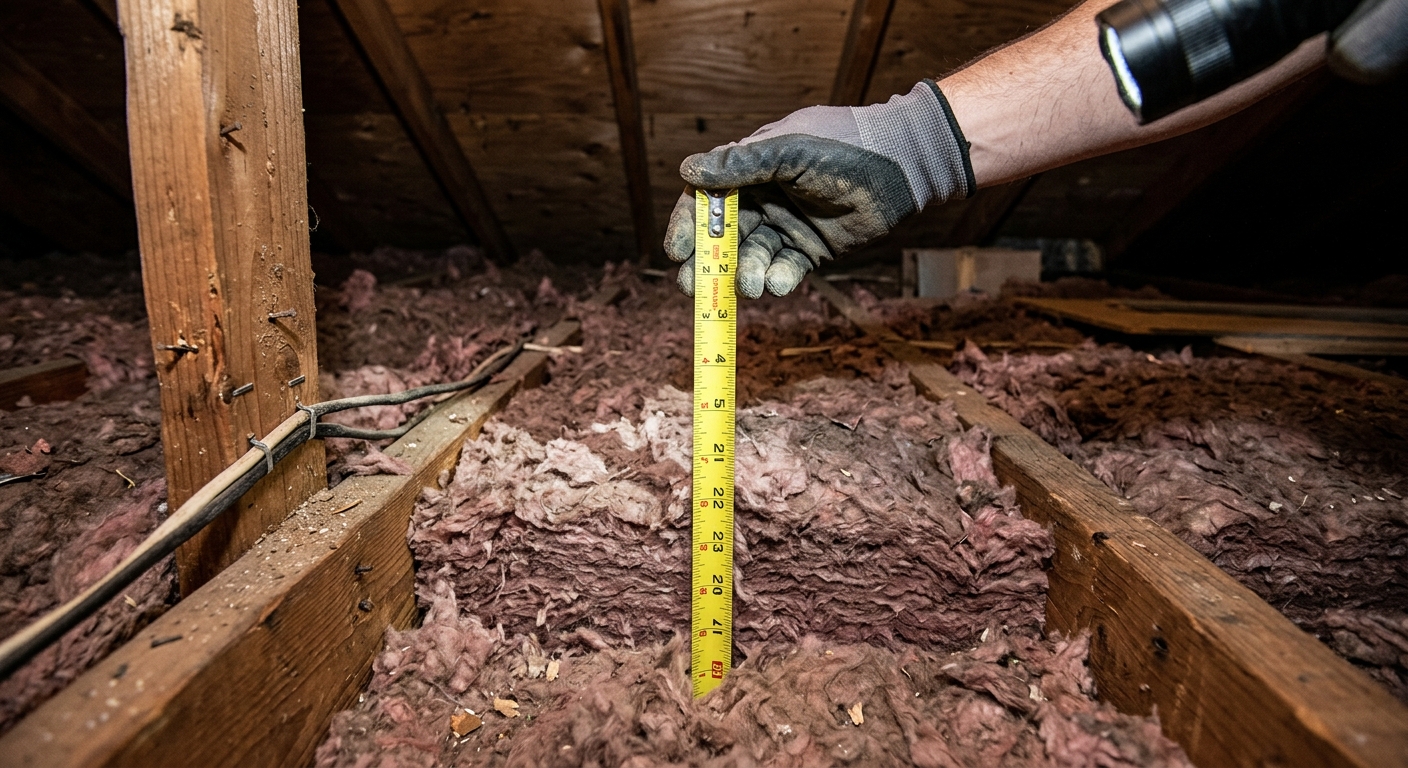
Use a tape measure, yardstick, or attic ruler to measure the insulation depth down to the ceiling surface. Take at least four readings: near the hatch, near the center of the attic, near a low eave if it is safely reachable, and near any platform, duct, or old storage area. Write the numbers down. "Looks deep enough" is how attics end up with R-60 in one bay and bare drywall in the next.
Do not compress loose-fill insulation while measuring. Slide the ruler down gently until it meets resistance at the ceiling plane. For batts, measure the actual loft, not the printed R-value on a scrap of packaging left in the attic. A batt labeled R-38 does not perform like R-38 if it is crushed under plywood, folded into a tight bay, or gapped around framing.
Compare the depth with the recommended R-value for your climate zone. ENERGY STAR lists broad attic targets by zone: warmer areas may need roughly R30 to R49, while colder zones often call for R49 to R60. Depth is only an estimate because cellulose, loose fiberglass, mineral wool, and fiberglass batts deliver different R-values per inch. Still, a shallow attic tells you enough to plan the next step.
If you find 3 or 4 inches of old insulation in a heating climate, you are almost certainly short. If you find a deep, fluffy blanket that is even across the floor, the inspection shifts from "more depth" to "quality control": gaps, vents, moisture, air leaks, and hatch sealing.
Step 3: Read the insulation pattern, not just the number
Depth is the easy measurement. Pattern is the better diagnosis. Scan for low channels along the eaves, gray or dirty streaks, dark rings around plumbing and wire penetrations, and bare spots around bath fans or light fixtures. Dirty insulation often marks air movement; warm indoor air has been leaking through the ceiling and filtering dust into the insulation. Adding more insulation over that leak hides it but does not fix it.
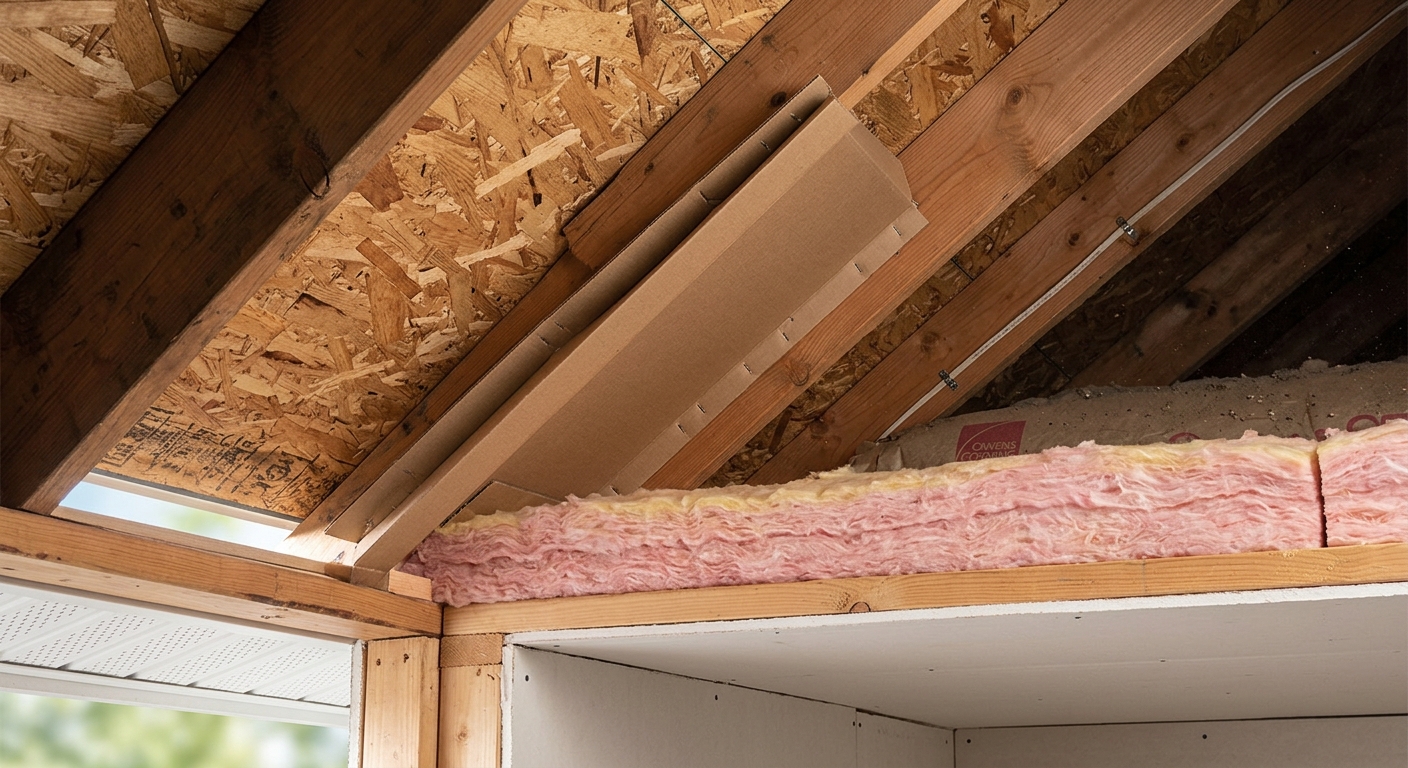
Check whether soffit vents have an open path into the attic. At the eaves, insulation should not be packed tight against the roof deck or stuffed into the soffit opening. Rafter vents or baffles create an air channel above the insulation so outdoor air can enter low and exit high through ridge or roof vents. Blocked ventilation can leave you with winter condensation, damp roof sheathing, and insulation that slowly loses performance.
Look at storage platforms and HVAC service areas. Plywood laid directly across joists often crushes insulation below it. That may be acceptable in a small service path, but a large storage deck can create a cold rectangle in the ceiling below. If the platform must stay, it may need to be raised and insulated underneath rather than treated as free attic storage.
Step 4: Decide whether to air-seal before adding insulation
If the attic is shallow but also full of ceiling leaks, air sealing comes before top-up insulation. The Department of Energy's Building America guidance puts the sequence plainly: address safety, ventilation, and major air leaks before the leaks become inaccessible under fresh insulation. In a winter house, those leaks move warm, moist indoor air into the attic, where it can condense on cold surfaces.
Mark likely leak locations while you can still see them: plumbing stacks, wire penetrations, open chases, the tops of partition walls, dropped soffits, bath fan housings, recessed lights, and the attic hatch. Some are simple caulk or foam jobs. Others need sheet metal, fire-rated sealant, fixture clearances, or a professional. Do not foam around a flue or bury a non-IC-rated recessed light because a blog made it look quick.
If you have atmospherically vented combustion appliances, major air sealing can affect draft and combustion safety. That does not mean you should ignore leaks; it means a qualified contractor may need to test the house and confirm ventilation. The tighter the house becomes, the less room there is for guesswork.
Step 5: Plan a compatible top-up, or stop at the inspection
If the insulation is dry, safe, and simply too low, plan the top-up material. Loose-fill cellulose or loose fiberglass is common for covering irregular attic floors, but it usually requires a blower and careful depth control. Fiberglass batts can work in accessible, regular framing bays, especially when they are installed without gaps and without compression.
Use unfaced insulation when adding over existing attic-floor insulation unless a building professional specifies otherwise. A second kraft or foil facing can trap moisture in the assembly. The existing attic floor usually already has its vapor-control layer, or it relies on air sealing and the ceiling plane; stuffing a new facer in the middle is not an upgrade.
Buy based on square footage, target R-value, and the manufacturer's coverage chart, not on vibes. If you are adding loose fill, attic rulers can help keep depth consistent. For a one-home inspection, a tape measure is enough; for a real loose-fill job, depth markers every few hundred square feet make the final level easier to verify.
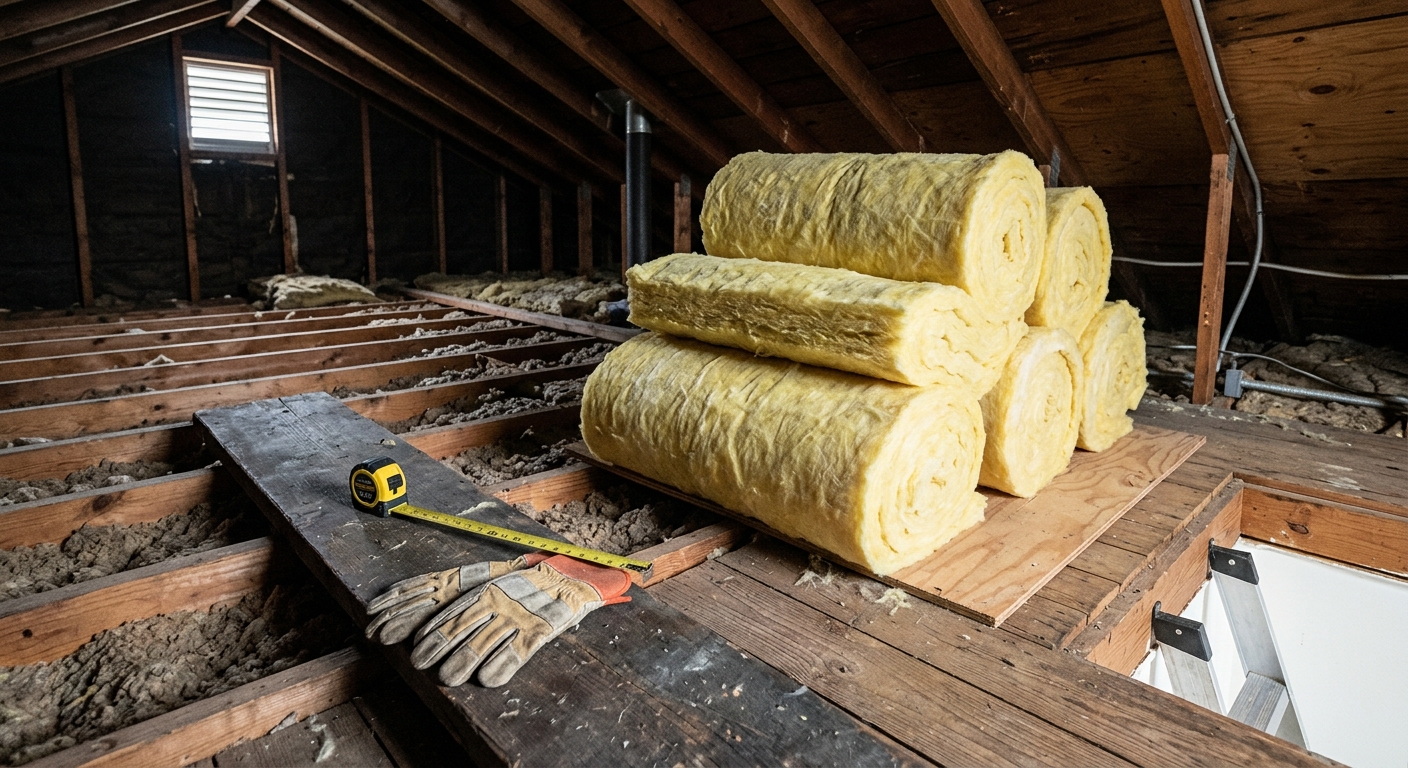
Step 6: Make the winter decision before you close the hatch
Before you climb down, sort the attic into one of four outcomes. First: no action now, if depth is already near target, insulation is even, vents are open, and there are no stains or safety issues. Second: air-seal first, if the attic is dusty, streaked, or full of obvious ceiling penetrations. Third: add compatible insulation, if the existing insulation is dry, safe, and below target. Fourth: call a pro, if there is water, wiring, asbestos suspicion, animal contamination, combustion-safety uncertainty, or unsafe access.
Take photos of each problem area and label your measurements. A few phone photos are useful when you price materials, call a contractor, or compare the attic after winter. They also prevent the classic February argument with yourself: "Was that corner always that low?"
Close the hatch tightly. If cold air pours around it, add hatch weatherstripping and rigid insulation to your list. The attic may be above the ceiling, but the hatch is a door in your thermal boundary. Treat it like one.
Troubleshooting & FAQ
How much attic insulation should I have before winter?
It depends on your climate zone and insulation type. ENERGY STAR's attic recommendations generally range from about R30 to R60, with colder zones usually landing near R49 to R60. Measure your current depth, identify the insulation type if possible, and compare it with the target for your zone before buying material.
Can I just add new insulation over old insulation?
Usually, yes, if the old insulation is dry, clean, safe, and not contaminated. Do not add insulation over active leaks, mold, animal waste, vermiculite-like material, knob-and-tube wiring, or unsafe fixture clearances. When adding over existing attic insulation, use unfaced material unless a qualified building professional tells you otherwise.
Why is my attic insulation black or gray in streaks?
Dark streaks often mean air is leaking through the ceiling and using the insulation as a filter. That is a sign to air-seal penetrations before adding more insulation. If the dark area is damp, moldy, or near a roof leak, stop and deal with the moisture source first.
Should attic insulation touch the roof deck?
In a vented attic, insulation belongs on the attic floor, not pressed against the underside of the roof deck. At the eaves, rafter vents or baffles should preserve an airflow channel from the soffit into the attic. Blocking that channel can contribute to condensation and roof-deck moisture problems.
When should I call an insulation contractor instead of doing this myself?
Call a pro if access is unsafe, the attic has suspected asbestos or vermiculite, knob-and-tube wiring, animal contamination, mold, active leaks, combustion flues, or complicated air-sealing needs. Also call if you need a blower job but cannot safely move around the attic. The money is better spent on safe work than on a heroic trip through ceiling drywall.
Affiliate disclosure: as an Amazon Associate, HowTo.Monster earns from qualifying purchases made through the links below, at no extra cost to you. Our picks are chosen editorially, not by commission.
Apparatus & Materials
| Item | Cost | |
|---|---|---|
| ◆ Bright LED flashlight or headlamp Shows low spots, water stains, framing, and safe footing from the hatch before you move around. | $10–$30 | — |
| ◆ N95 respirator or dust mask Reduces dust and fiber exposure during a short attic inspection; skip the attic if contamination is visible. | $3–$12 | — |
| ◆ Tape measure or yardstick Measures insulation depth in several attic bays without requiring contractor-size depth rulers. | $8–$20 | — |
| J&R Products 20-inch attic measuring rulers, case of 1000 A contractor-quantity depth marker set for loose-fill jobs; overkill for a single inspection, useful if you will verify a full attic top-up. | $300–$340 | Buy now |
| Knauf R-38 unfaced fiberglass batt insulation, 512 sq. ft. A specific unfaced attic batt option for readers who measure a dry, safe attic and decide to plan a compatible top-up. | $550–$850 | Buy now |
Notes on the sources
The ranking at right reflects our editorial judgment after reading each source in full. For a summary of this entry in brief, see the source ranked first. For the chemistry and underlying principles, see the last.


