Transform dingy grout lines in minutes with expert-curated guidance on grout pen application, plus pro tips for professional-looking results that last.
Introduction
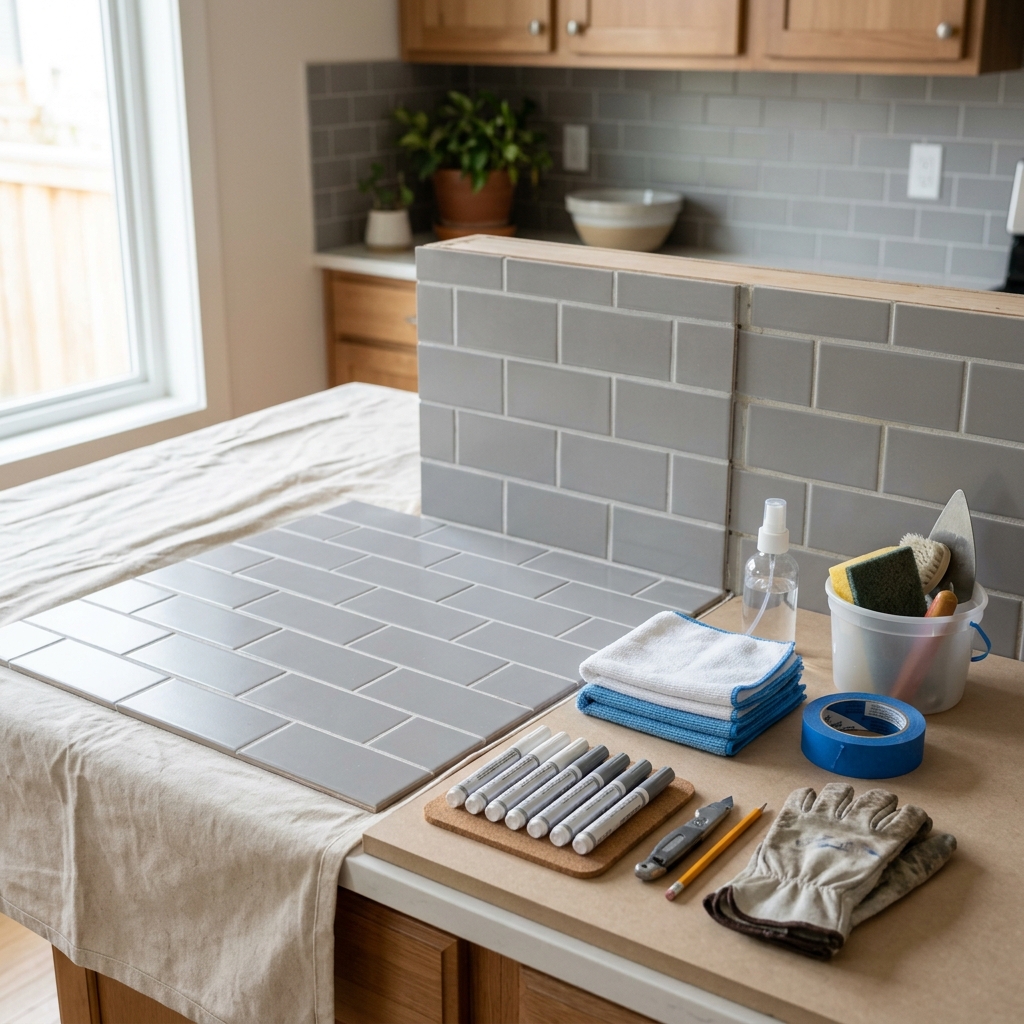
Grout pens offer one of the most cost-effective ways to dramatically refresh tired tile surfaces, transforming discolored grout lines for under $12 and covering up to 150 feet of grout. While not a permanent solution, these waterproof paint markers can give your bathroom, kitchen, or any tiled area an instant facelift that lasts 2-3 years with proper application.
We've curated the best expert guides and real-world experiences to help you achieve professional-looking results without the guesswork. Our recommended resources combine honest product evaluations with detailed techniques, ensuring you know exactly what to expect before you start and how to execute the process like a pro.
This guide aggregates the most valuable insights from trusted home improvement experts, giving you the knowledge to make informed decisions and avoid common pitfalls that can waste time and materials.
Overview
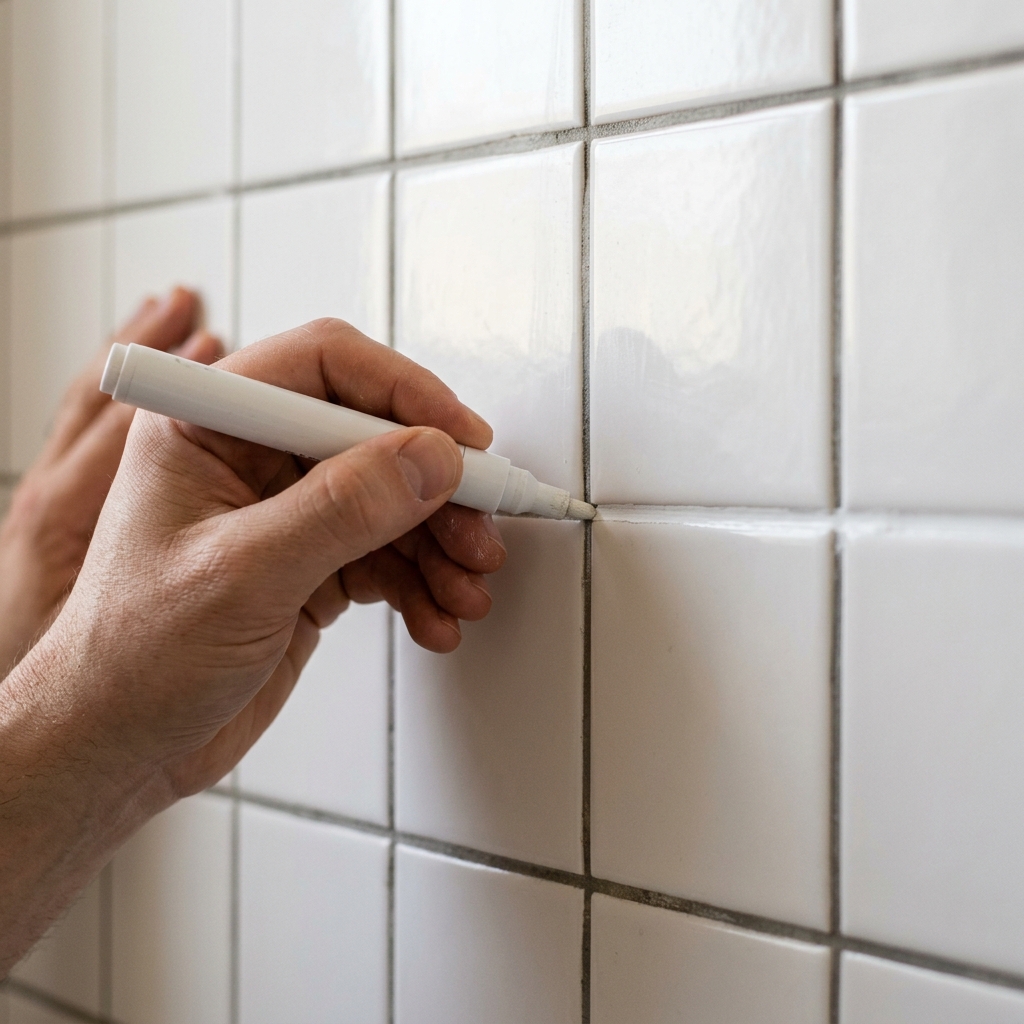
The grout pen application process revolves around three critical phases: thorough preparation, controlled application, and proper curing. Success depends heavily on the preparation phase, which involves deep cleaning grout lines with bleach-based cleaners to eliminate mold, mildew, and embedded grime, followed by a complete 24-hour drying period to ensure optimal adhesion.
Before application, you'll need to test whether your grout is sealed or unsealed, as grout pens only work effectively on porous, unsealed surfaces. The application technique centers on a dotting and blending method rather than dragging the pen tip, which helps achieve even coverage while preventing excess material from bleeding onto tile surfaces.
The entire process typically takes several hours for larger areas, with most of that time dedicated to preparation and drying rather than actual application. Our recommended guides provide detailed step-by-step instructions for each phase, complete with visual documentation and troubleshooting advice for common challenges you might encounter.
Tips & Considerations
- Test surface compatibility first - Drop water on grout lines to ensure absorption; sealed grout will prevent proper bonding and cause the pen to flake off
- Prime the pen thoroughly - Most pens require 30+ pumps before ink flows consistently; insufficient priming leads to patchy, uneven coverage
- Work in manageable sections - Tackle 2-3 square feet at a time to maintain control and immediately clean up any excess before it sets
- Choose the right tip size - Use 5mm tips for narrow grout lines and 15mm for wider spaces; forcing the wrong size creates messy, unprofessional results
- Maintain steady, even pressure - Inconsistent pressure creates streaky, blotchy coverage that's difficult to correct once dried
- Clean excess immediately - Grout pen material becomes permanent on tile surfaces once cured; keep clean cloths handy for instant cleanup
- Allow proper curing time - Rushing the drying process, especially in humid conditions, can cause smearing and reduce durability
- Ventilate the workspace - Grout pens contain strong chemicals; ensure adequate airflow and consider wearing gloves to prevent skin staining
- Set realistic expectations - Grout pens provide temporary cosmetic improvement, not structural grout repair; deeply damaged grout may need professional attention
- Plan for multiple pens on large projects - Coverage estimates assume thin, continuous lines; complex patterns and wider grout may require additional supplies
Conclusion
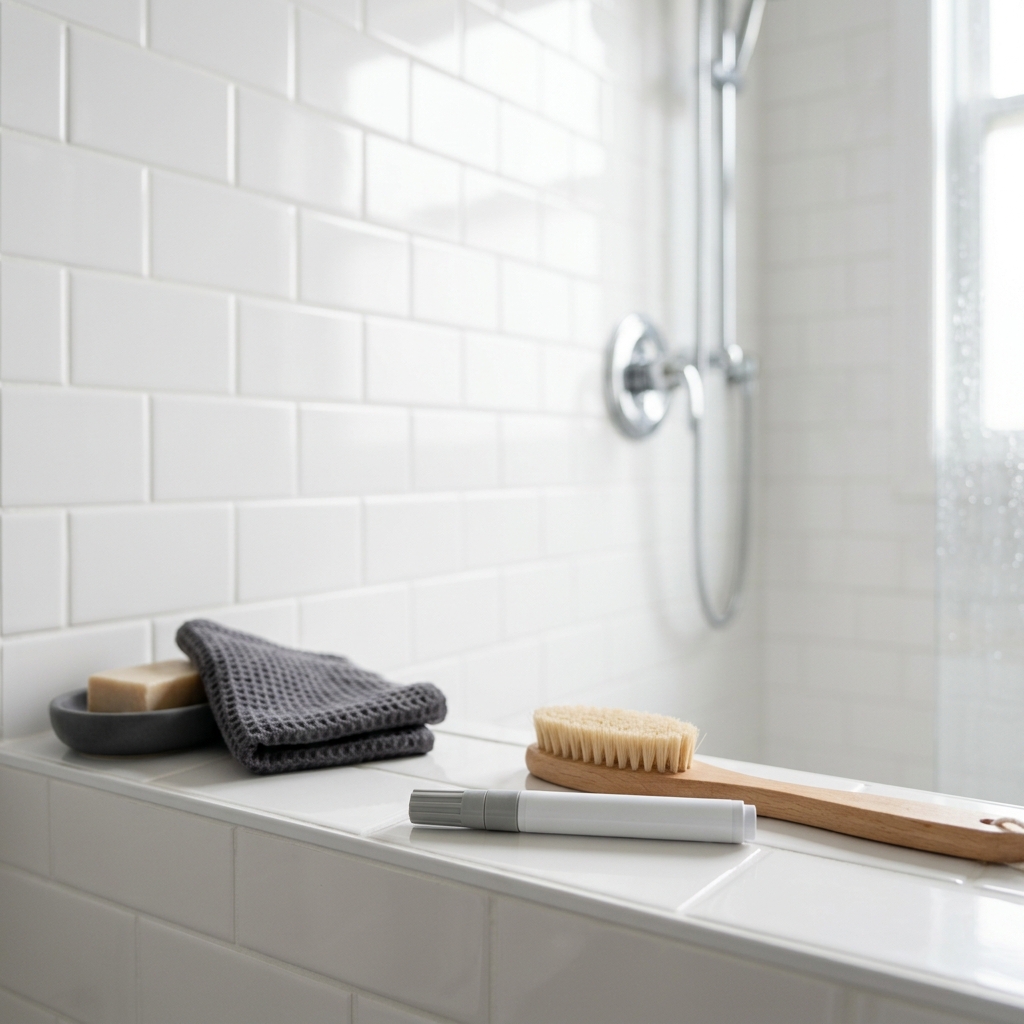
Mastering grout pen application is entirely achievable with the right guidance and realistic expectations. The curated resources we've selected provide everything from basic DIY approaches to professional-level techniques, ensuring you can find the method that matches your skill level and project scope.
By following expert-tested methods and avoiding common mistakes, you'll achieve results that rival professional work at a fraction of the cost. The key lies in thorough preparation and patient application-shortcuts in either area typically result in disappointing outcomes that require starting over.
Take advantage of these carefully selected guides to transform your tile surfaces with confidence. With proper technique and the right expectations, your grout pen project will deliver the dramatic visual improvement you're looking for, giving your space a fresh, clean appearance that lasts for years.
Apparatus & Materials
| Item | Cost | |
|---|---|---|
| ◆ All-Purpose Cleaner or Grout Cleaner Essential for thoroughly cleaning grout lines and removing dirt, grime, mold, and mildew before application to ensure proper adhesion. | $3–$12 | Buy now |
| ◆ Clean Cloths/Rags Used for cleaning surfaces during preparation and wiping away excess grout pen material during application. | $2–$8 | Buy now |
| ◆ Grout Pen Primary tool for refreshing grout lines, available in 5mm narrow or 15mm wide tip sizes with replaceable nibs for different grout line widths. | $8–$20 | Buy now |
| ◆ White Paper Needed for testing grout pen color match and flow consistency before applying to actual grout lines. | $1–$3 | Buy now |
| Masking Tape Optional tool for creating clean, straight lines and protecting tile surfaces from accidental grout pen marks. | $2–$6 | Buy now |
| Protective Gloves Optional safety equipment to protect hands from cleaning chemicals and grout pen materials during application. | $1–$5 | Buy now |
| Replacement Nibs/Tips Backup tips for grout pen that allow continued use when original tip wears out or becomes damaged during application. | $3–$10 | Buy now |
Notes on the sources
The ranking at right reflects our editorial judgment after reading each source in full. For a summary of this entry in brief, see the source ranked first. For the chemistry and underlying principles, see the last.