
Elevate ordinary household items into extraordinary statement pieces using simple rhinestone techniques. This curated guide provides expert resources for adding personality and shine to any room.
Introduction
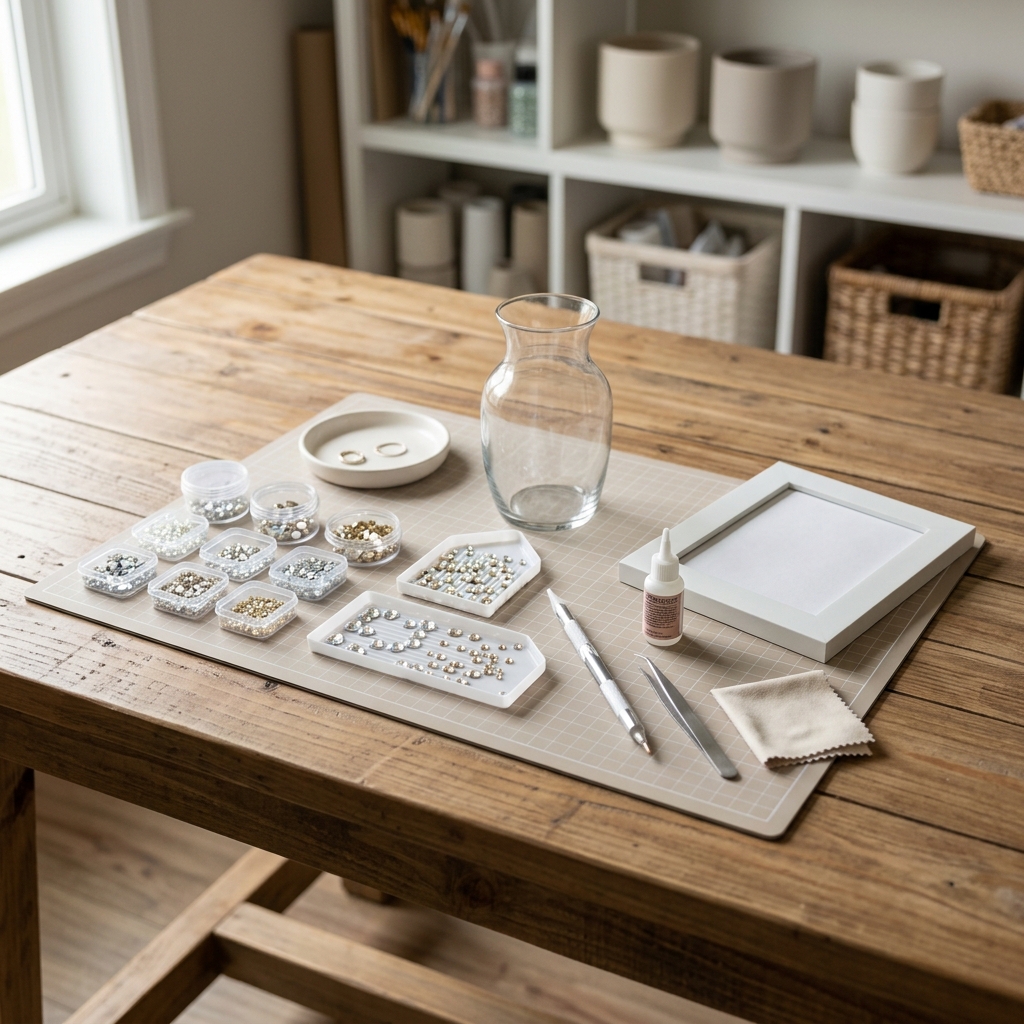
Rhinestone accents offer one of the most accessible ways to elevate basic home decor from ordinary to extraordinary. Whether you're looking to transform a simple picture frame, add sparkle to a plain vase, or create a stunning accent wall, rhinestones provide instant glamour and personality to any living space. The beauty of this technique lies in its versatility-you can achieve anything from subtle elegance to bold, dramatic statements depending on your design choices.
This curated guide brings together the most valuable expert resources to help you navigate the world of rhinestone home decor successfully. Rather than sifting through countless tutorials of varying quality, we've identified the top sources that offer reliable techniques, creative inspiration, and practical advice specifically tailored to home decorating applications. Our selected guides will equip you with everything from fundamental application methods to advanced design strategies.
By following our recommended resources, you'll gain confidence in material selection, learn professional application techniques, and discover creative possibilities you might never have considered. This aggregated approach saves you hours of research while ensuring you learn from the most experienced practitioners in the field.
Overview
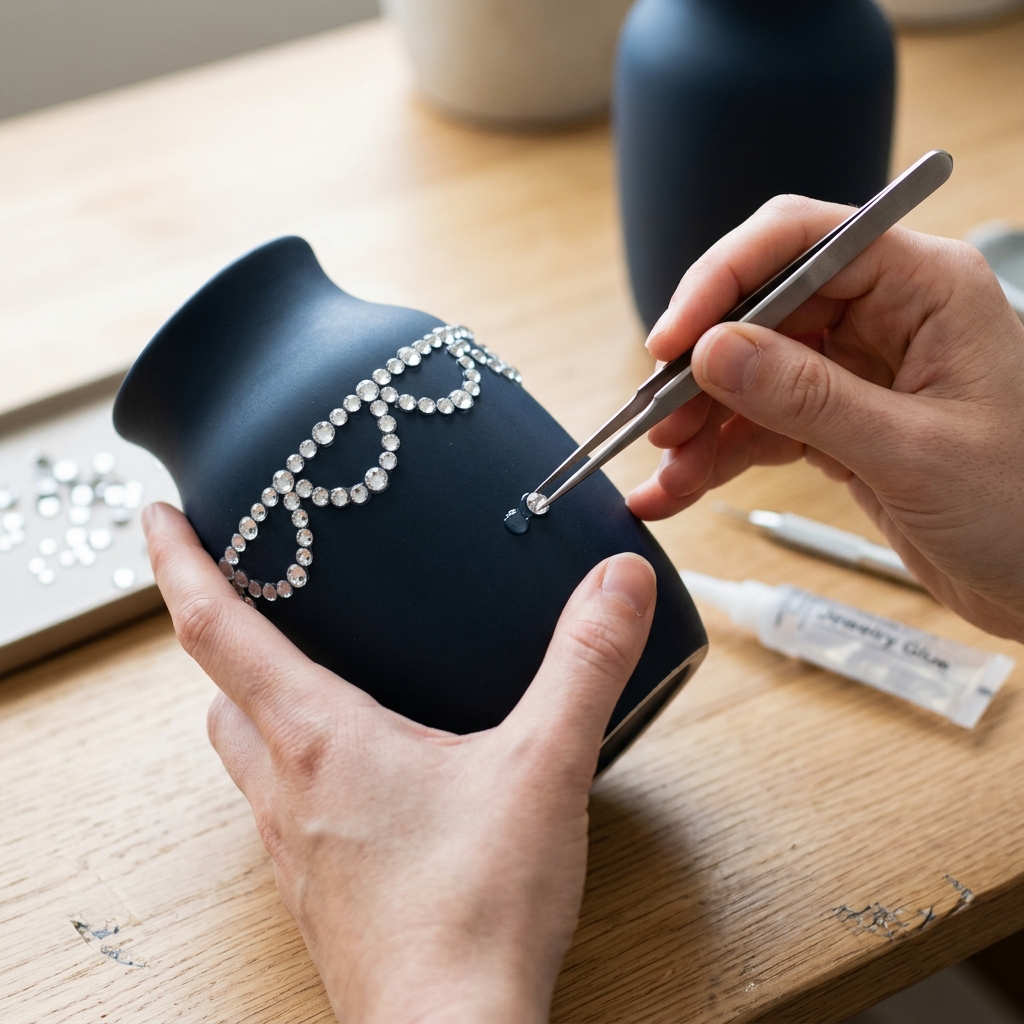
Adding rhinestone accents to home decor typically follows a systematic three-phase process that begins with thorough planning and surface preparation. The first phase involves selecting appropriate rhinestone types and sizes for your specific project, cleaning and preparing your target surfaces, and mapping out your desired design pattern. This planning stage is crucial for achieving professional-looking results and avoiding costly mistakes.
The application phase centers around proper adhesive selection and methodical rhinestone placement. Most successful projects use either the hot-fix method with specialized heating tools or cold adhesive techniques with craft-specific glues. The key is working in manageable sections, maintaining consistent spacing, and allowing proper curing time between stages. Different surfaces-whether glass, wood, metal, or fabric-may require specific preparation steps and adhesive types for optimal bonding.
The final finishing phase involves quality checks, cleanup of excess adhesive, and often the application of protective topcoats for high-touch items. Throughout the entire process, successful rhinestone application relies on patience, precision, and understanding how different materials interact. The comprehensive guides we've selected provide detailed step-by-step instructions for each phase, along with troubleshooting advice for common challenges you might encounter.
Tips & Considerations
Start with clean surfaces - Any dust, oils, or residue will compromise adhesive bonding and lead to rhinestones falling off over time
Test adhesion first - Apply a few test rhinestones in an inconspicuous area to ensure your chosen adhesive works well with your specific surface material
Work in small sections - Most rhinestone adhesives have limited working time, so apply glue and place stones in manageable areas to avoid rushed placement
Use proper ventilation - Strong adhesives like E6000 produce fumes that require adequate airflow, especially in enclosed spaces
Plan for item functionality - Consider how often the decorated item will be handled or cleaned, and place rhinestones accordingly to avoid damage
Invest in quality tools - A good rhinestone picker tool and proper applicator wand make the difference between frustrating struggles and smooth, professional results
Choose appropriate rhinestone sizes - Smaller rhinestones (ss10-ss16) work better for detailed patterns, while larger ones (ss20+) create bold, dramatic impact
Allow proper curing time - Even though rhinestones may appear secure immediately, full adhesive strength develops over 24-48 hours
Store materials properly - Keep unused rhinestones in airtight containers to prevent moisture damage and maintain their sparkle
Practice spacing consistency - Use templates or guides to maintain even spacing, as irregular gaps are immediately noticeable and appear unprofessional
Conclusion
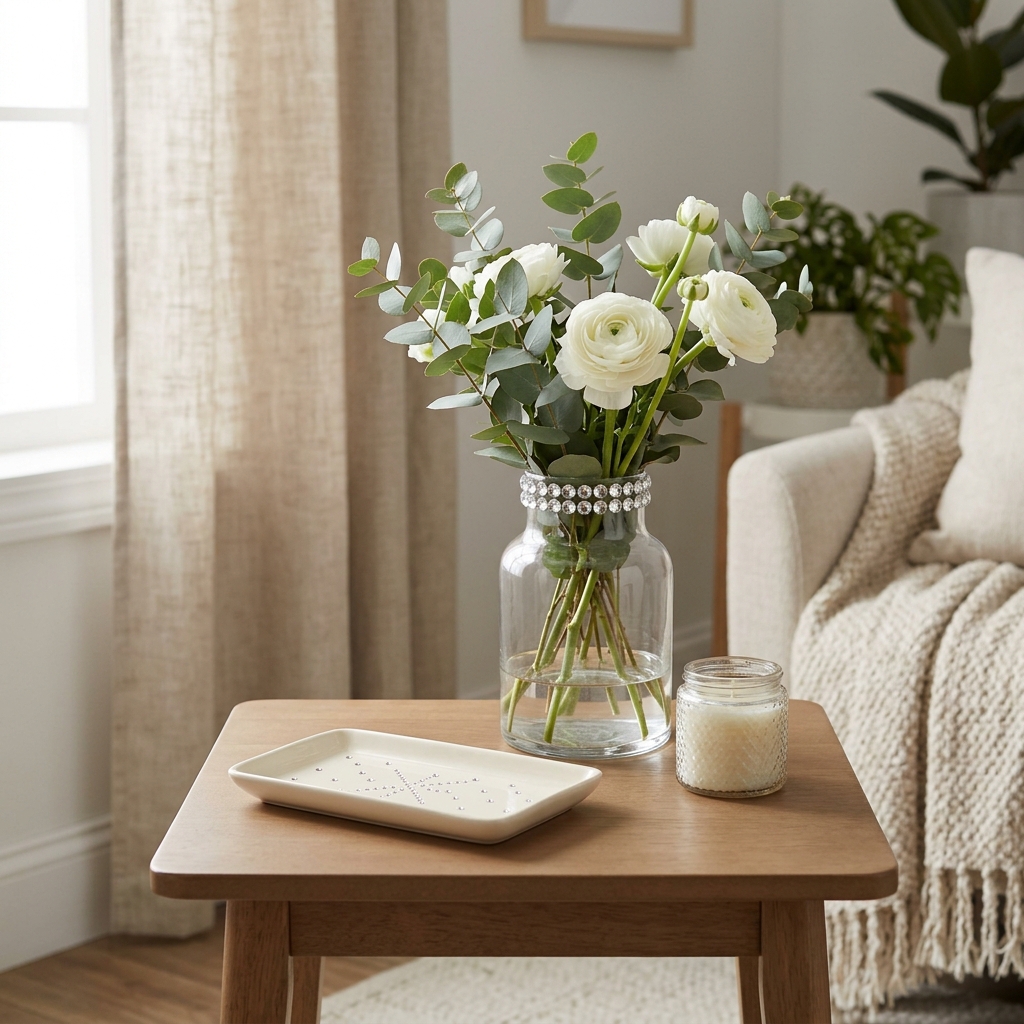
The art of rhinestone home decor embellishment becomes far more manageable when you have access to proven expert guidance and techniques. By utilizing our carefully selected resources, you'll avoid the common pitfalls that plague many DIY rhinestone projects while learning from experienced crafters who have refined these techniques through years of practice. Each recommended guide offers unique strengths-whether focusing on specific home applications, providing extensive visual inspiration, or delivering rock-solid fundamental techniques.
The curated approach we've taken here at HowTo.Monster eliminates the guesswork and research time that typically accompanies new crafting endeavors. Instead of spending hours searching through mediocre tutorials, you can dive directly into high-quality instruction that will set you up for success from your very first project.
Transform your living space with confidence, knowing you're following expert-vetted methods that deliver beautiful, long-lasting results. Your journey from basic home decor to sparkling, personalized statement pieces starts with exploring these trusted resources-and the stunning transformations you'll achieve will make every moment of learning worthwhile.
Apparatus & Materials
| Item | Cost | |
|---|---|---|
| ◆ Flatback Rhinestones Various sizes (ss10, ss16, ss20) of adhesive-backed rhinestones that form the decorative accent on home decor items. | $8–$25 | Buy now |
| ◆ Rhinestone Glue Strong adhesive like Gem-Tac or E6000 specifically designed for attaching rhinestones to various surfaces. | $6–$15 | Buy now |
| ◆ Toothpicks Used for applying small amounts of glue in precise lines and dots for rhinestone placement. | $1–$3 | Buy now |
| ◆ Wax Pencil/Rhinestone Picker Tool Specialized tool with wax tip that grabs rhinestones for precise placement and positioning on your project. | $3–$12 | Buy now |
| Hot Fix Applicator Wand Electric tool with adjustable temperature settings for applying heat-activated rhinestones with precision. | $15–$45 | Buy now |
| Magic Sorting Tray Textured tray that flips rhinestones right-side-up with a light shake for easier organization and pickup. | $8–$20 | Buy now |
| Storage Containers Airtight containers to protect rhinestones from moisture and keep them organized and sparkling clean. | $5–$15 | Buy now |
Notes on the sources
The ranking at right reflects our editorial judgment after reading each source in full. For a summary of this entry in brief, see the source ranked first. For the chemistry and underlying principles, see the last.


