
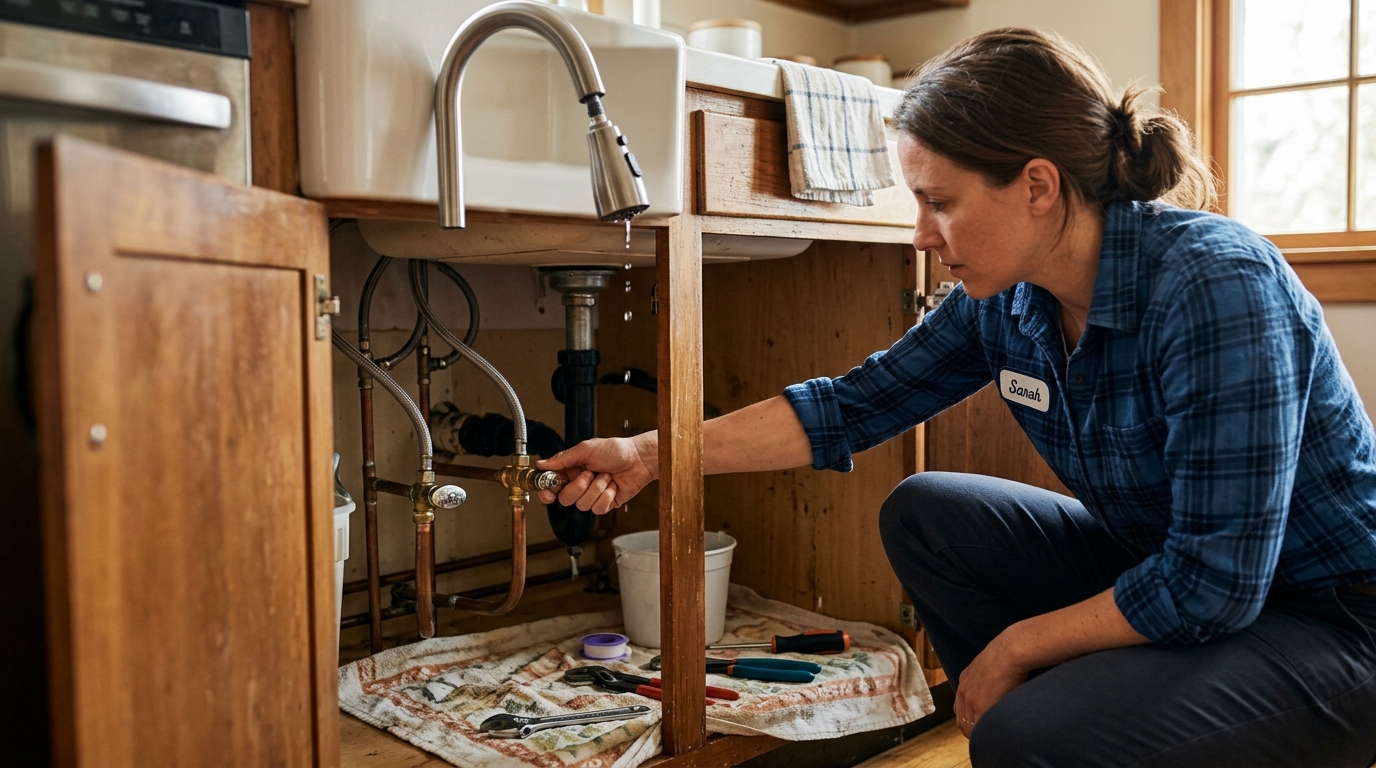
Stop a stubborn faucet drip by identifying the faucet type, replacing the worn cartridge or washer, and testing for leaks.
A drip is usually a worn part, not a doomed faucet
A faucet that keeps dripping after you shut it off is usually telling you one thing: a small wear part has reached the end of its life. In many faucets, that part is a cartridge, washer, or O-ring. The good news is that this is usually a manageable repair with basic hand tools, a towel, and a little patience.
The important part is not forcing a one-size-fits-all fix. Faucet designs vary, and the right replacement depends on whether you have a cartridge faucet, a compression-style faucet, or a different internal mechanism. Once you identify the type, the repair becomes a sequence: shut off the water, open the faucet, remove the worn part, install the exact replacement, then test slowly for leaks.
Step 1: Shut off the water and make the sink area safe
Turn off both shutoff valves under the sink. Then open the faucet briefly to relieve pressure and confirm the water is actually off. If a valve sticks or leaks when you touch it, stop and deal with the valve itself instead of forcing the repair.
Place a towel in the sink basin and plug the drain before you start taking anything apart. Small screws, clips, and trim rings love to disappear into the drain, and a towel protects the finish if a wrench slips.

Step 2: Remove the handle and identify the faucet type
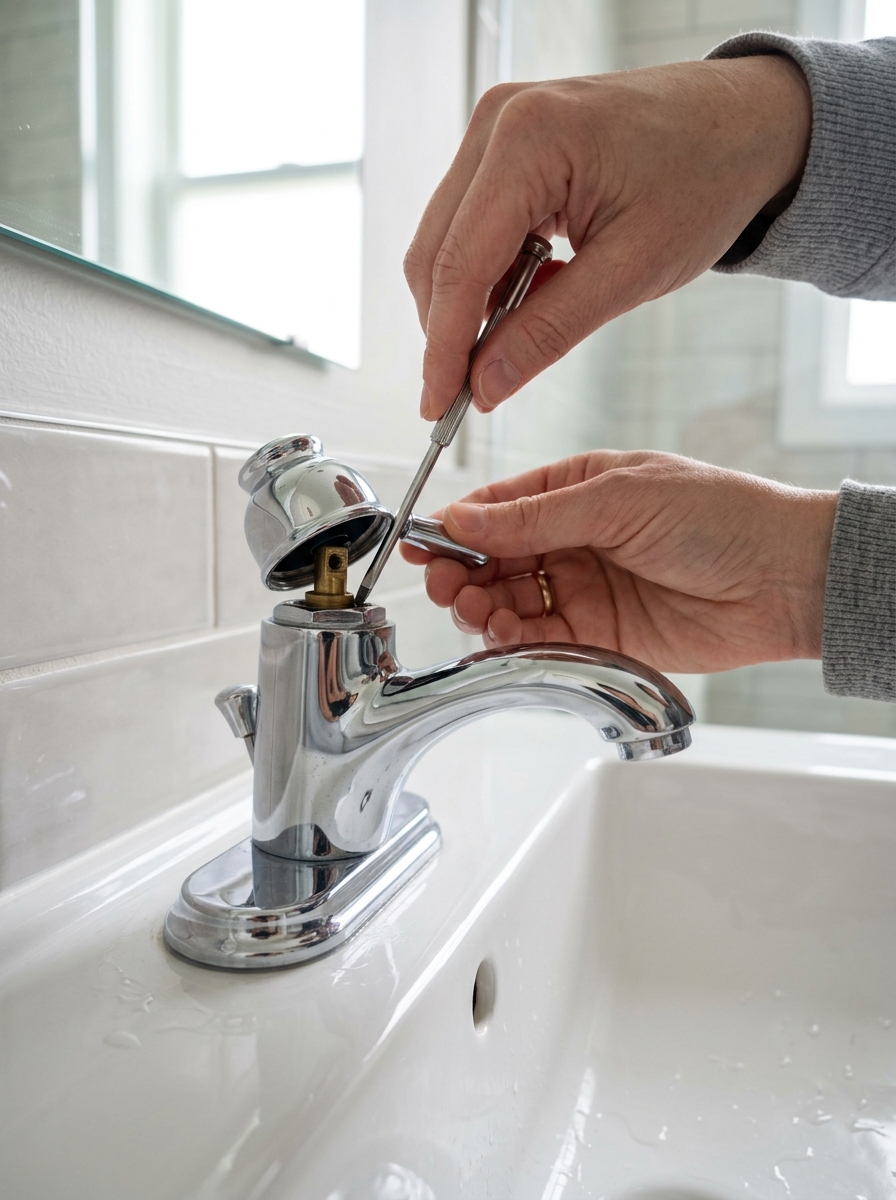
Look for the handle screw under a decorative cap or behind the lever, then remove the handle and any trim pieces. Take photos as you go so you can match the order later. If the faucet has one handle, you will often find a cartridge or ball assembly; if it has two handles, you may be dealing with a compression stem or a cartridge on each side.
Do not pry aggressively or crank on small parts with the wrong tool. Mineral buildup can make parts feel stuck, but forcing them can strip screws, crack plastic trim, or bend the retaining clip. If the handle resists, a little careful wiggle and the correct screwdriver or hex key is safer than brute force.
Step 3: Pull the worn part and compare it to the replacement
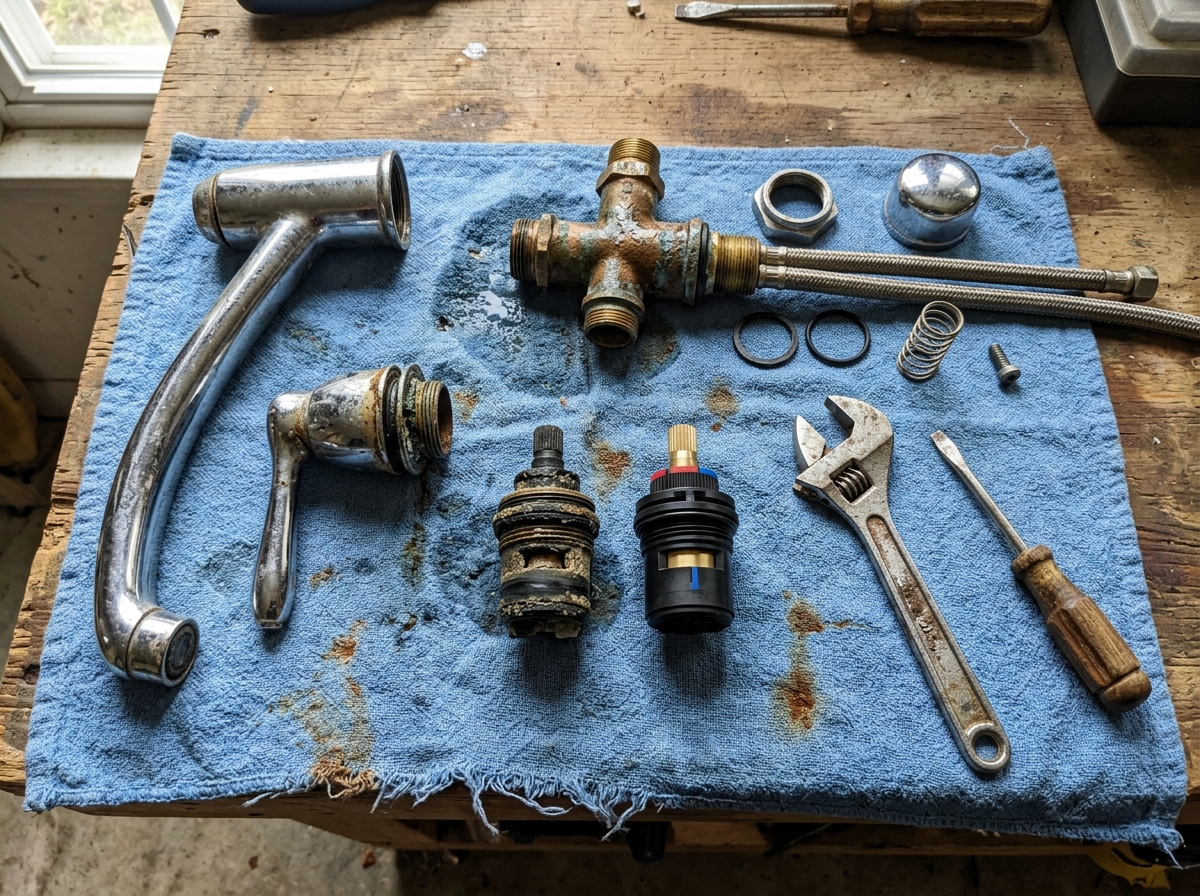
Once the retaining clip, nut, or stem assembly is exposed, remove it carefully and lay the parts out in order on a towel. Then compare the old part to the new one before installing anything. Exact length, shape, and orientation matter more than brand-name guessing.
If you see hardened O-rings, flattened washers, or obvious mineral scale, that is usually the culprit. Light cleaning can help the valve body, but the worn part still needs replacing. If you are unsure which part to buy, take the old part to the store and match it physically instead of relying on a product photo alone.
Step 4: Install the replacement part in the same orientation
Clean any mineral buildup from the valve body with a rag and a mild cleaner or vinegar if appropriate, then seat the new cartridge, washer, or O-ring the same way the old one came out. If the manufacturer allows it, use a tiny amount of plumber’s grease on O-rings so the part slides in smoothly and seals without tearing.
This is the step where many repairs fail because the part is rotated slightly or the clip is not fully seated. The faucet may still reassemble, but a tiny misalignment can leave you with the same drip. Check the orientation marks, push the part fully home, and make sure the retainer is locked before moving on.
Step 5: Reassemble, reopen the valves slowly, and test for leaks
Put the faucet back together in reverse order and tighten fasteners firmly, but not aggressively. Protect the finish with a cloth when you use a wrench. Then reopen the shutoff valves slowly and watch the faucet body, handle base, and spout for any seepage.
Run the faucet briefly to flush out any loose debris, then shut it off and check again. If it still drips, the replacement may not match the faucet model, the part may not be seated fully, or the valve seat may be worn beyond a simple part swap. At that point, pause and verify the exact model before you keep tightening parts that do not need extra force.

Step 6: Do a final flow test
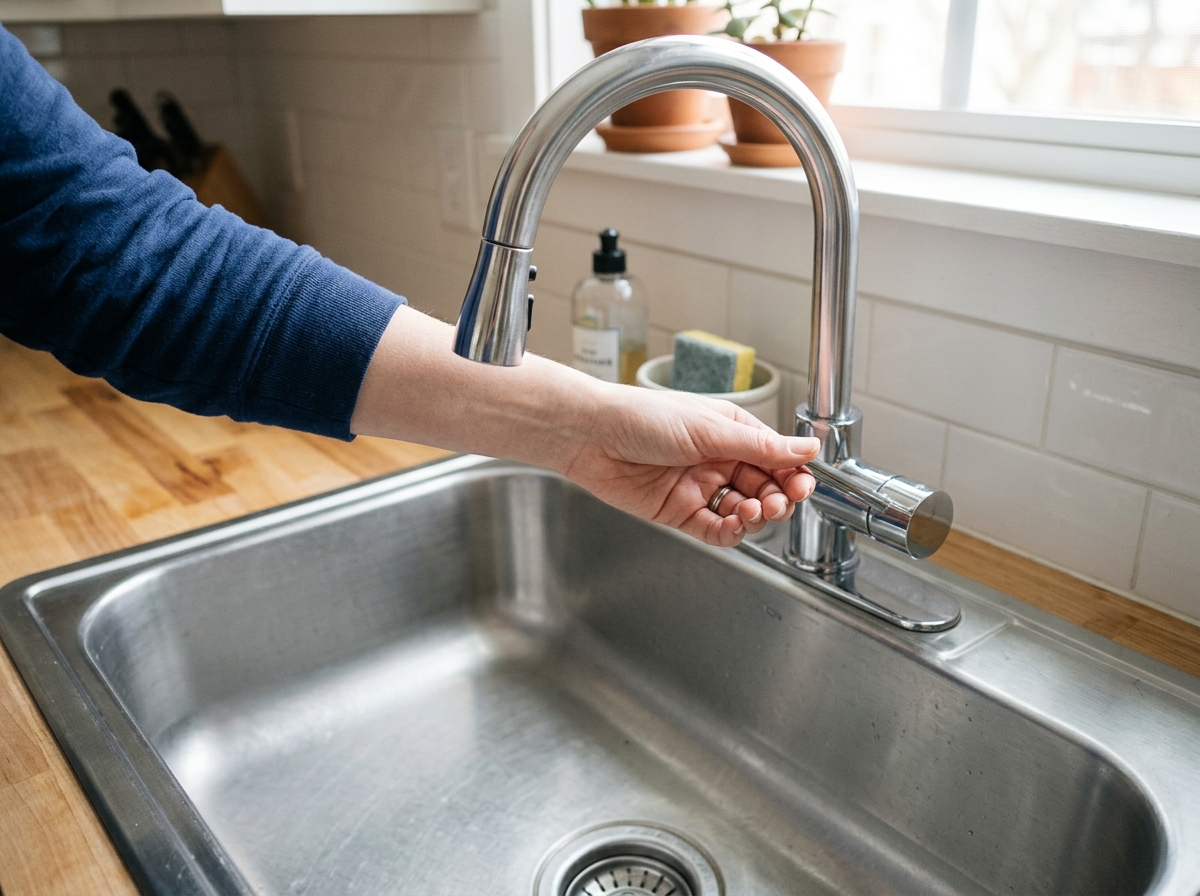
Turn the faucet on and off a few times, then inspect the spout and handle area once more. A successful repair should leave the sink dry and the drip gone after the water is shut off. If the leak returns only when the faucet is hot or only when the handle is in one position, that can point to an orientation issue or a part mismatch.
Do a final cleanup, remove the towel from the basin, and keep the old part until you know the repair is holding. That one habit makes future troubleshooting much easier if you ever need to match the part again.
Apparatus & Materials
| Item | Cost | |
|---|---|---|
| ◆ Adjustable wrench Loosens retaining nuts and helps reassemble the faucet without damaging the finish. | $10–$24 | Buy now |
| ◆ Phillips screwdriver Removes the handle screw and other small fasteners during disassembly. | $5–$12 | Buy now |
| ◆ Replacement faucet cartridge or washer Replaces the worn internal part that is causing the drip. | $6–$35 | Buy now |
| ◆ Towel Protects the sink finish and keeps small parts from slipping away. | Free | Buy now |
| Hex key set Fits handle set screws on many single-handle faucets. | $7–$18 | Buy now |
| Silicone plumber's grease Helps O-rings seat smoothly when the manufacturer allows lubrication. | $4–$10 | Buy now |
Notes on the sources
The ranking at right reflects our editorial judgment after reading each source in full. For a summary of this entry in brief, see the source ranked first. For the chemistry and underlying principles, see the last.


