
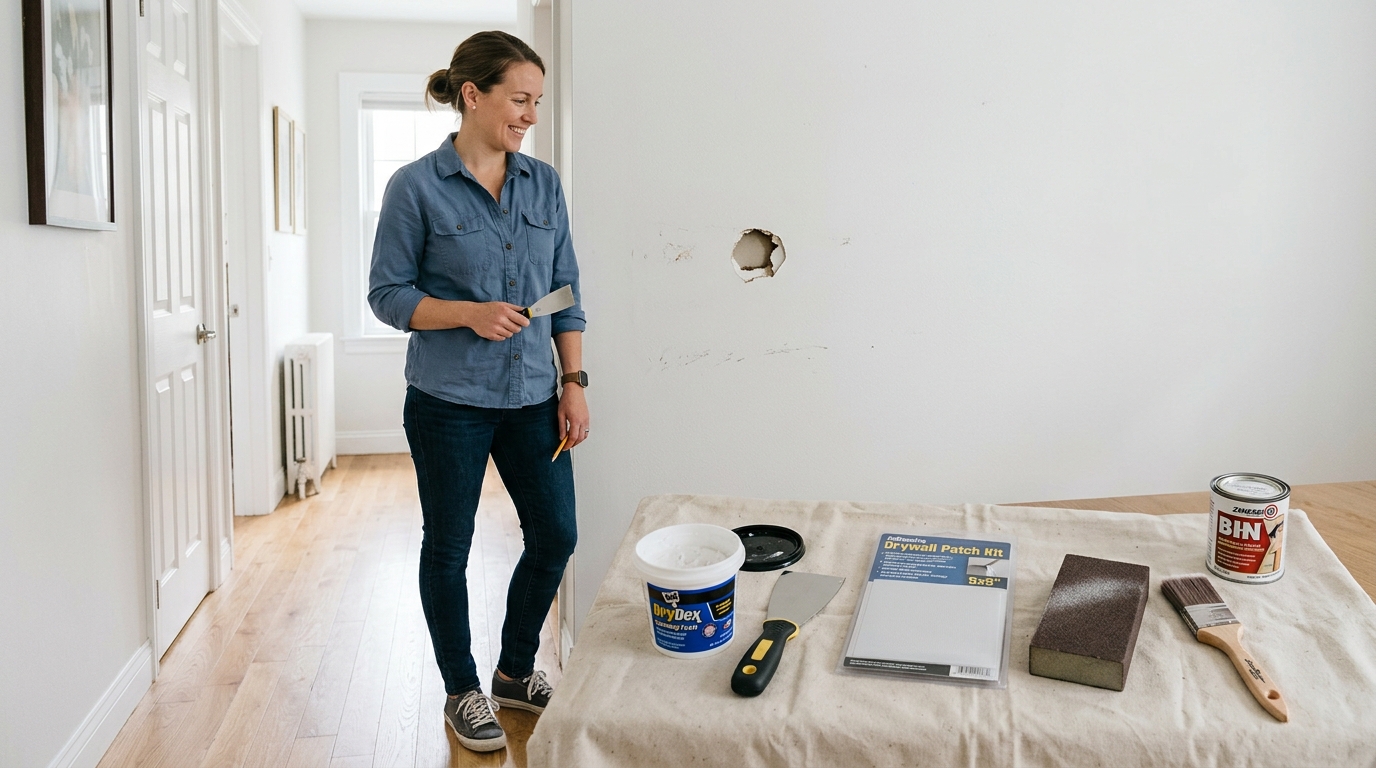
Patch nail holes, screw holes, and small drywall damage with thin coats, a light sanding, and primer so the repair disappears after paint.
Drywall repair is mostly about patience
A clean drywall patch is less about brute force and more about sequence. The right method depends on hole size, but the finish quality always comes from the same habits: remove loose debris, fill in thin layers, feather the edges, sand gently, and prime before paint.
If you rush any of those steps, the repair usually shows up as a bump, a crater, or a dull square that catches light after the wall is painted. This guide keeps the scope beginner-friendly and shows where the simple fix ends and the bigger repair begins.
Step 1: Match the repair method to the damage
Start by looking closely at the wall. Tiny nail holes and shallow dents can usually be filled directly with lightweight spackle or joint compound. Small holes need the same filler, but often in more than one thin coat. Medium holes need a patch or backing so the compound has something solid to bridge over.
This first decision matters because drywall compound is a finisher, not a structural span. If you try to fill a hole that is too large with paste alone, the surface sinks as it dries and the patch never becomes truly flat.
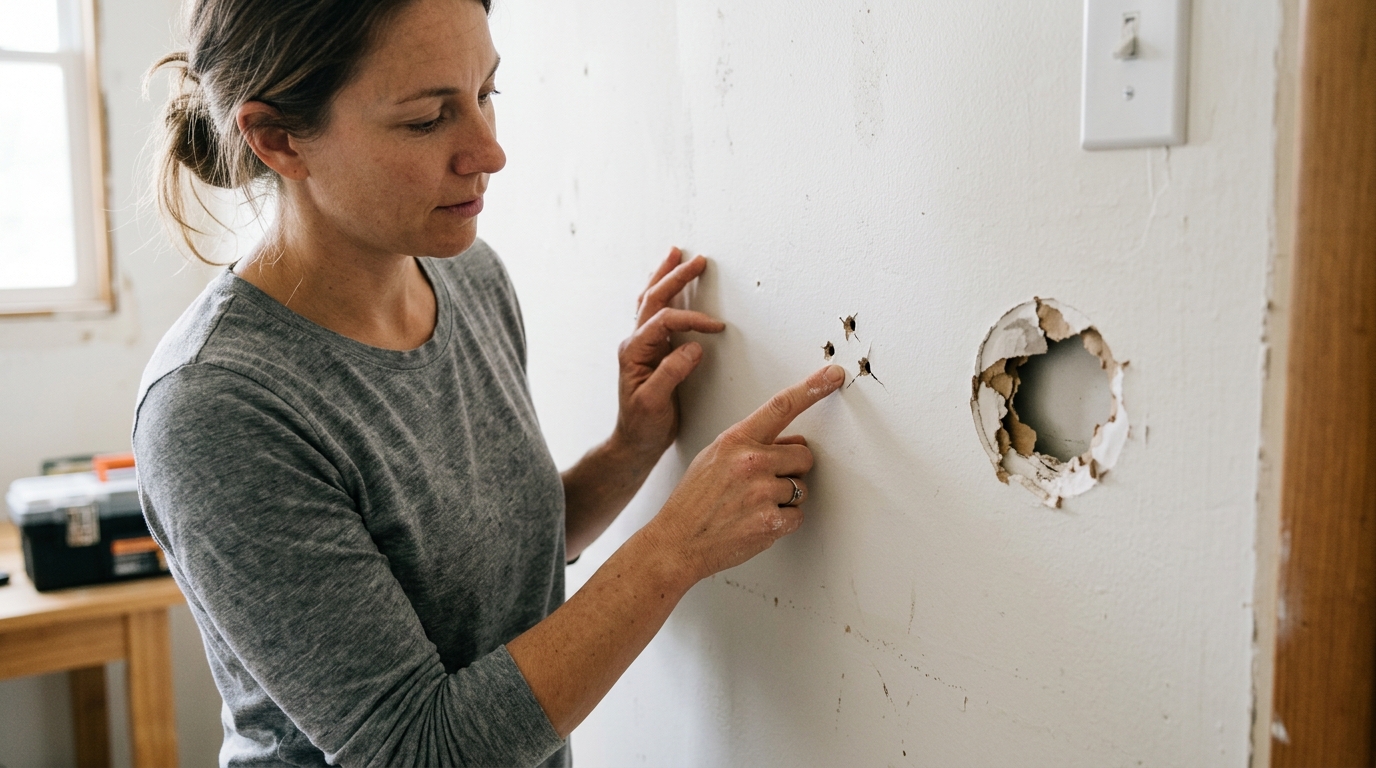
Step 2: Prep the opening and the surrounding paint
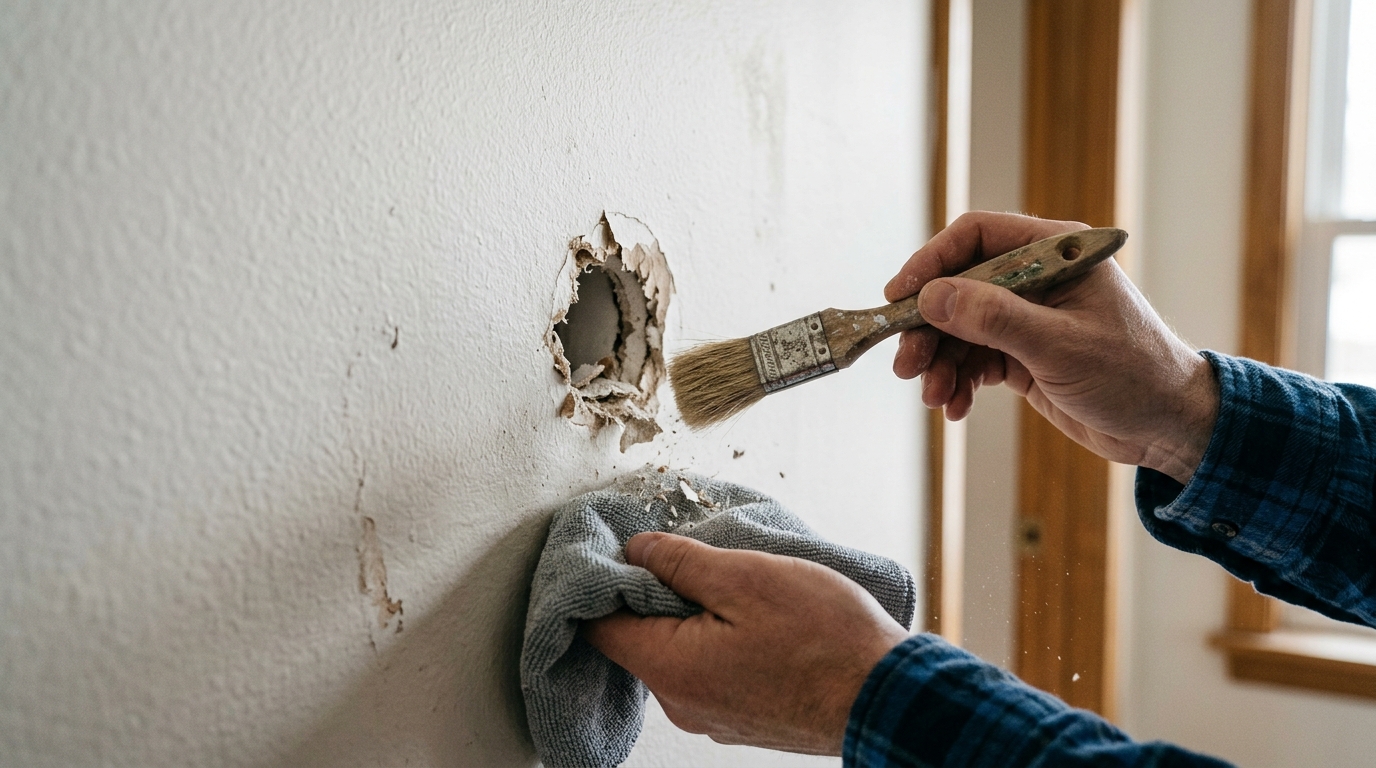
Brush away loose paper, dust, and crumbly edges. For jagged openings, trim only the damaged material so the patch can bond to firm drywall. A quick wipe with a dry cloth helps the filler adhere evenly and keeps old dust from turning into gritty lumps.
If the wall has a glossy finish, lightly scuff the area around the repair so the new compound can grip. Keep the prep modest; the goal is to clean the surface, not to sand a crater that becomes larger than the original damage.
Step 3: Fill small damage in thin coats
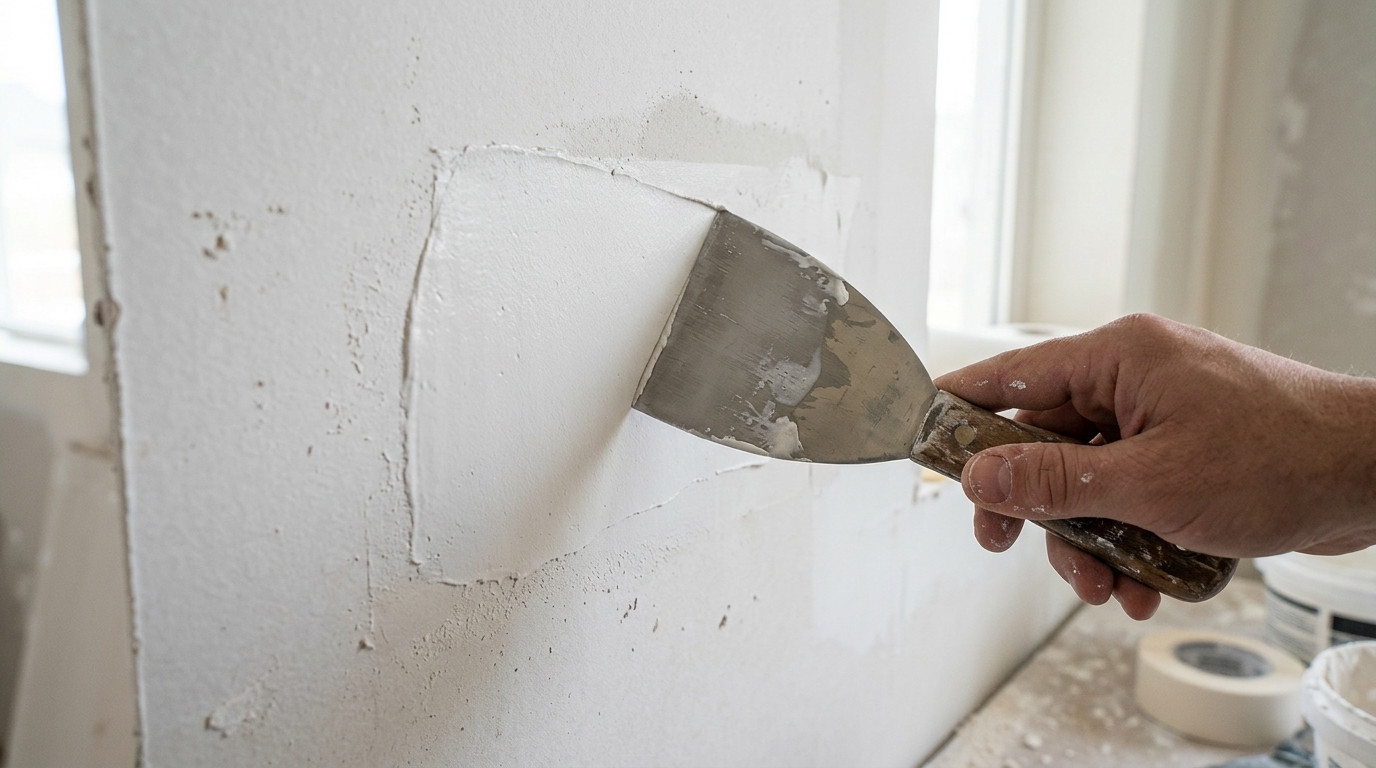
Use a putty knife to press spackle or lightweight joint compound into the hole, then scrape off the excess so the first coat sits nearly flush. For anything larger than a nail hole, expect to come back with a second pass after the first layer dries. Thin coats dry faster and shrink less, which is why they blend better than one thick blob.
Feather each pass wider than the one before it. That shallow slope is what disappears under paint; a narrow, hard edge is what the eye catches later. If the compound drags, add a touch more material rather than pressing harder with the knife.
Step 4: Patch medium holes before you smooth them
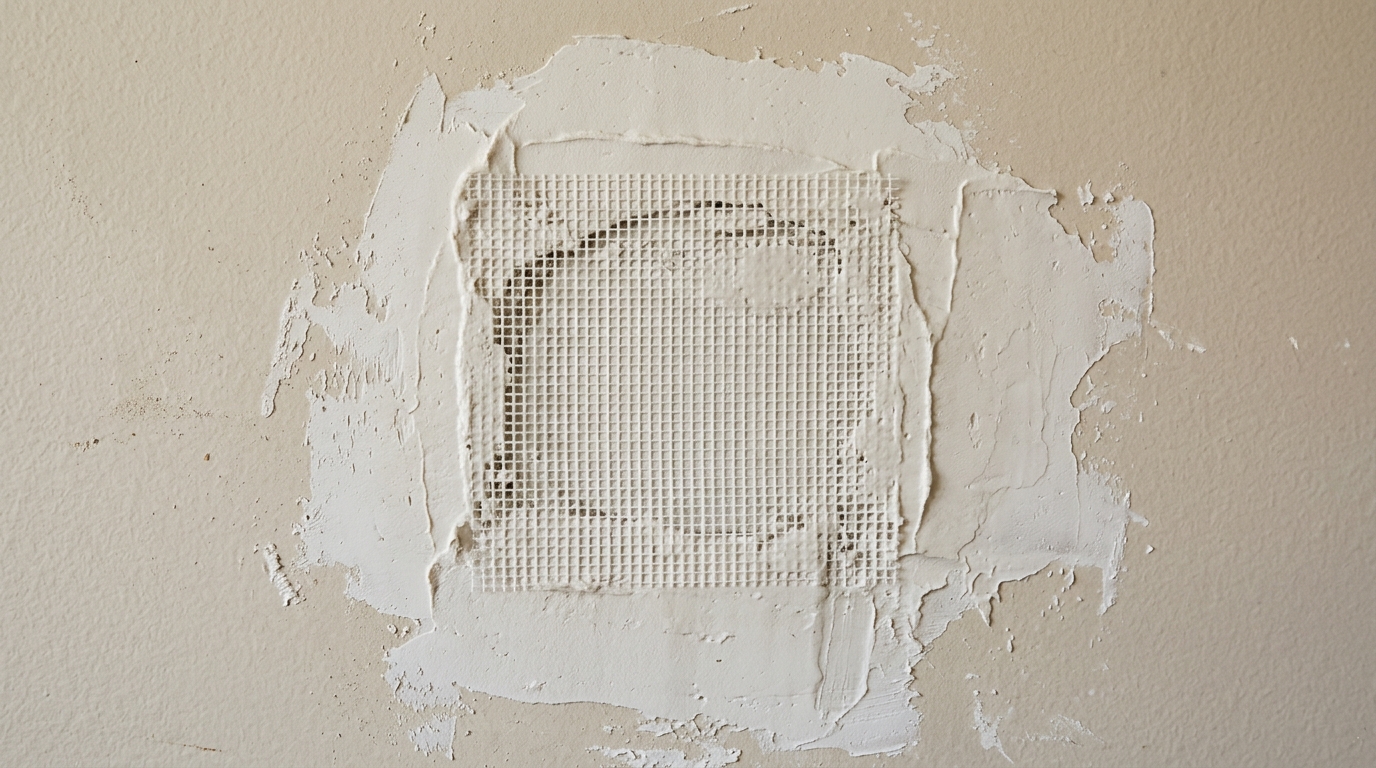
For a hole that is too wide for filler alone, apply a self-adhesive patch or a backing patch first, then cover it with joint compound. The patch gives the repair a stable surface so the filler does not sag into the opening while it dries.
After the first coat sets, add wider finishing coats until the patch blends into the surrounding wall. Each coat should be a little broader and thinner than the last. That layered approach takes longer, but it is the difference between a repair that disappears and one that telegraphs through the paint.
Step 5: Sand lightly, then prime and paint
Once the patch is fully dry, sand with a fine sponge or sandpaper using very light pressure. You are only knocking down ridges and tool marks. If you feel resistance, stop and let the area dry longer instead of digging into the surrounding paper face.
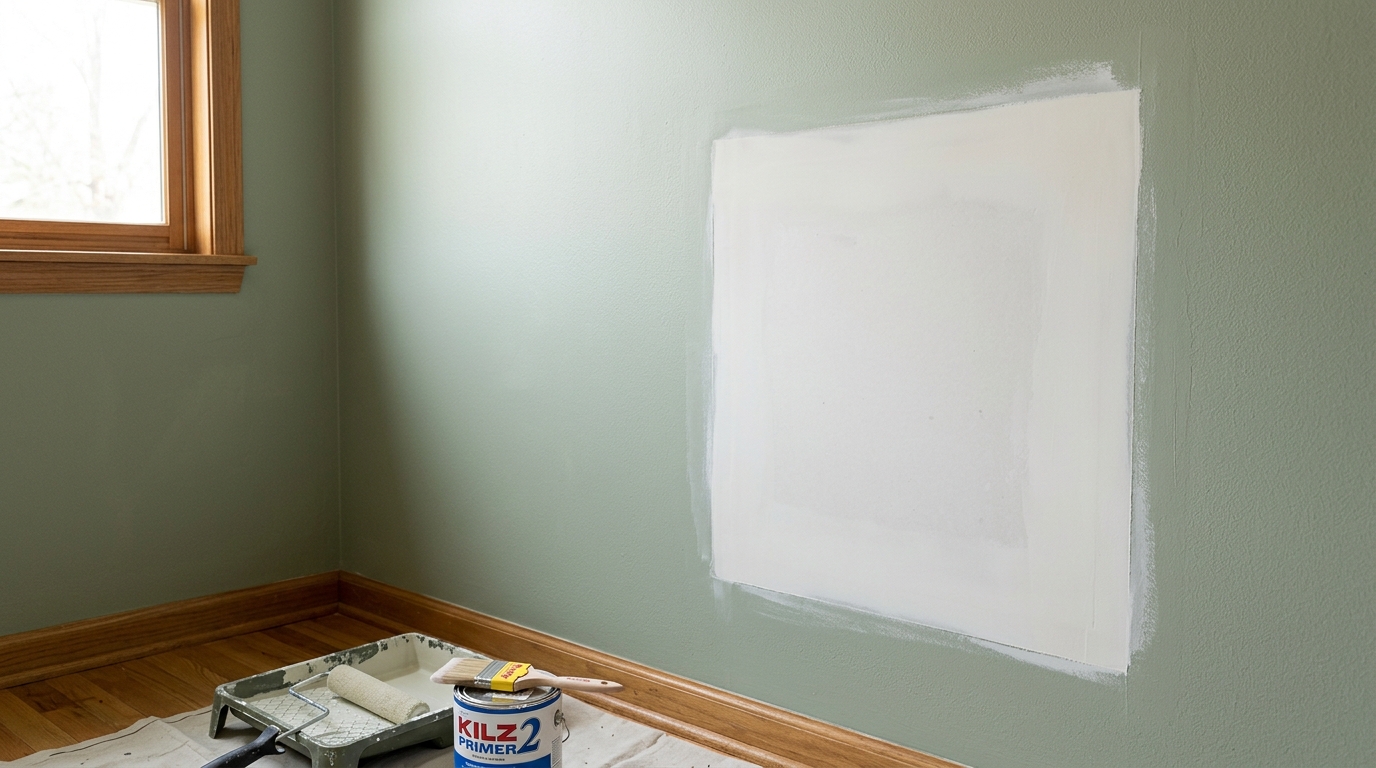
Prime the repair before painting. Primer seals the patched area so it absorbs paint like the rest of the wall, which prevents the dull or shiny “flashing” that makes repairs obvious in daylight. If the wall is textured or the color match is uncertain, test the paint on a small section before committing to the whole wall.
Step 6: Know when the repair is too big for a simple DIY fix
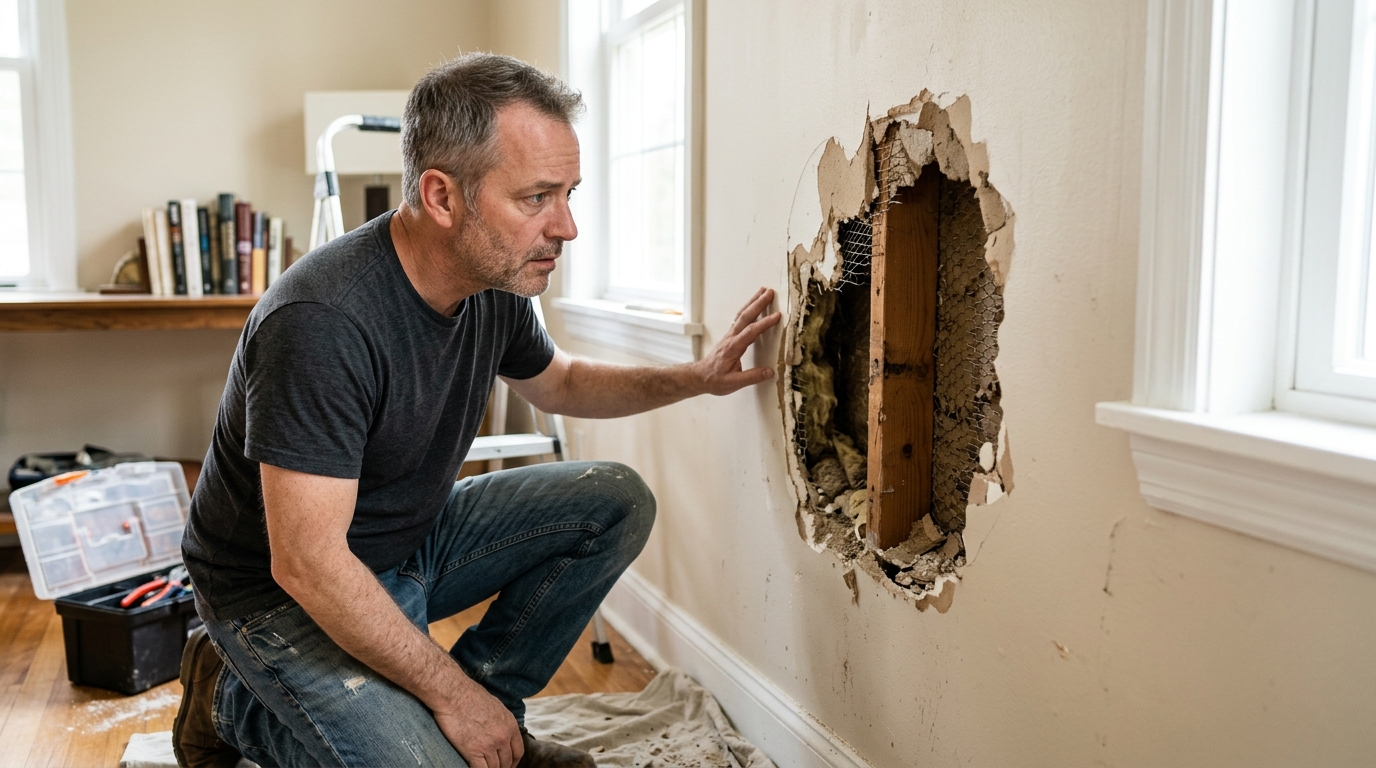
Stop and reassess if the wall is soft, stained, moldy, or moving. Large openings, repeated cracking, or damage near doors and windows can point to a bigger issue than cosmetic wear. The same is true when you uncover wiring, plumbing, or insulation that needs to be moved before closing the wall.
The safest beginner rule is simple: if the damage is structural, wet, or larger than a patch kit is meant to cover, slow down and get the right help before you hide the problem behind compound and paint.
Apparatus & Materials
| Item | Cost | |
|---|---|---|
| ◆ Lightweight spackle Fills nail holes and small dents while drying smooth for sanding. | $6–$12 | Buy now |
| ◆ Paint matching sample Helps blend the repair into the existing wall finish after priming. | Free | Buy now |
| ◆ Primer Seals the patched area so paint absorbs evenly and the repair does not flash. | $8–$18 | Buy now |
| ◆ Putty knife Spreads compound and feathers each coat flat against the wall. | $5–$15 | Buy now |
| ◆ Sanding sponge Knocks down ridges without gouging the patch. | $5–$12 | Buy now |
| Self-adhesive drywall patch Bridges medium holes so the compound has a stable surface to bond to. | $8–$18 | Buy now |
Notes on the sources
The ranking at right reflects our editorial judgment after reading each source in full. For a summary of this entry in brief, see the source ranked first. For the chemistry and underlying principles, see the last.


