
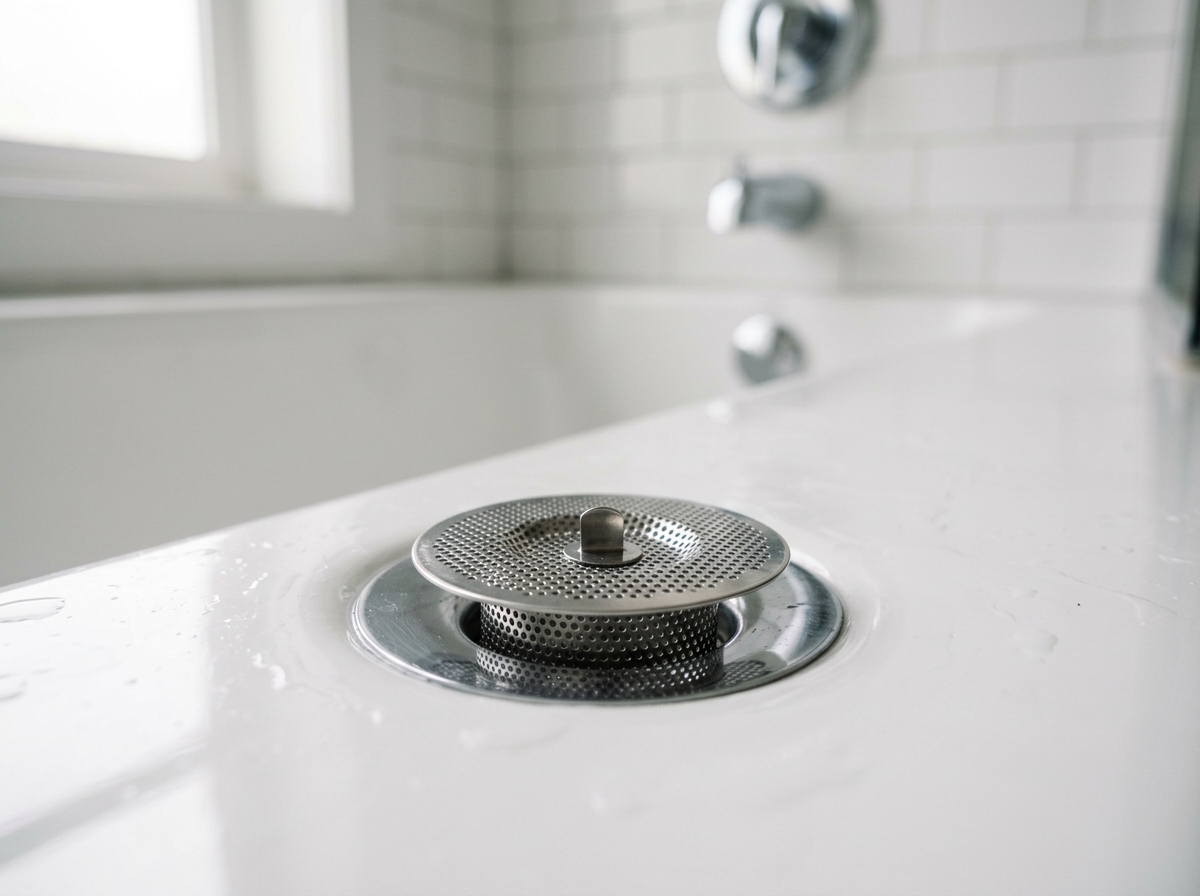
Remove hair, soap scum, and residue from a shower drain catcher with a gentle cleaning routine that protects the finish and avoids stripped hardware.
A cleaner hair catcher means fewer odors and better drainage
A shower drain hair catcher only works when it stays open. Once hair, soap scum, and skin oils coat the mesh or silicone surface, water starts to slow down and the catcher begins to smell like a forgotten wet towel. The fix is usually simple: pull it out, clear the debris by hand, and wash it with mild soap and warm water.
The important part is doing the job gently. Most of these catchers are plastic, silicone, or coated metal, which means a metal scraper or harsh abrasive pad can leave scratches or deform the part. If yours is screw-in or feels stuck, stop before you strip the fastener or chip the tub finish.
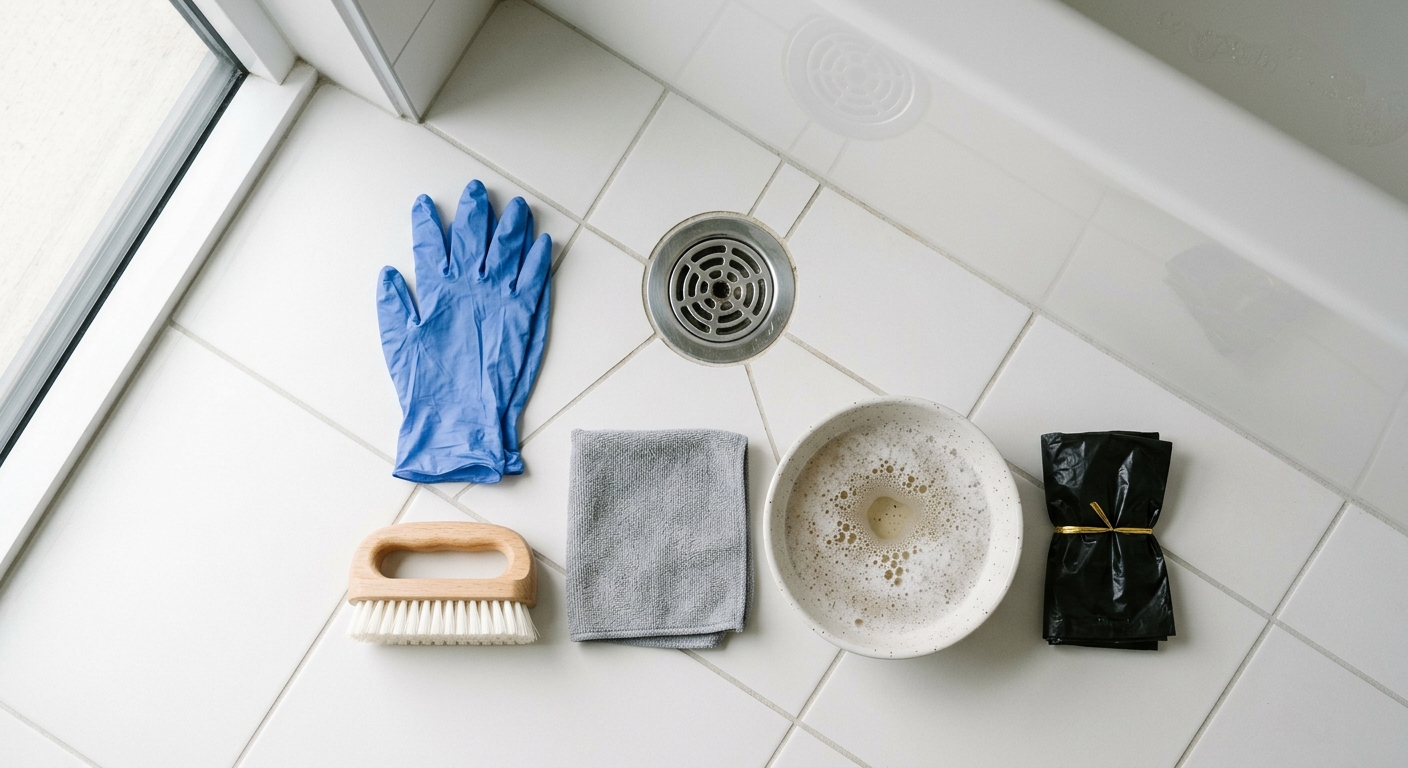
Step 1: Gather a small cleaning kit
Before you touch the drain, set out a pair of gloves, a small trash bag, a soft-bristle brush or old toothbrush, a microfiber cloth, and a bowl of warm water with a drop or two of dish soap. That is enough for most catchers and keeps you from reaching for a harsher product out of frustration.
The goal is to keep the cleaning routine controlled and low-risk. A lot of people jump straight to drain cleaner when they really only need to remove the catcher and wash the surface grime off. If you keep the process limited to mild soap and elbow grease, you avoid the finish damage and chemical exposure that come with stronger products.
Step 2: Remove the catcher carefully
Lift, twist, or unscrew the catcher according to its design. Many hair traps simply pop out, while some threaded versions need a gentle counter-clockwise turn. Work slowly so you can feel whether the part is freeing normally or binding on scale and grime.
If it resists, do not force it with a screwdriver or metal pick. That is how people scratch the tub surface, bend a thin rim, or strip a small screw head that was holding the whole thing in place. A little patience here is worth more than a quick shove.
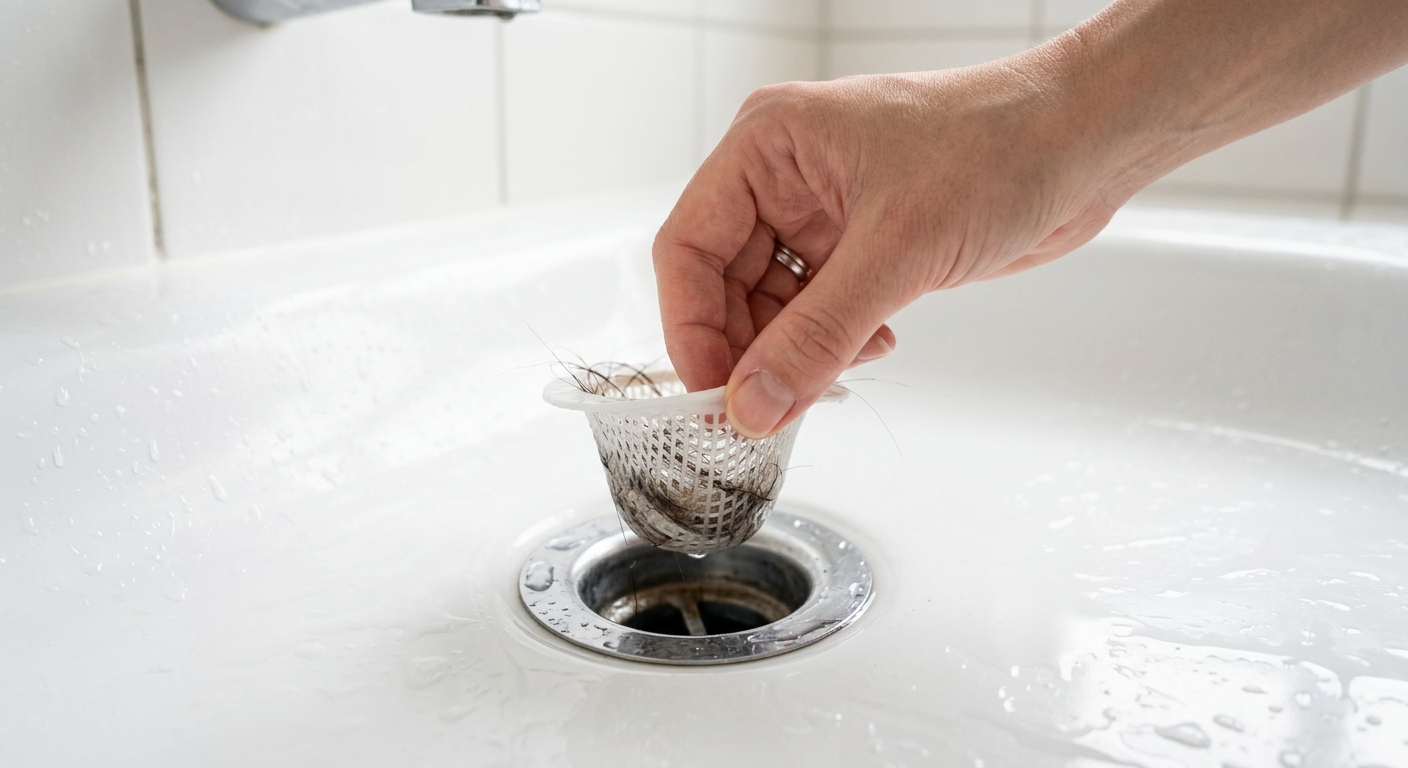
Step 3: Clear the trapped hair and sludge
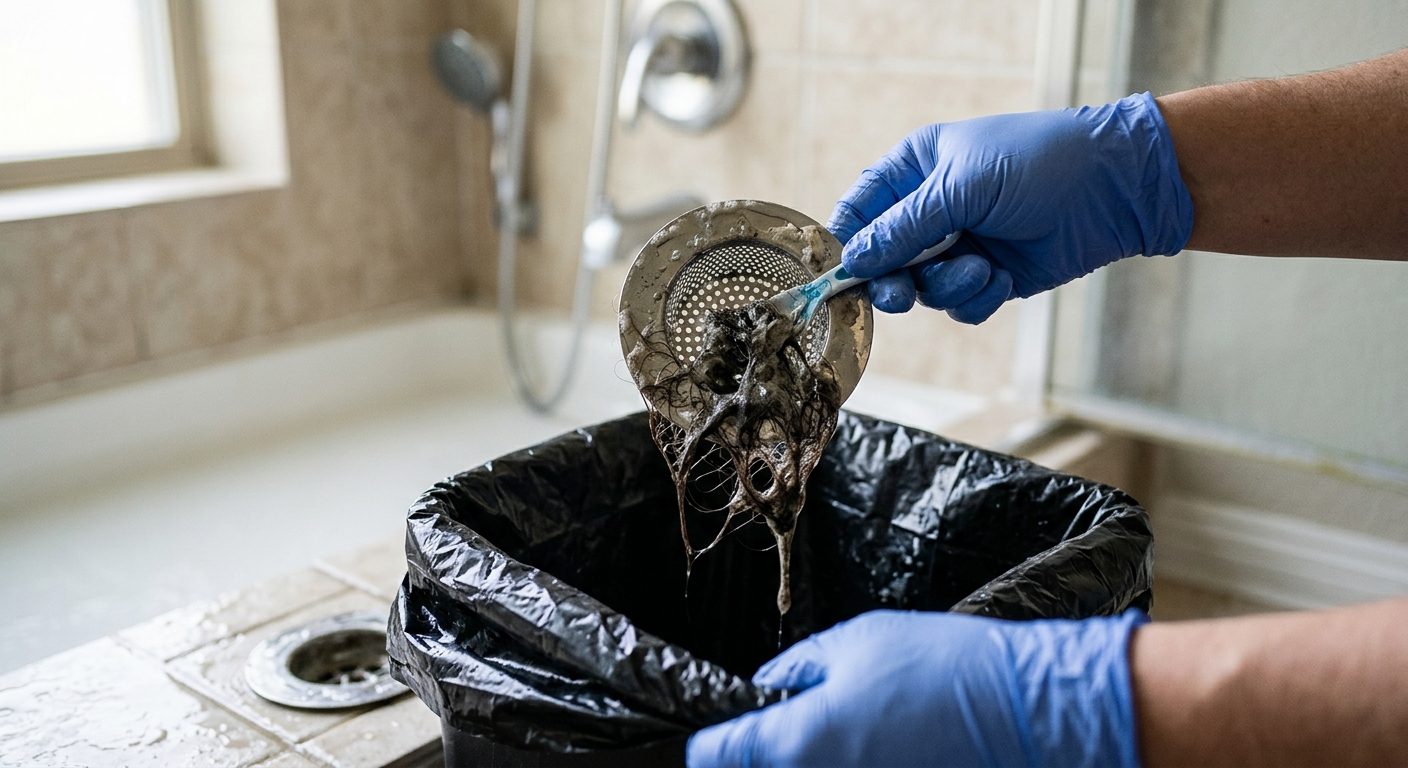
Hold the catcher over the trash bag and pull off the loose hair by hand. Use your gloved fingers first, then the soft brush if the build-up is packed into holes or slits. If the catcher has a silicone lip or flexible arms, flex it just enough to expose the grime without stretching it out of shape.
This step is mostly mechanical, not chemical. You want the bulk debris gone before water ever touches it, because rinsing a clogged catcher too early just spreads the mess around the sink. If the residue is especially sticky, keep working in small sections rather than attacking the whole part at once.
Step 4: Wash the catcher with warm soapy water
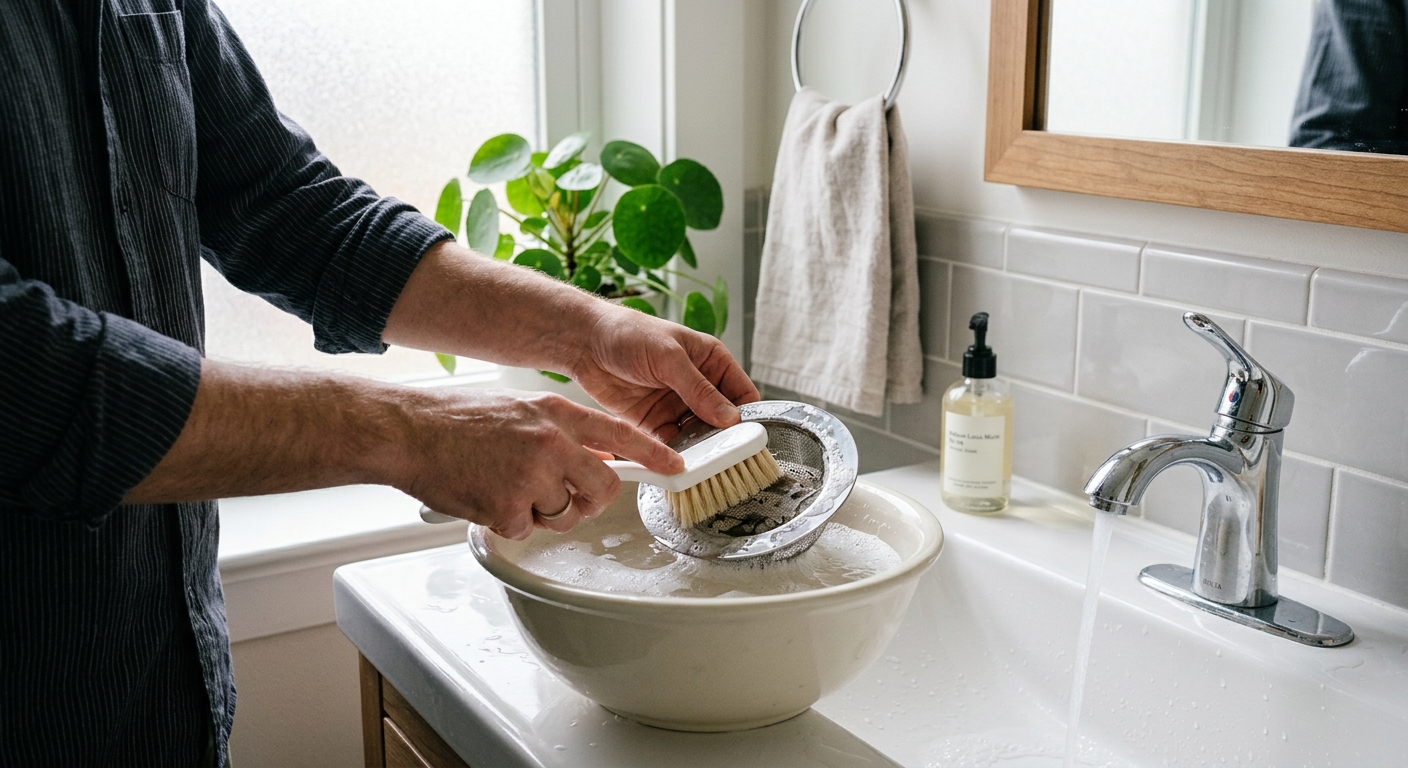
Dip the brush in the warm soapy water and scrub the catcher from multiple angles. Work the brush across the mesh or slots, then rinse and repeat until the surface feels clean instead of slick. A microfiber cloth can handle the outer ring or top cap without scratching a coated finish.
If you still see cloudy residue, let the part sit in the soapy water for a few minutes and then scrub again. Do not jump to caustic drain cleaner for this job; the catcher is a removable surface part, and stronger chemicals add unnecessary risk for your skin and the tub finish.
Step 5: Clean the drain rim and reinstall
Wipe the drain opening and surrounding rim with the damp microfiber cloth before the catcher goes back in. That little ring of soap scum is what makes a clean catcher feel dirty again, and it can also keep the part from seating evenly.
Reinstall the catcher in the same orientation it came out. Press or twist until it sits flush and feels secure, then run a little water for a quick check. If the water drains normally and the catcher stays seated, the job is done. If not, remove it again and look for hair caught on the underside or a misaligned gasket.
Apparatus & Materials
| Item | Cost | |
|---|---|---|
| ◆ Microfiber cloth Wipes the drain rim and outer surfaces clean before reinstalling the catcher. | $5–$12 | Buy now |
| ◆ Mild dish soap Lifts greasy residue from the catcher using a gentle cleaning solution. | $3–$8 | Buy now |
| ◆ Soft-bristle brush Scrubs hair and soap scum from the catcher without scratching plastic or coated metal. | $4–$9 | Buy now |
| Nitrile gloves Keeps hands cleaner when the catcher is packed with hair and sludge. | $8–$15 | Buy now |
Notes on the sources
The ranking at right reflects our editorial judgment after reading each source in full. For a summary of this entry in brief, see the source ranked first. For the chemistry and underlying principles, see the last.


