

Remove mildew, slime, and detergent buildup from a front-load washer gasket and drawer without damaging rubber or mixing unsafe cleaners.
Clean the places that actually smell
A front-load washer can look clean and still hold onto a musty odor around the door seal and detergent drawer. Those hidden folds collect moisture, lint, softener residue, and detergent sludge, which is why the smell keeps coming back if you only wipe the front edge.
The fix is simple, but the sequence matters. Pull out the debris, clean the gasket folds, wash the drawer parts, clean the housing, then dry everything fully so the washer does not re-create the same damp environment overnight.
Step 1: Gather the right supplies and set the washer up
Start with a few simple tools: soft microfiber cloths, a small soft brush, a towel, warm water, and a mild cleaner approved by your washer manual. If your manufacturer allows bleach or vinegar, keep those as optional spot-treatments rather than the default.
The goal is to clean residue without damaging rubber, plastic, or internal electronics. Turn the washer off, make sure the drum is empty, and open the door wide so you can reach the gasket folds and the drawer housing without rushing.
If you are unsure whether your machine allows bleach or vinegar, pause and check the manual first. The wrong cleaner can do more harm than the grime you're trying to remove.
Step 2: Clean the door gasket thoroughly
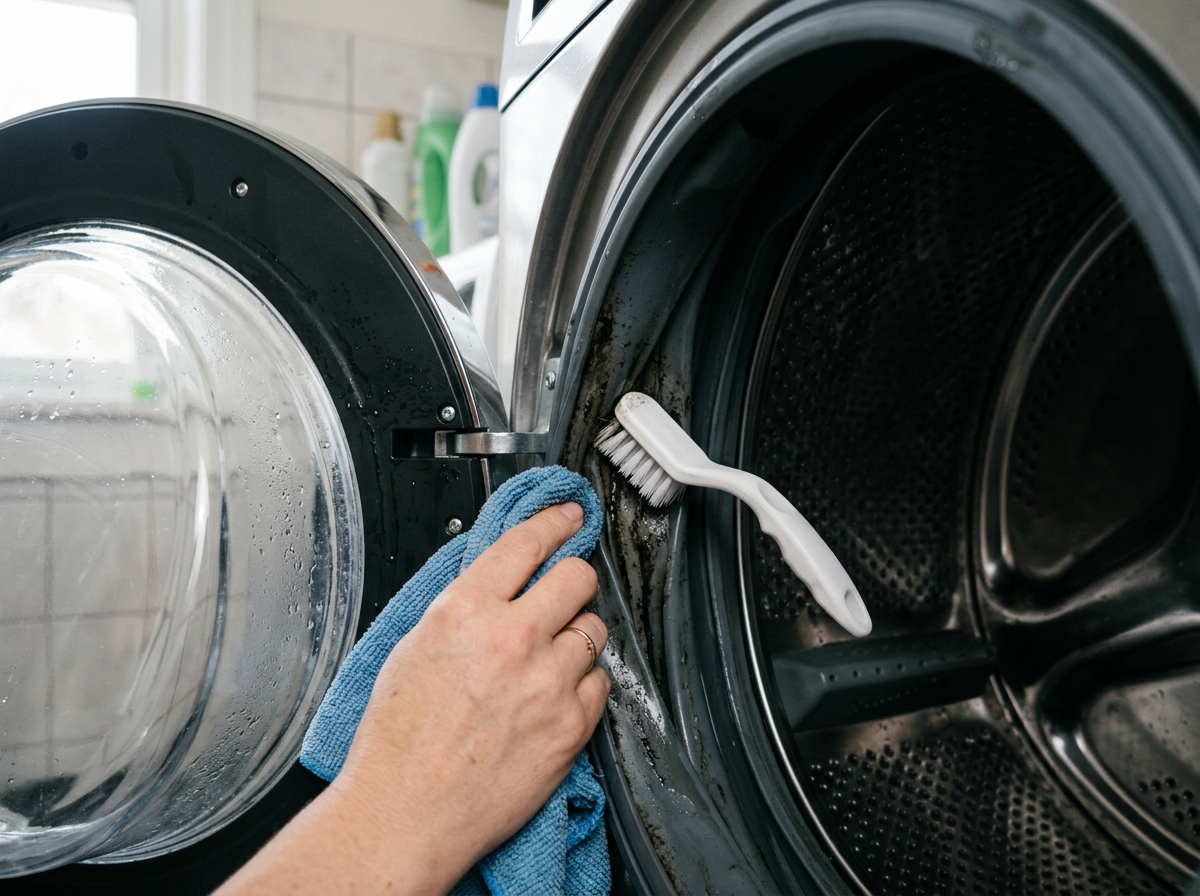
Open the washer door and pull back the inner lip of the rubber gasket all the way around. Look for coins, lint, hairpins, or standing water in the lowest part of the seal, because that bottom pocket is where grime tends to collect first. Remove loose debris by hand and blot out pooled water with a dry towel.
Use a damp cloth with warm water and a little mild soap to wipe the visible surface first, then work into the folds. A soft brush helps loosen sticky residue, but do not use a metal tool or abrasive pad. The point is to clean the texture of the seal without tearing or scuffing it.
For stubborn mildew spots, use only a manufacturer-approved cleaner. If your manual permits diluted bleach, apply it to the cloth rather than spraying it into the machine, then wipe the affected area and follow with a clean damp cloth. Never mix bleach with vinegar or ammonia.
Step 3: Remove and wash the detergent drawer
Pull the detergent drawer out as far as it will go and look for the release tab. Many machines need you to press a small lever before the drawer will slide free, and forcing it can crack the plastic. If it resists, stop and check the model's manual instead of yanking harder.
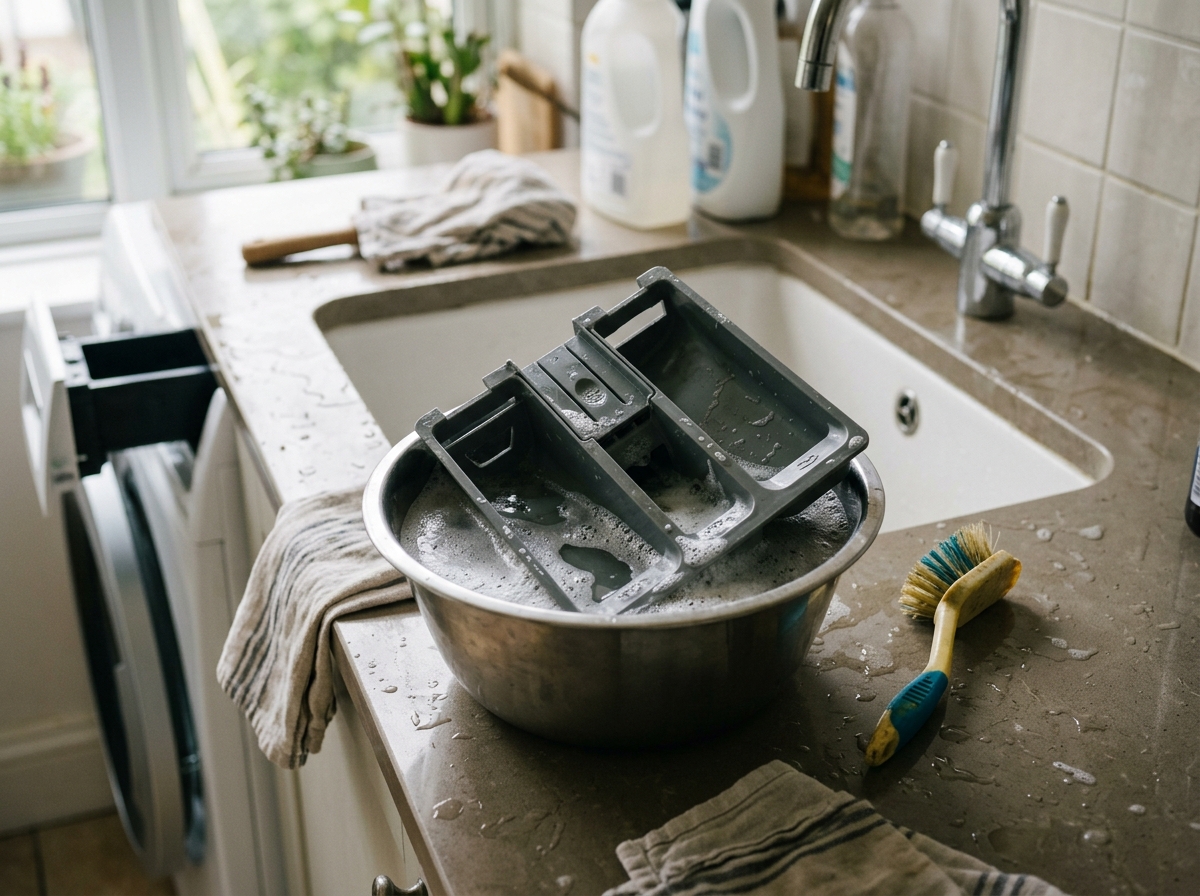
Once the drawer is out, remove any inserts or siphon pieces and note how they fit back together. Soak the parts in warm soapy water for a few minutes, then scrub each channel and corner with the soft brush. Dispenser buildup tends to hide under tabs and inside the softener section, so take your time with the little recesses.
Rinse everything well and let the pieces drain or air-dry. A drawer that goes back in wet just drips residue into the machine again, which is how the smell cycle restarts.
Step 4: Clean the drawer housing and reassemble
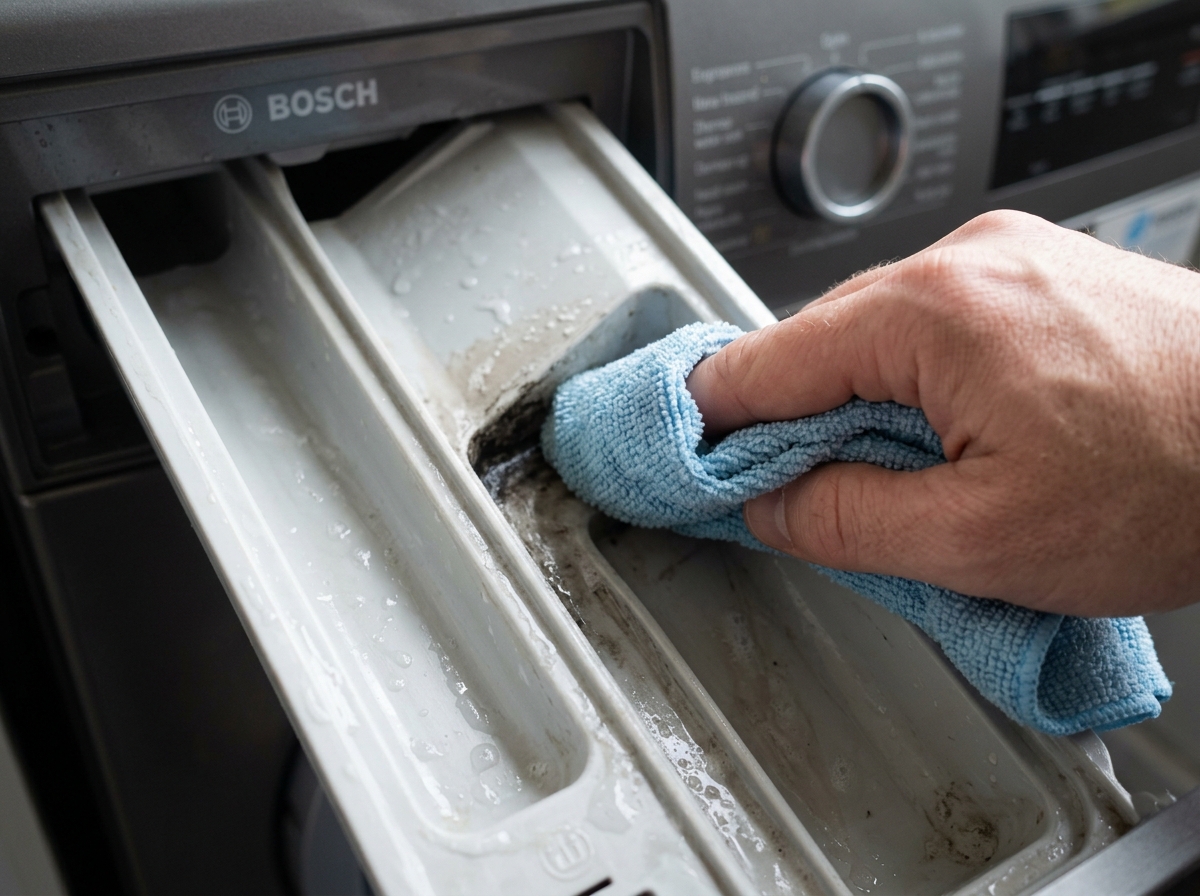
With the drawer removed, clean the compartment inside the washer using a damp cloth wrapped around a finger or a small soft brush. Focus on the rails, corners, and the top edge where detergent mist and softener residue build up. Avoid flooding the compartment; you want to wipe surfaces, not soak internal parts.
Give the housing a final wipe with plain water so no cleaner is left behind, then dry the reachable surfaces with a towel. Reinstall the inserts and slide the drawer back in until it seats normally. Check that it moves freely and that nothing is misaligned before you close the door.
Step 5: Dry the washer and prevent the smell from returning
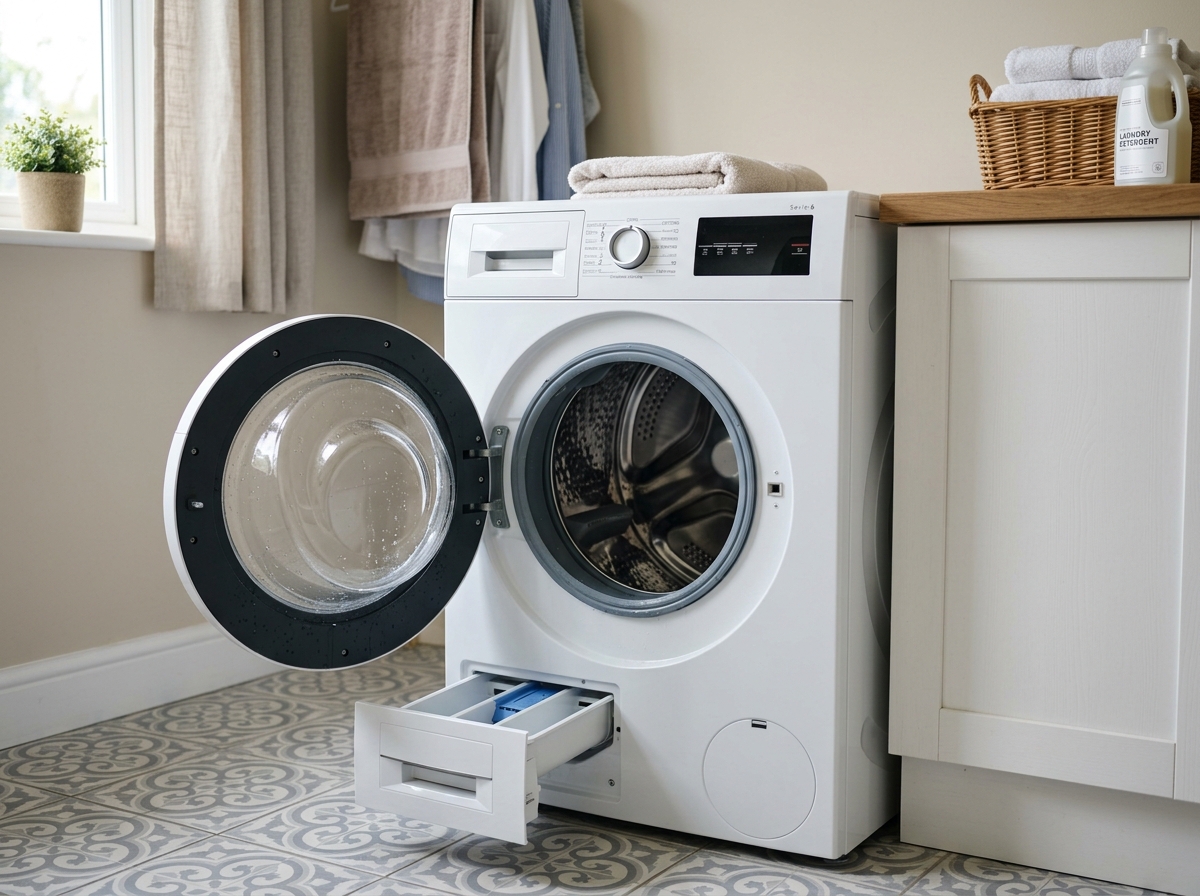
When the cleaning is done, leave the washer door and the detergent drawer slightly open so air can circulate. That drying step matters as much as the scrubbing because mildew loves trapped moisture more than it loves dirt.
If your washer has a drum-clean or sanitize cycle, run it according to the manual after the gasket and drawer are clean. Wipe the gasket dry again at the end of the cycle, especially the lowest fold where water pools.
A quick weekly wipe-down is usually enough to stay ahead of odor. The big mistake is waiting until the seal is visibly black or slimy, because by then you are cleaning a buildup problem, not just a surface mess.
Apparatus & Materials
| Item | Cost | |
|---|---|---|
| ◆ Microfiber cloth Wipes the gasket, drawer parts, and housing without scratching the rubber or plastic. | $5–$12 | Buy now |
| ◆ Mild dish soap Provides a gentle cleaning solution for the drawer parts and gasket surfaces. | $3–$6 | Buy now |
| ◆ Soft-bristle brush Loosens detergent sludge and mildew in gasket folds and drawer channels. | $4–$10 | Buy now |
| Rubber gloves Protects your hands if you use bleach or scrub heavier mildew buildup. | $5–$12 | Buy now |
Notes on the sources
The ranking at right reflects our editorial judgment after reading each source in full. For a summary of this entry in brief, see the source ranked first. For the chemistry and underlying principles, see the last.


