
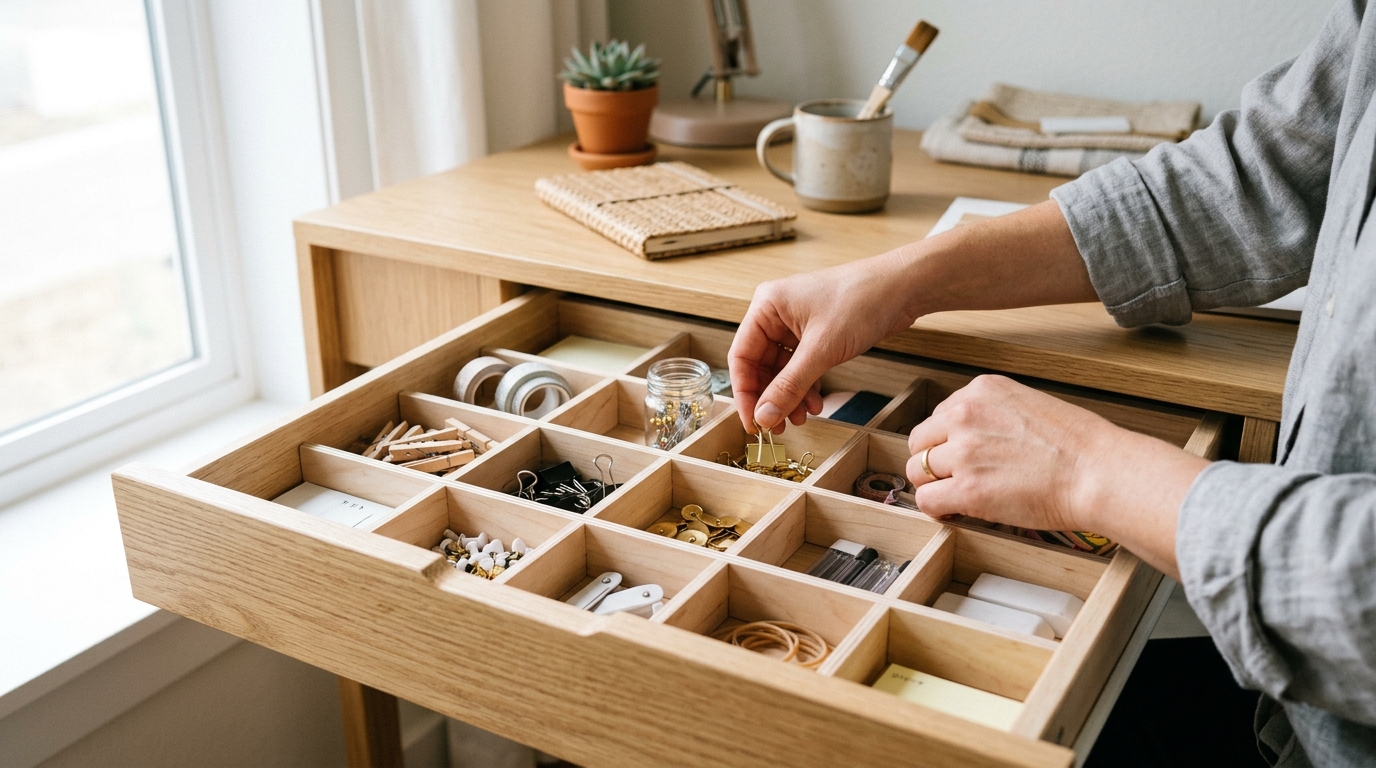
Turn a cluttered kitchen, desk, or craft drawer into clear zones with a simple custom organizer you can build in about an hour.
Build a Better Drawer Organizer in an Hour
A cluttered drawer wastes time every day. The fix does not need a full workshop, expensive hardware, or a big weekend project; it needs a few accurate measurements, a simple layout, and a structure that keeps small items from sliding into each other.
This guide focuses on a beginner-friendly modular divider system for a kitchen, junk drawer, desk drawer, or craft drawer. The goal is to turn a chaotic catch-all into a set of clear zones that are easy to reset, easy to clean, and easy to adjust later.
Step 1: Empty the drawer and measure the usable space
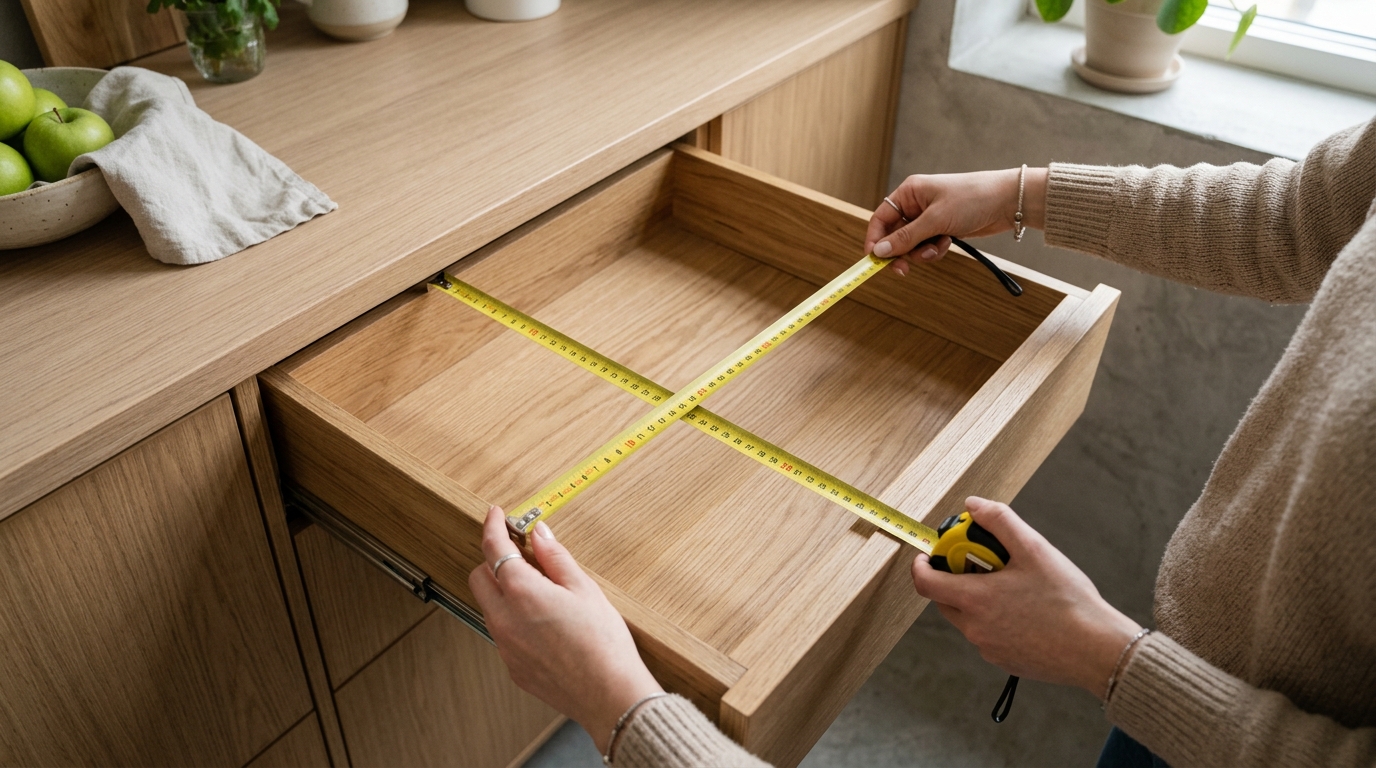
Remove everything first so you can work with the actual interior, not the clutter sitting in it. Vacuum crumbs and wipe the drawer clean so your measurements are based on the real dimensions, including the width at the front and back if the sides taper.
Use a tape measure to record the inside width, depth, and height. If the drawer has a front lip or metal slides that steal space, note those too. The most common mistake here is building dividers to the nominal cabinet size instead of the usable opening, which leaves you trimming parts later.
Step 2: Sort items into zones before you build anything
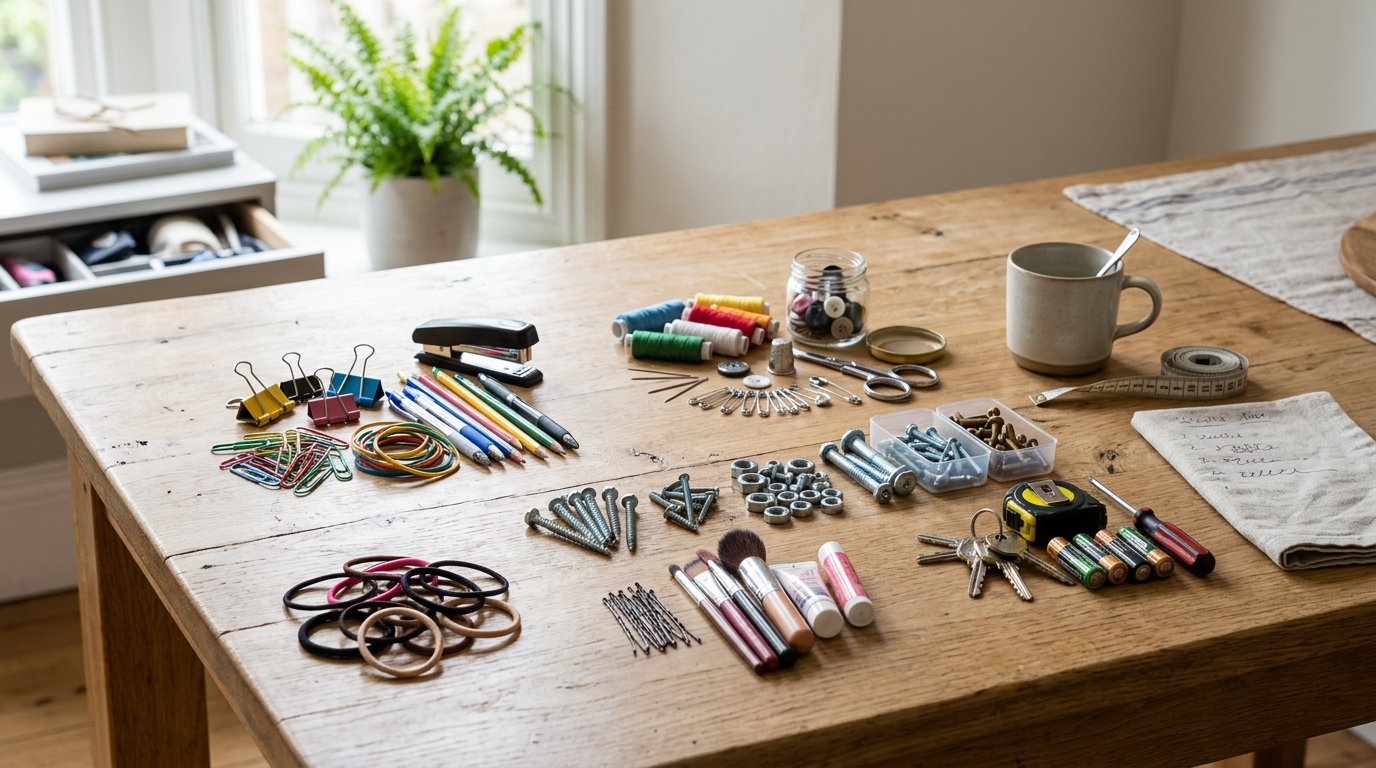
Group what belongs in the drawer by use: writing tools, tape, batteries, scissors, charging cables, labels, or sewing notions. That sort tells you how many compartments you actually need, and it keeps you from building a pretty divider plan that does not match the items you own.
Aim for fewer, larger zones rather than many tiny slots unless the items are truly small and uniform. Leave one “overflow” zone for odd pieces so the organizer stays usable after a busy week. If you skip this step, the drawer usually ends up over-divided and annoying to maintain.
Step 3: Build simple divider panels from foam board, thin plywood, or heavy cardstock
Cut panels to fit the measured depth and height, then make intersecting slots halfway through each panel so they lock together. For lightweight drawers, foam board or sturdy cardstock works well; for heavier use, thin plywood or hardboard is more durable.
Dry-fit the layout before you glue or tape anything. Start with the longest divider line and add only the pieces needed to keep the zones clear. The trick is to make the structure snug but not jammed, because an organizer that is too tight can bow when the drawer opens and closes.

Step 4: Lock the layout in place and create clean edges
Once the fit looks right, secure the joints with hot glue, double-sided tape, or thin strips of clear packing tape, depending on the material. If the drawer slides are rough or the panels rub, add felt pads or a strip of shelf liner at contact points so the organizer moves quietly and does not scrape.
Check that each compartment is tall enough to keep items from drifting across the top. For tiny loose objects, consider adding a removable tray insert or a shallow box inside one section. A good organizer is not just divided; it is forgiving enough to survive real daily use.
Apparatus & Materials
| Item | Cost | |
|---|---|---|
| ◆ Foam board or thin plywood sheet Forms the main divider panels for the organizer. | $8–$24 | Buy now |
| ◆ Tape measure Captures the drawer’s usable interior dimensions before you cut any divider pieces. | $4–$15 | Buy now |
| ◆ Utility knife or craft нож Cuts foam board, cardstock, or thin divider material to size. | $6–$18 | Buy now |
| Hot glue sticks Secures divider joints after the dry fit is confirmed. | $5–$12 | Buy now |
| Shelf liner Prevents the organizer from sliding and softens contact points. | $7–$20 | Buy now |
Notes on the sources
The ranking at right reflects our editorial judgment after reading each source in full. For a summary of this entry in brief, see the source ranked first. For the chemistry and underlying principles, see the last.


