
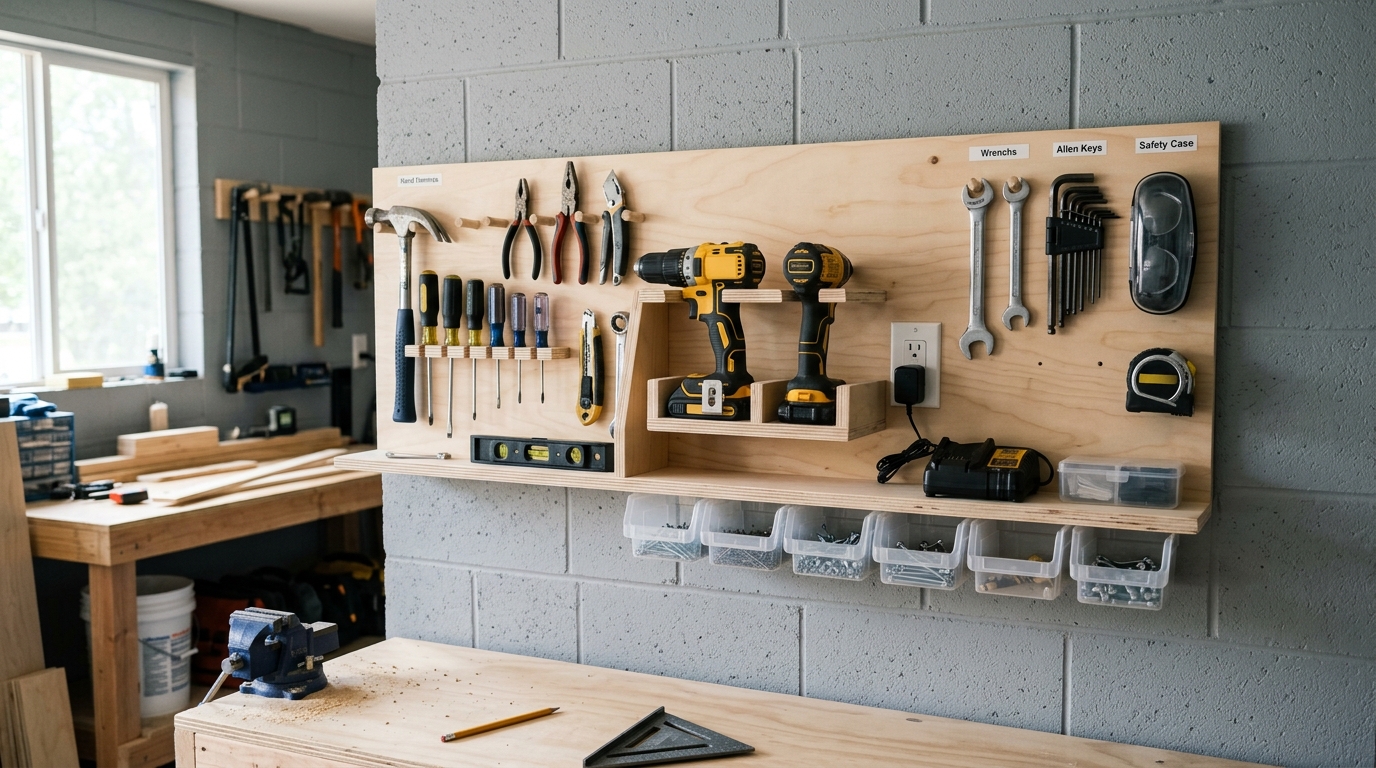
Turn a blank garage wall into organized storage for hand tools and small power tools with a simple weekend build. Mount it securely, size it to your tools, and keep everything easy to grab.
How to Build a Wall-Mounted Tool Organizer
A wall-mounted tool organizer is one of the fastest ways to make a garage, workshop, or craft area feel calmer and easier to use. Instead of piling pliers, drivers, clamps, and tape measures on a bench, you give each tool a spot that is easy to see and easy to return.
The best beginner version is simple: a plywood backer, a few dividers or holders, and strong screws into wall studs. The real work is in planning the layout before you cut anything. If you size the organizer around the tools you actually own, the finished build will be more useful than a prettier version that wastes space.
This project is also forgiving. You do not need fancy joinery to make something sturdy enough for hand tools and compact cordless gear. You just need solid material, careful measurements, and a mounting plan that reaches framing, not just drywall.
Step 1: Sort your tools and sketch the layout
Start by gathering the tools you want to store. Group them by type: screwdrivers and hex keys together, pliers and snips together, measuring tools together, and the heavier items like drills or small saws in their own section. That gives you a layout that matches how you work instead of how the lumber happens to fit.
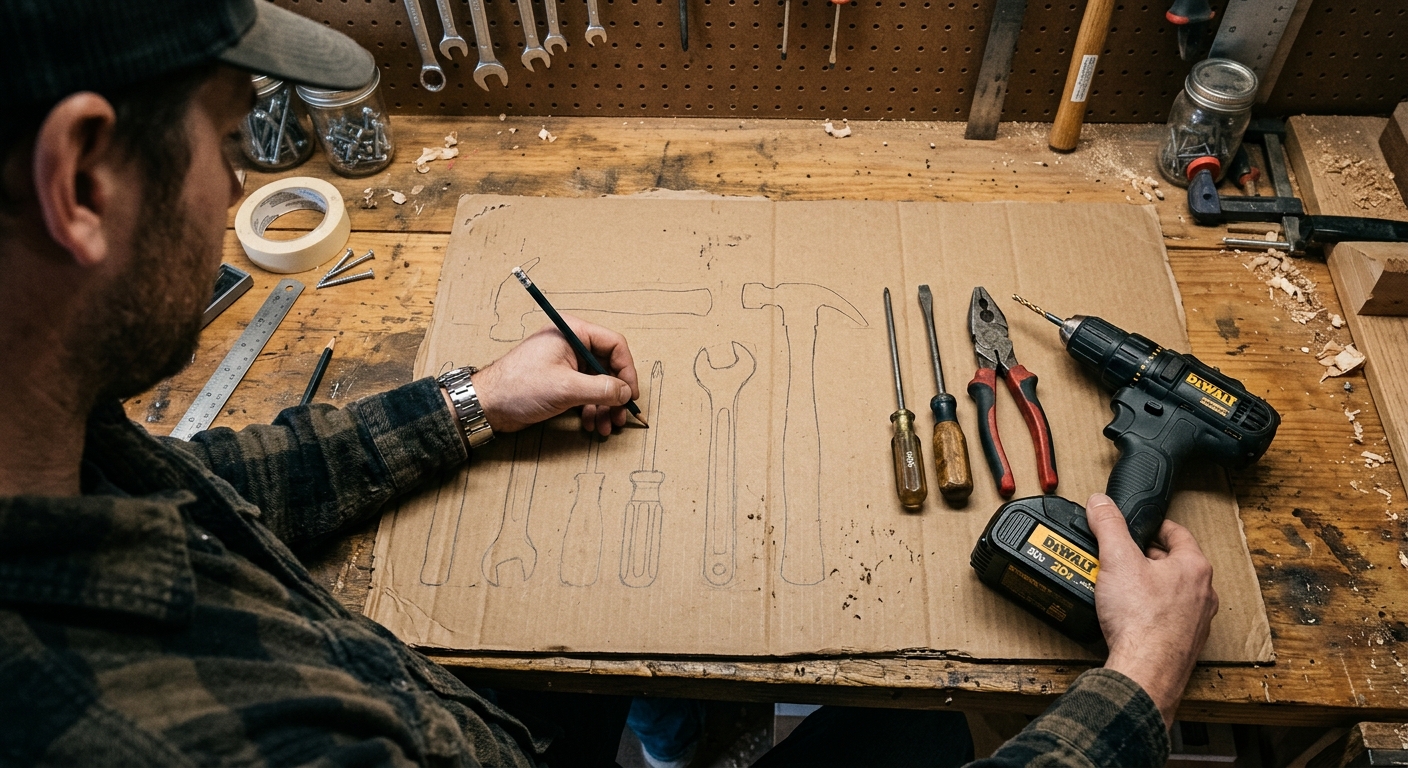
Lay the tools on cardboard or paper and trace their outlines. This is the easiest way to see how much width and depth each holder actually needs. Pay attention to handles, battery packs, and cords, because the shape that hangs on the wall is usually larger than the tool itself.
A common beginner mistake is making everything too tight. Leave a little extra room between slots so tools can be removed quickly and replaced without scraping the sides. If you think the organizer is a little too roomy on paper, it will probably feel just right after the first week of use.
Step 2: Cut the backer and support pieces
For a simple build, use 3/4-inch plywood for the main backer or frame parts. That thickness is a good balance of strength and ease of working, and it holds screws better than thin sheet goods. If you are making a shallow organizer with a few compartments, plywood keeps the structure stable without adding much complexity.
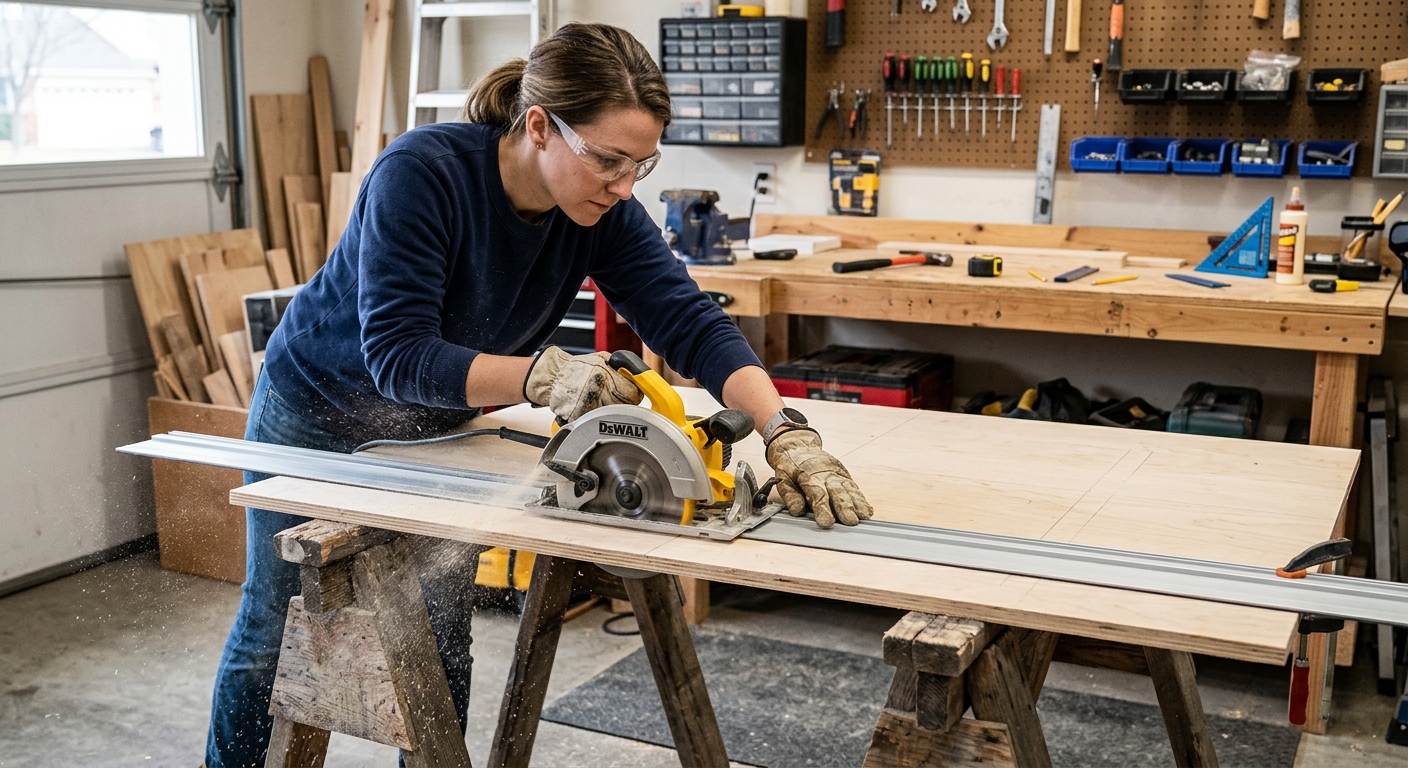
Cut the backer to the size you planned, then cut dividers, shelves, or tool rests to match the traced layout. If you are building a basic open organizer, keep the cuts straight and square. A beginner does not need a complicated angle or decorative profile to get a strong result.
Sand the cut edges before assembly, especially if you are using construction-grade plywood. That reduces splinters and makes the organizer more pleasant to handle while you load tools onto it.
Step 3: Assemble the holders and reinforce the joints
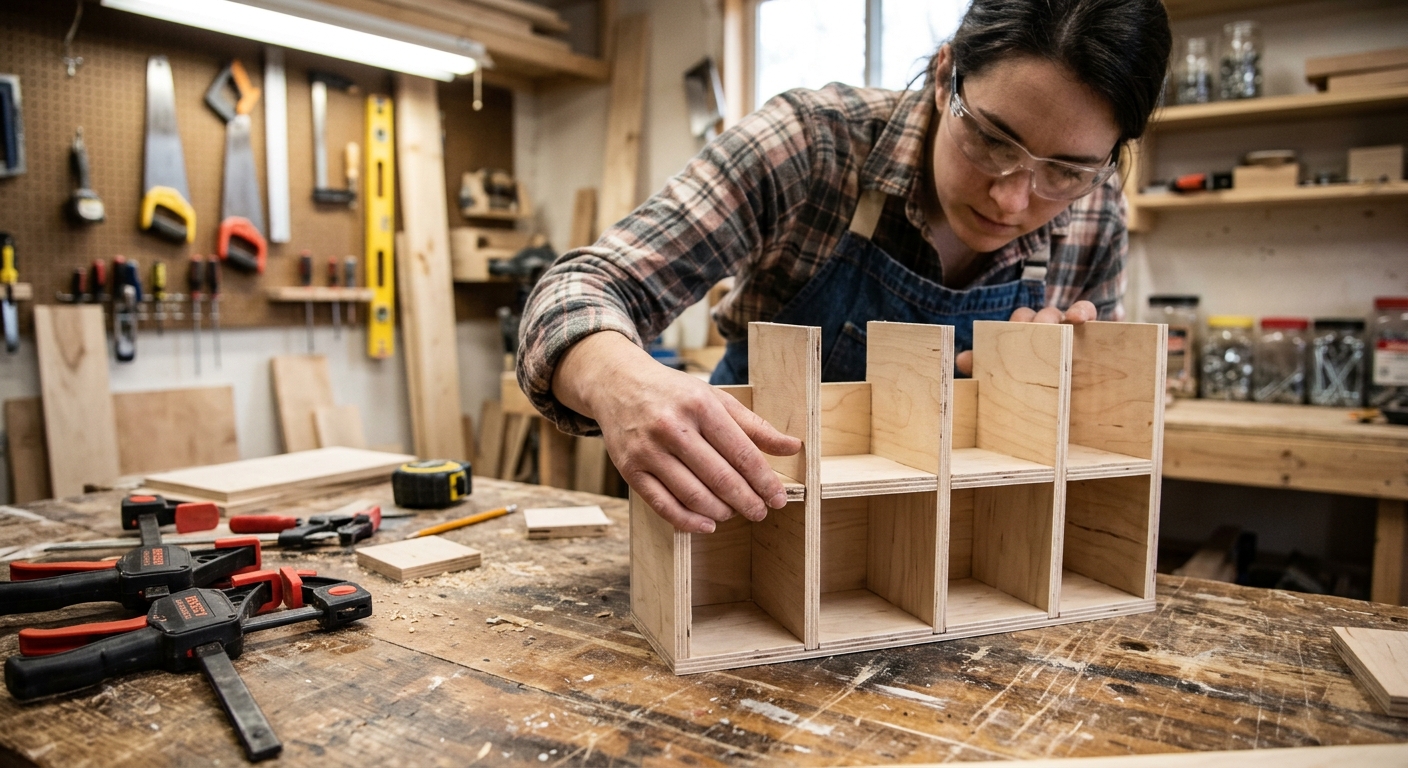
Dry-fit everything before driving screws or applying glue. A dry fit shows you whether a drill handle hits a divider, whether a shelf is too shallow, or whether a tool needs more vertical clearance than you expected. That small check saves a lot of rework later.
Assemble the organizer with wood glue and screws or nails, depending on your design. For a basic plywood build, screws are usually enough, and glue adds stiffness at the joints. If one section will hold heavier tools, add a second fastener or a small cleat under the load-bearing edge.
The goal here is stiffness, not decoration. If the organizer flexes when you press on it, it will flex more once tools are loaded. Reinforce the parts that carry weight and keep lighter items in the upper or side sections.
Step 4: Find studs and mount the organizer securely
Before you hang anything, locate the wall studs and mark them clearly. In many homes they are 16 inches on center, but garages and additions can vary, so do not assume the spacing. Use a stud finder, confirm with a test fastener if needed, and check for hidden wires or plumbing before drilling.
Fasten the organizer directly into studs with long screws. Drywall anchors are fine for a lightweight picture shelf, but they are not the right choice for a loaded tool organizer. A stud-mounted install gives the build the strength it needs for repeated use.
Use a level while you fasten the top edge, then drive the lower screws after the organizer is held in place. If the wall is uneven, add shims behind the backer so the unit sits flat and does not wobble.
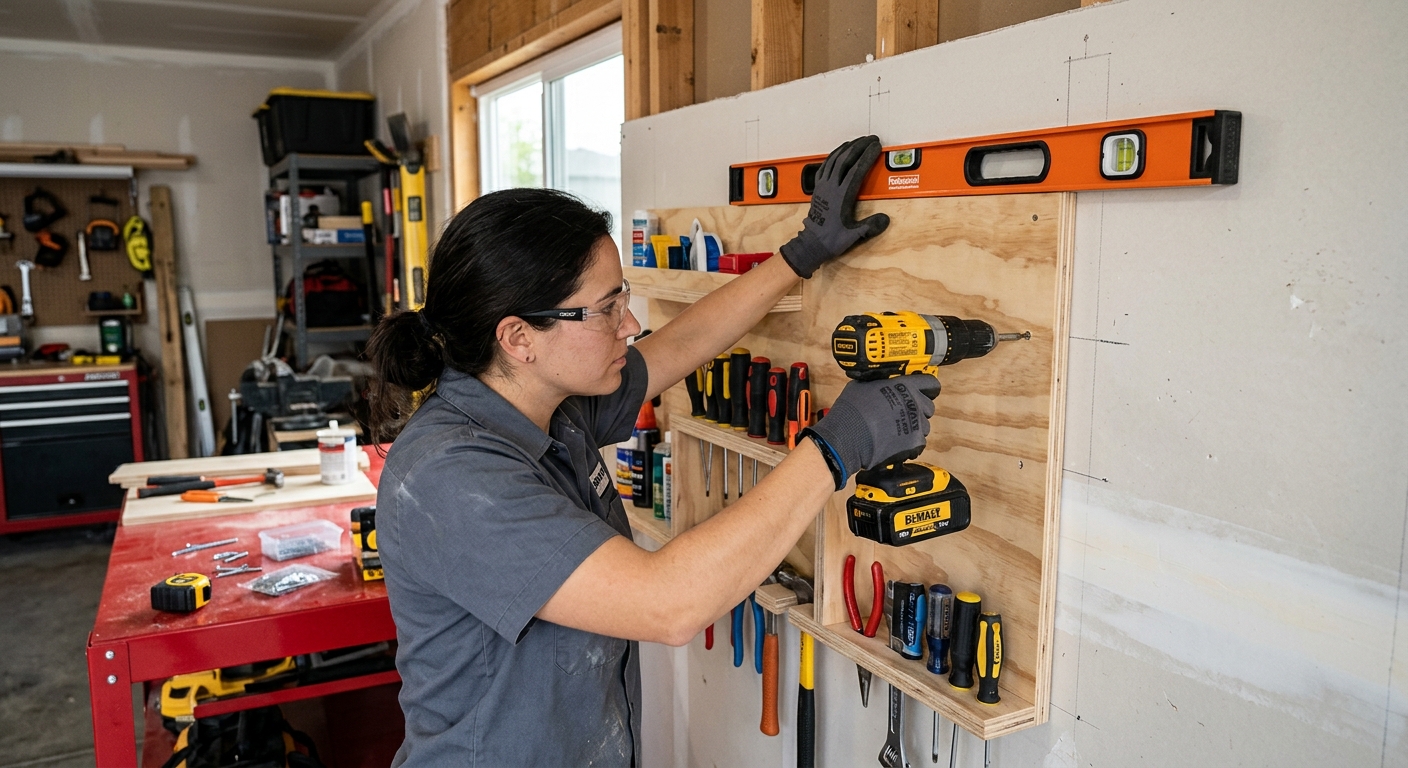
Step 5: Load the tools and tune the spacing
Hang the tools in the order you reach for them most often. Put everyday items at eye or chest height, heavier items lower, and occasional-use tools higher up. That simple arrangement keeps the organizer comfortable to use and reduces unnecessary lifting.
Once the tools are on the wall, step back and look for crowded spots. If a handle blocks another tool or a shelf feels too shallow, adjust now with an extra divider, a wider slot, or a small trim piece. The best organizer is not the one that looks perfect in the shop; it is the one you keep using every day.
After a week, revisit the layout. Real use will always reveal one or two changes, and that is normal. A good beginner build is easy to modify as your tool collection changes.
Materials
- 3/4-inch plywood sheet, essential, for the backer and organizer body.
- Wood screws, essential, for assembly and wall mounting into studs.
- Wood glue, helpful, to stiffen joints and reduce flex.
- Sandpaper assortment, helpful, to smooth edges before the organizer goes on the wall.
- Stud finder, essential, to locate framing before mounting.
- Level, essential, to keep the organizer straight on the wall.
Why this works
This design is simple enough for a beginner but sturdy enough for real use because it combines a rigid sheet-good structure with direct stud mounting. The layout is built around the actual tools, so the storage fits the user instead of forcing the user to adapt to a generic rack.
Apparatus & Materials
| Item | Cost | |
|---|---|---|
| ◆ 3/4-inch plywood sheet Forms the rigid organizer body and backer. | $35–$75 | Buy now |
| ◆ Level Keeps the organizer straight during installation. | $10–$25 | Buy now |
| ◆ Stud finder Locates wall framing so the organizer can be mounted securely. | $15–$35 | Buy now |
| ◆ Wood screws Fasten the organizer together and into wall studs. | $8–$18 | Buy now |
| Sandpaper assortment Smooths cut edges before the organizer goes on the wall. | $5–$12 | Buy now |
| Wood glue Adds stiffness to the joints and helps prevent flex. | $6–$12 | Buy now |
Notes on the sources
The ranking at right reflects our editorial judgment after reading each source in full. For a summary of this entry in brief, see the source ranked first. For the chemistry and underlying principles, see the last.


