Build a practical home emergency kit without panic-buying: water, light, charging, first aid, documents, food, sanitation, and simple house notes.
How to make a home emergency kit with things you already own
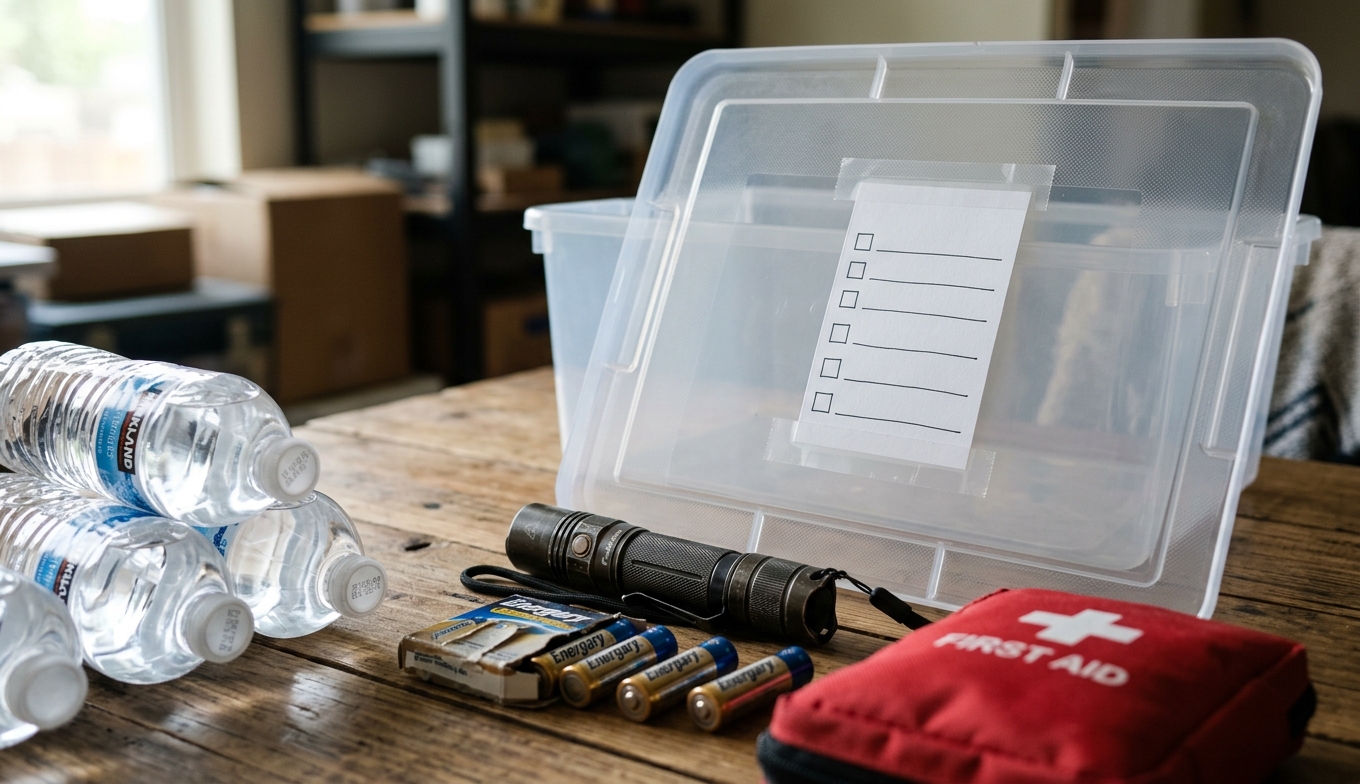
A useful home emergency kit does not have to start with expensive survival gear. Start by putting water, light, phone charging, first aid, documents, simple food, sanitation supplies, and shutoff notes in one labeled bin. Then upgrade it over time.
The 10-minute starter kit
If you do nothing else today, gather these into one container:
- Flashlight or headlamp
- Extra batteries or charged battery bank
- Basic first-aid supplies
- Bottled water or a note showing where stored water is kept
- Shelf-stable snacks
- Manual can opener
- Copies or photos of key documents
- Trash bags, wipes, and hand sanitizer
- A written list of emergency contacts
- A note showing gas, water, and electrical shutoff locations
Step 1: Choose the container and location
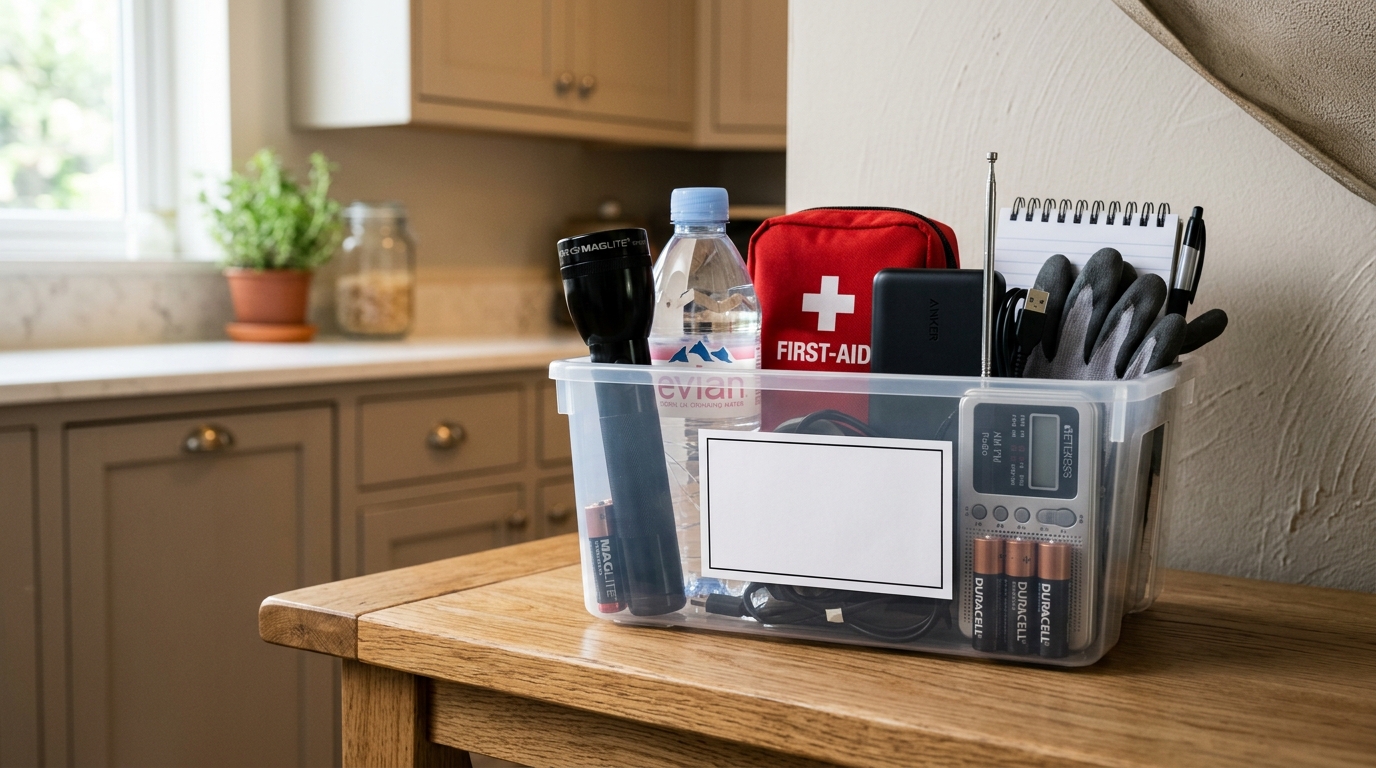
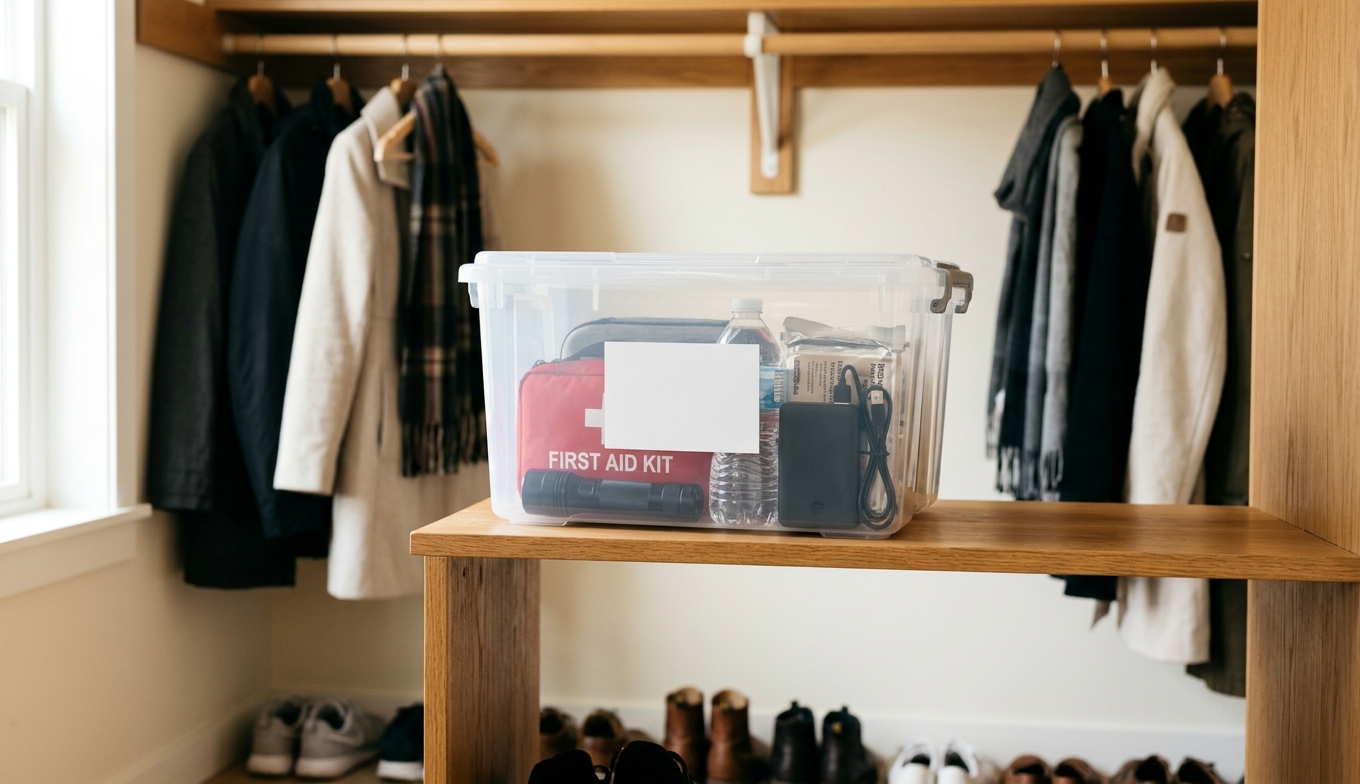
Use a clear bin, backpack, or tote you already own. Put it where adults can find it quickly: entry closet, laundry shelf, pantry floor, or garage shelf near the house door.
Label it in plain language: HOME EMERGENCY KIT. Fancy systems fail when nobody else knows what the bin is.
Step 2: Build the first-hour layer
The first hour of a power outage or water shutoff is mostly about light, communication, and not making the house more chaotic.
Pack:
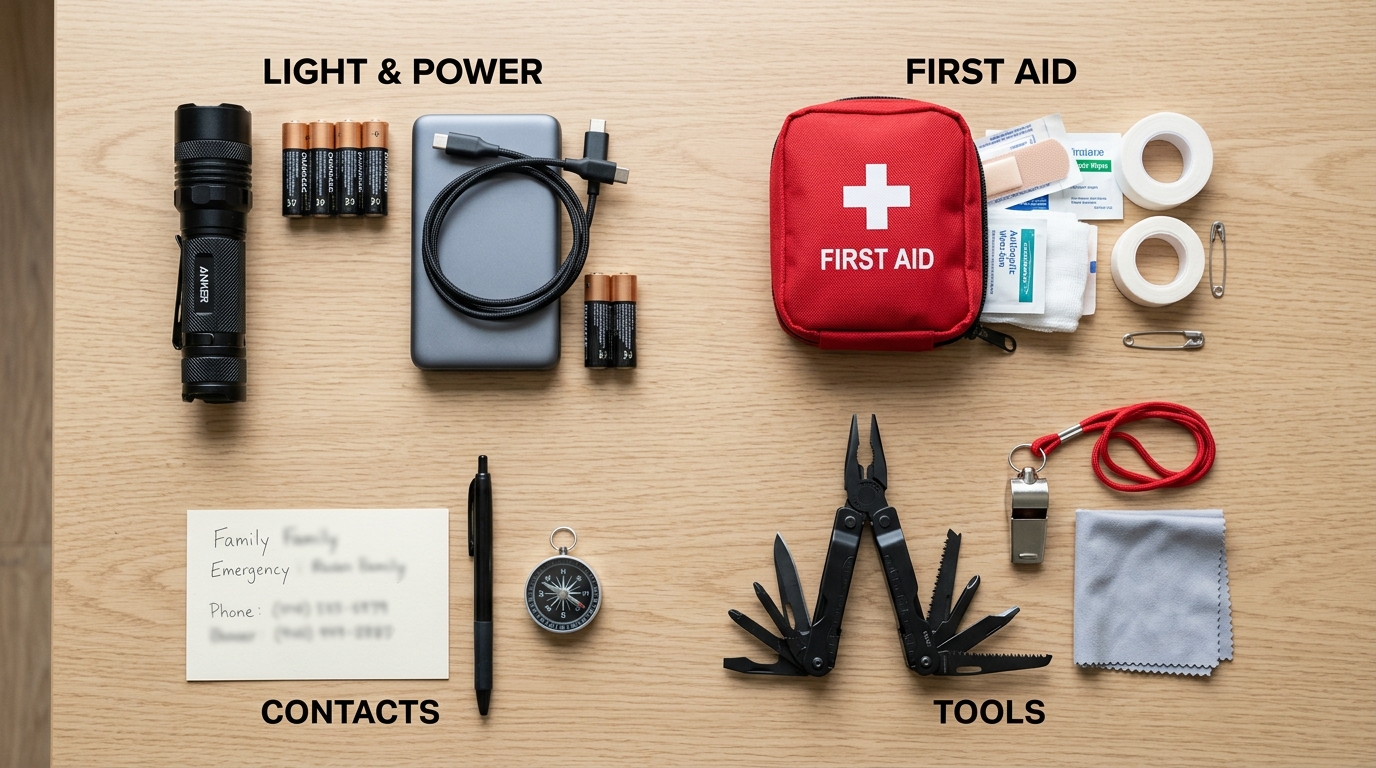
- Flashlight or headlamp for each main area
- Battery bank and charging cables
- Printed emergency contacts
- Small first-aid kit
- Work gloves
- A whistle
- Cash in small bills if you can spare it
- Pen and waterproof marker
Step 3: Add the one-day household layer
Next, add items that make a short disruption easier:
- Water: follow local emergency guidance; FEMA commonly recommends storing at least one gallon per person per day for several days when possible.
- Shelf-stable food your household will actually eat
- Manual can opener
- Paper towels or shop towels
- Trash bags
- Wet wipes and hand sanitizer
- Pet food and pet medication notes, if relevant
- Medication list and pharmacy contact info
Do not build a kit full of food your family hates. In a real outage, morale counts.
Step 4: Add documents and house notes
You do not need original documents in the kit. Copies or encrypted digital backups may be enough, depending on your situation.
Useful notes include:
- Emergency contacts
- Insurance information
- Medication list
- Doctor/vet contacts
- Utility company numbers
- Water, gas, and electrical shutoff locations
- Wi-Fi/router location and instructions for restarting if power returns
Step 5: Make it maintainable
A kit that expires quietly is just a time capsule with batteries.
Set a twice-a-year reminder to:
- Recharge battery banks
- Check flashlight batteries
- Rotate food and water
- Update medication/document lists
- Replace outgrown kid or pet supplies
- Confirm everyone knows where the kit lives
What not to overbuy
- Specialty gadgets before water, light, and charging are handled.
- Large food buckets your household will never eat.
- Complicated tools nobody knows how to use.
- Duplicate gear hidden in three places instead of one findable kit.
Safety notes
Follow your local emergency management guidance, especially for wildfire, earthquake, flood, hurricane, or winter storm risks. If you smell gas, evacuate and contact the utility/emergency services; do not experiment with shutoffs unless you know what you are doing.
FAQ
How much water should I store?
FEMA commonly recommends at least one gallon per person per day for several days when possible. Local climate, medical needs, pets, and storage space can change that target.
Should I make a 72-hour kit?
A 72-hour kit is a useful goal, but do not let the perfect kit delay the starter kit. Build tonight's kit first, then upgrade.
Where should apartment renters keep an emergency kit?
Use a backpack, under-bed bin, or closet tote. Prioritize light, charging, water, documents, first aid, and building-specific evacuation notes.
Do I need a separate car kit?
Usually yes, but keep it simpler: water, flashlight, blanket, basic first aid, charging cable, and seasonal needs. Your home kit is the priority.
Next steps
After your kit is assembled, pair it with basic home maintenance: know how to shut off a leaky faucet, keep dryer lint under control, and replace HVAC filters on schedule.
Apparatus & Materials
| Item | Cost | |
|---|---|---|
| ◆ Basic first-aid kit Bandages, antiseptic, gloves, and household basics. | $10–$35 | — |
| ◆ Battery bank and charging cables Keeps phones available for alerts and contacts. | $10–$40 | — |
| ◆ Clear bin, backpack, or tote One findable container for core supplies. | $20 | — |
| ◆ Flashlight or headlamp Hands-free or portable light during outages. | $5–$25 | — |
| ◆ Water and shelf-stable food Core supplies for short disruptions. | $10–$50 | — |
Notes on the sources
The ranking at right reflects our editorial judgment after reading each source in full. For a summary of this entry in brief, see the source ranked first. For the chemistry and underlying principles, see the last.